Classroom Journal Tips

Keeping journals is a great way to help students keep new information recorded and stored in a neat and useful way. Many teachers give their students notebooks for each core subject and expect students to maintain their own journal to use for note taking during lessons and future reference. I love this idea! I’ve done it with my own classes. But if you’re going to do journals, do them the smart way. Here’s what I mean:

1. Choose a specific color for the subject. Get that same color journal for each student. If you can’t find an entire class set of 1 color, try 2 colors that are easy to remember. So when your student says “Wait! Which one is our science journal?” You can tell them what color notebook to look for. Also make sure the notebooks are clearly labeled with the student’s name, classroom number and what subject the journal is for. Tell students at the beginning of the year that the journal is only for that subject, not for drawing, writing notes to a friend, etc.

P1030237

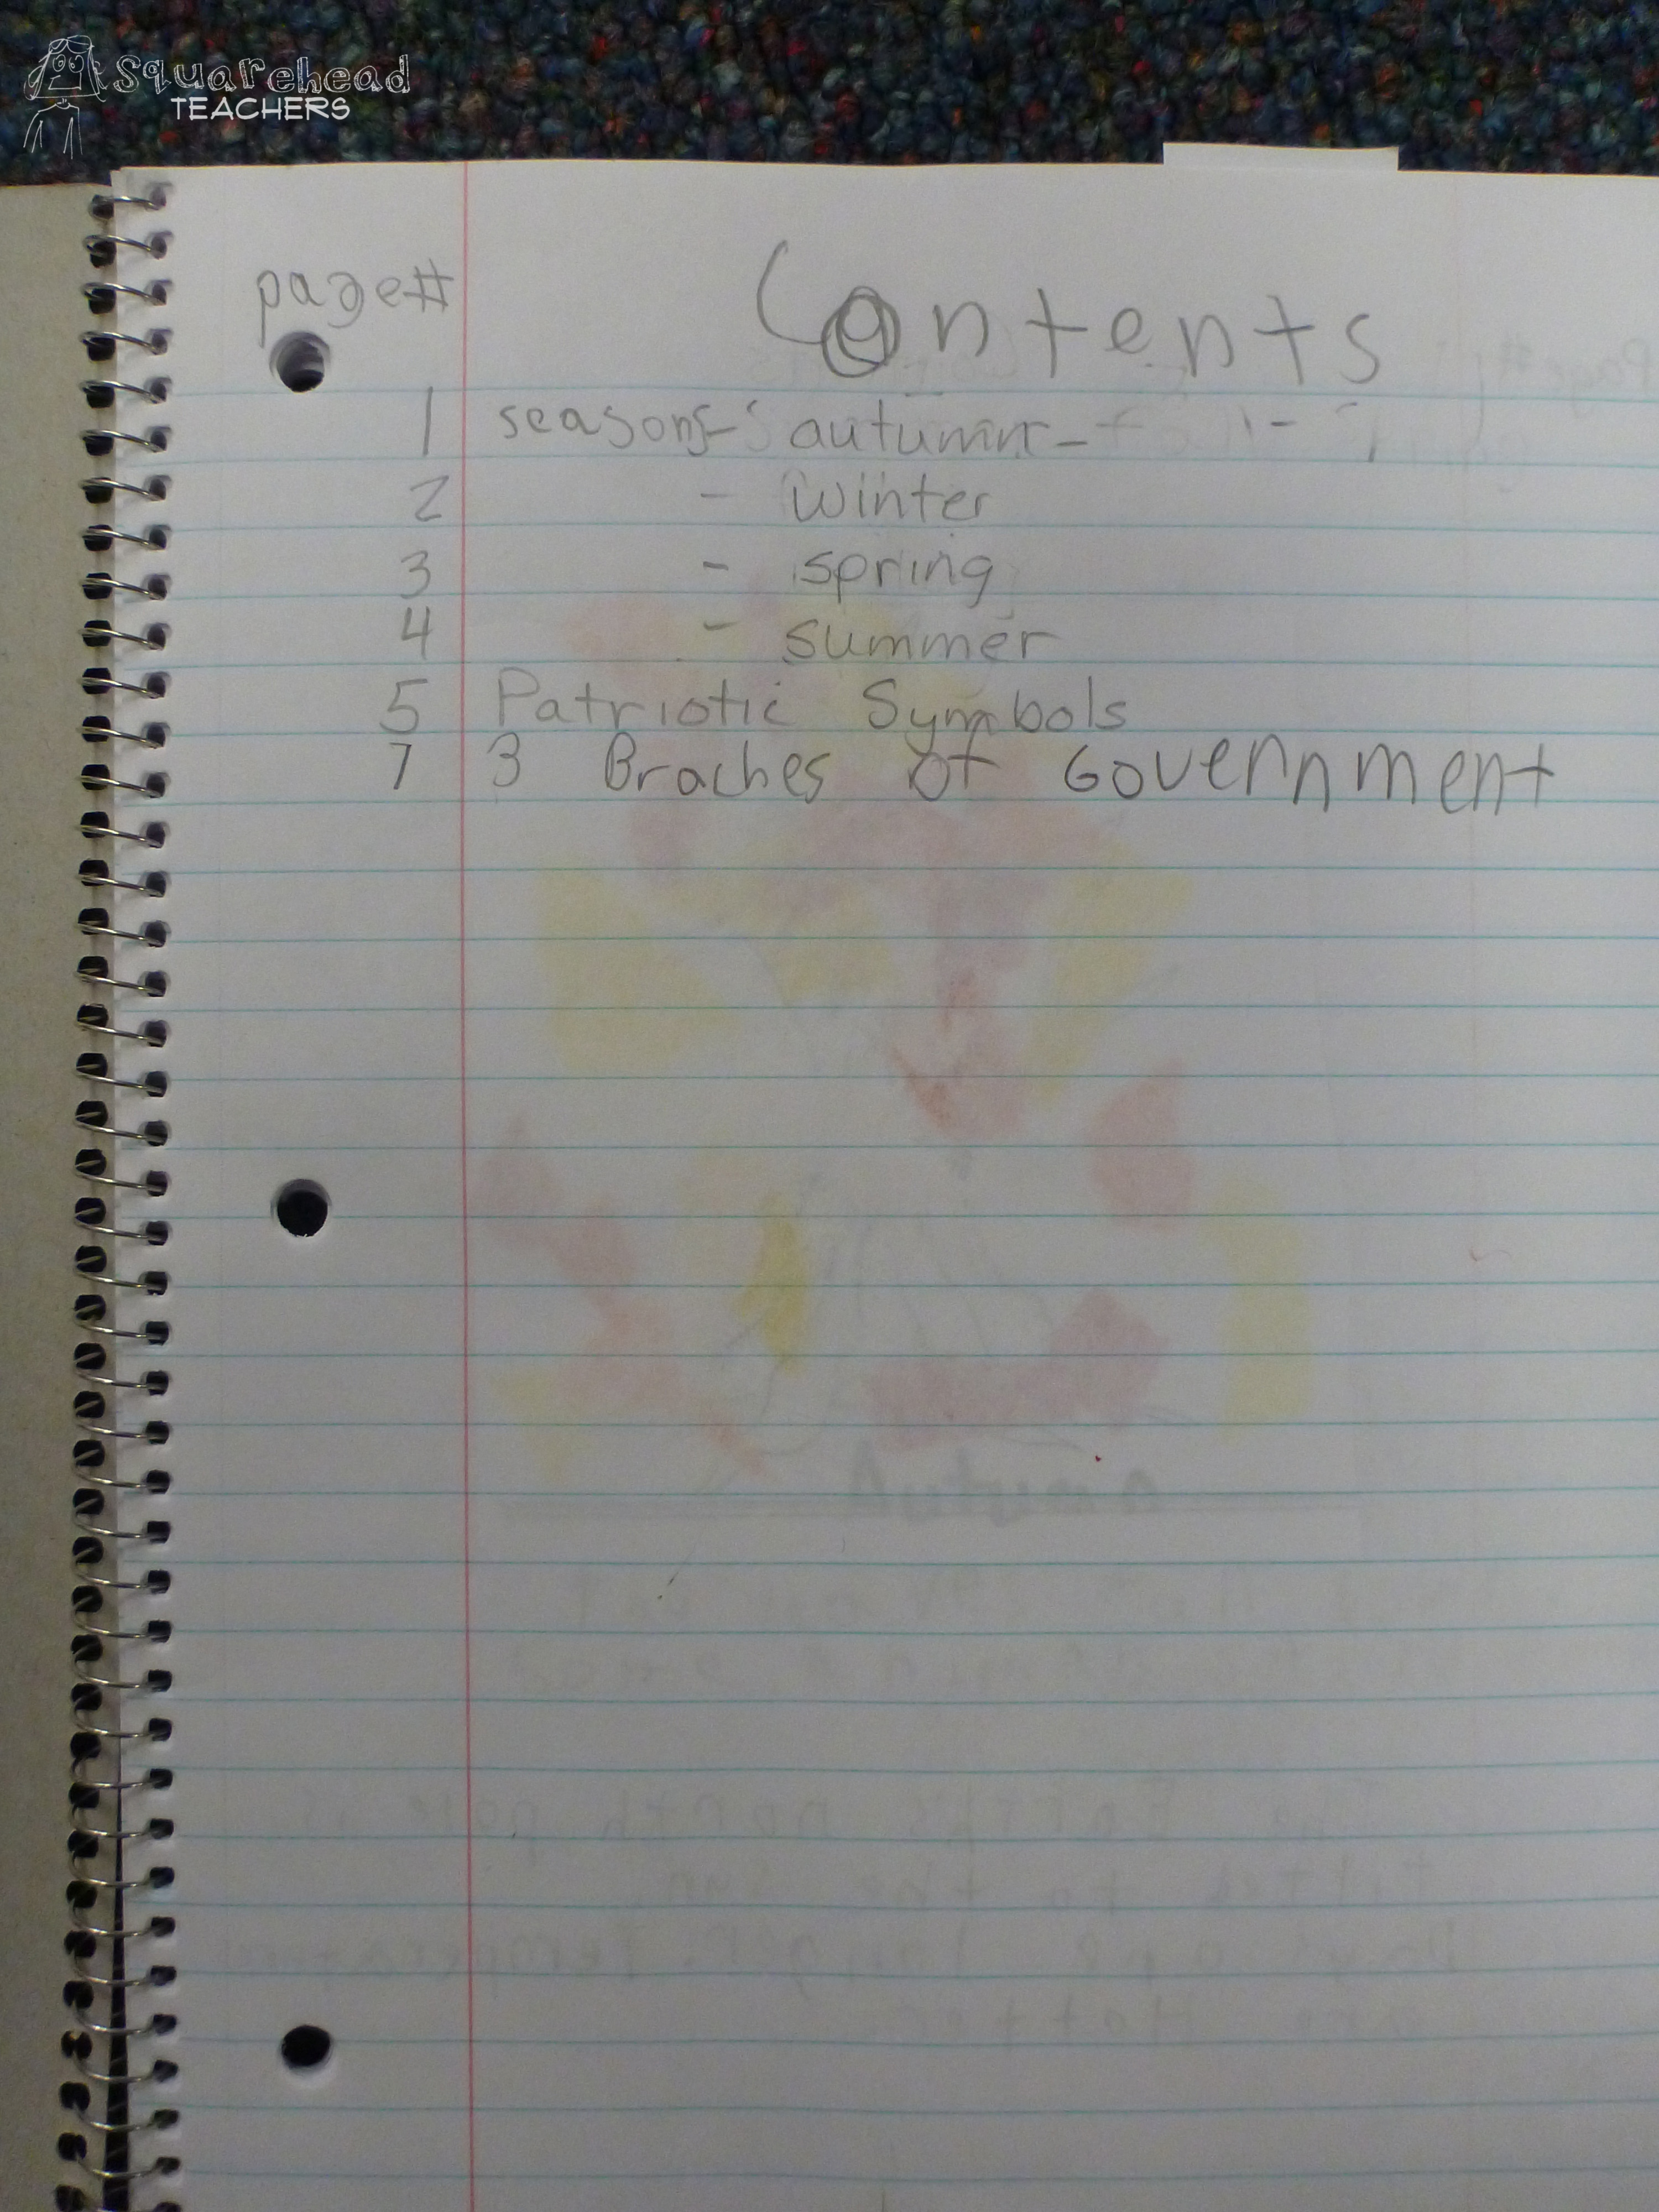
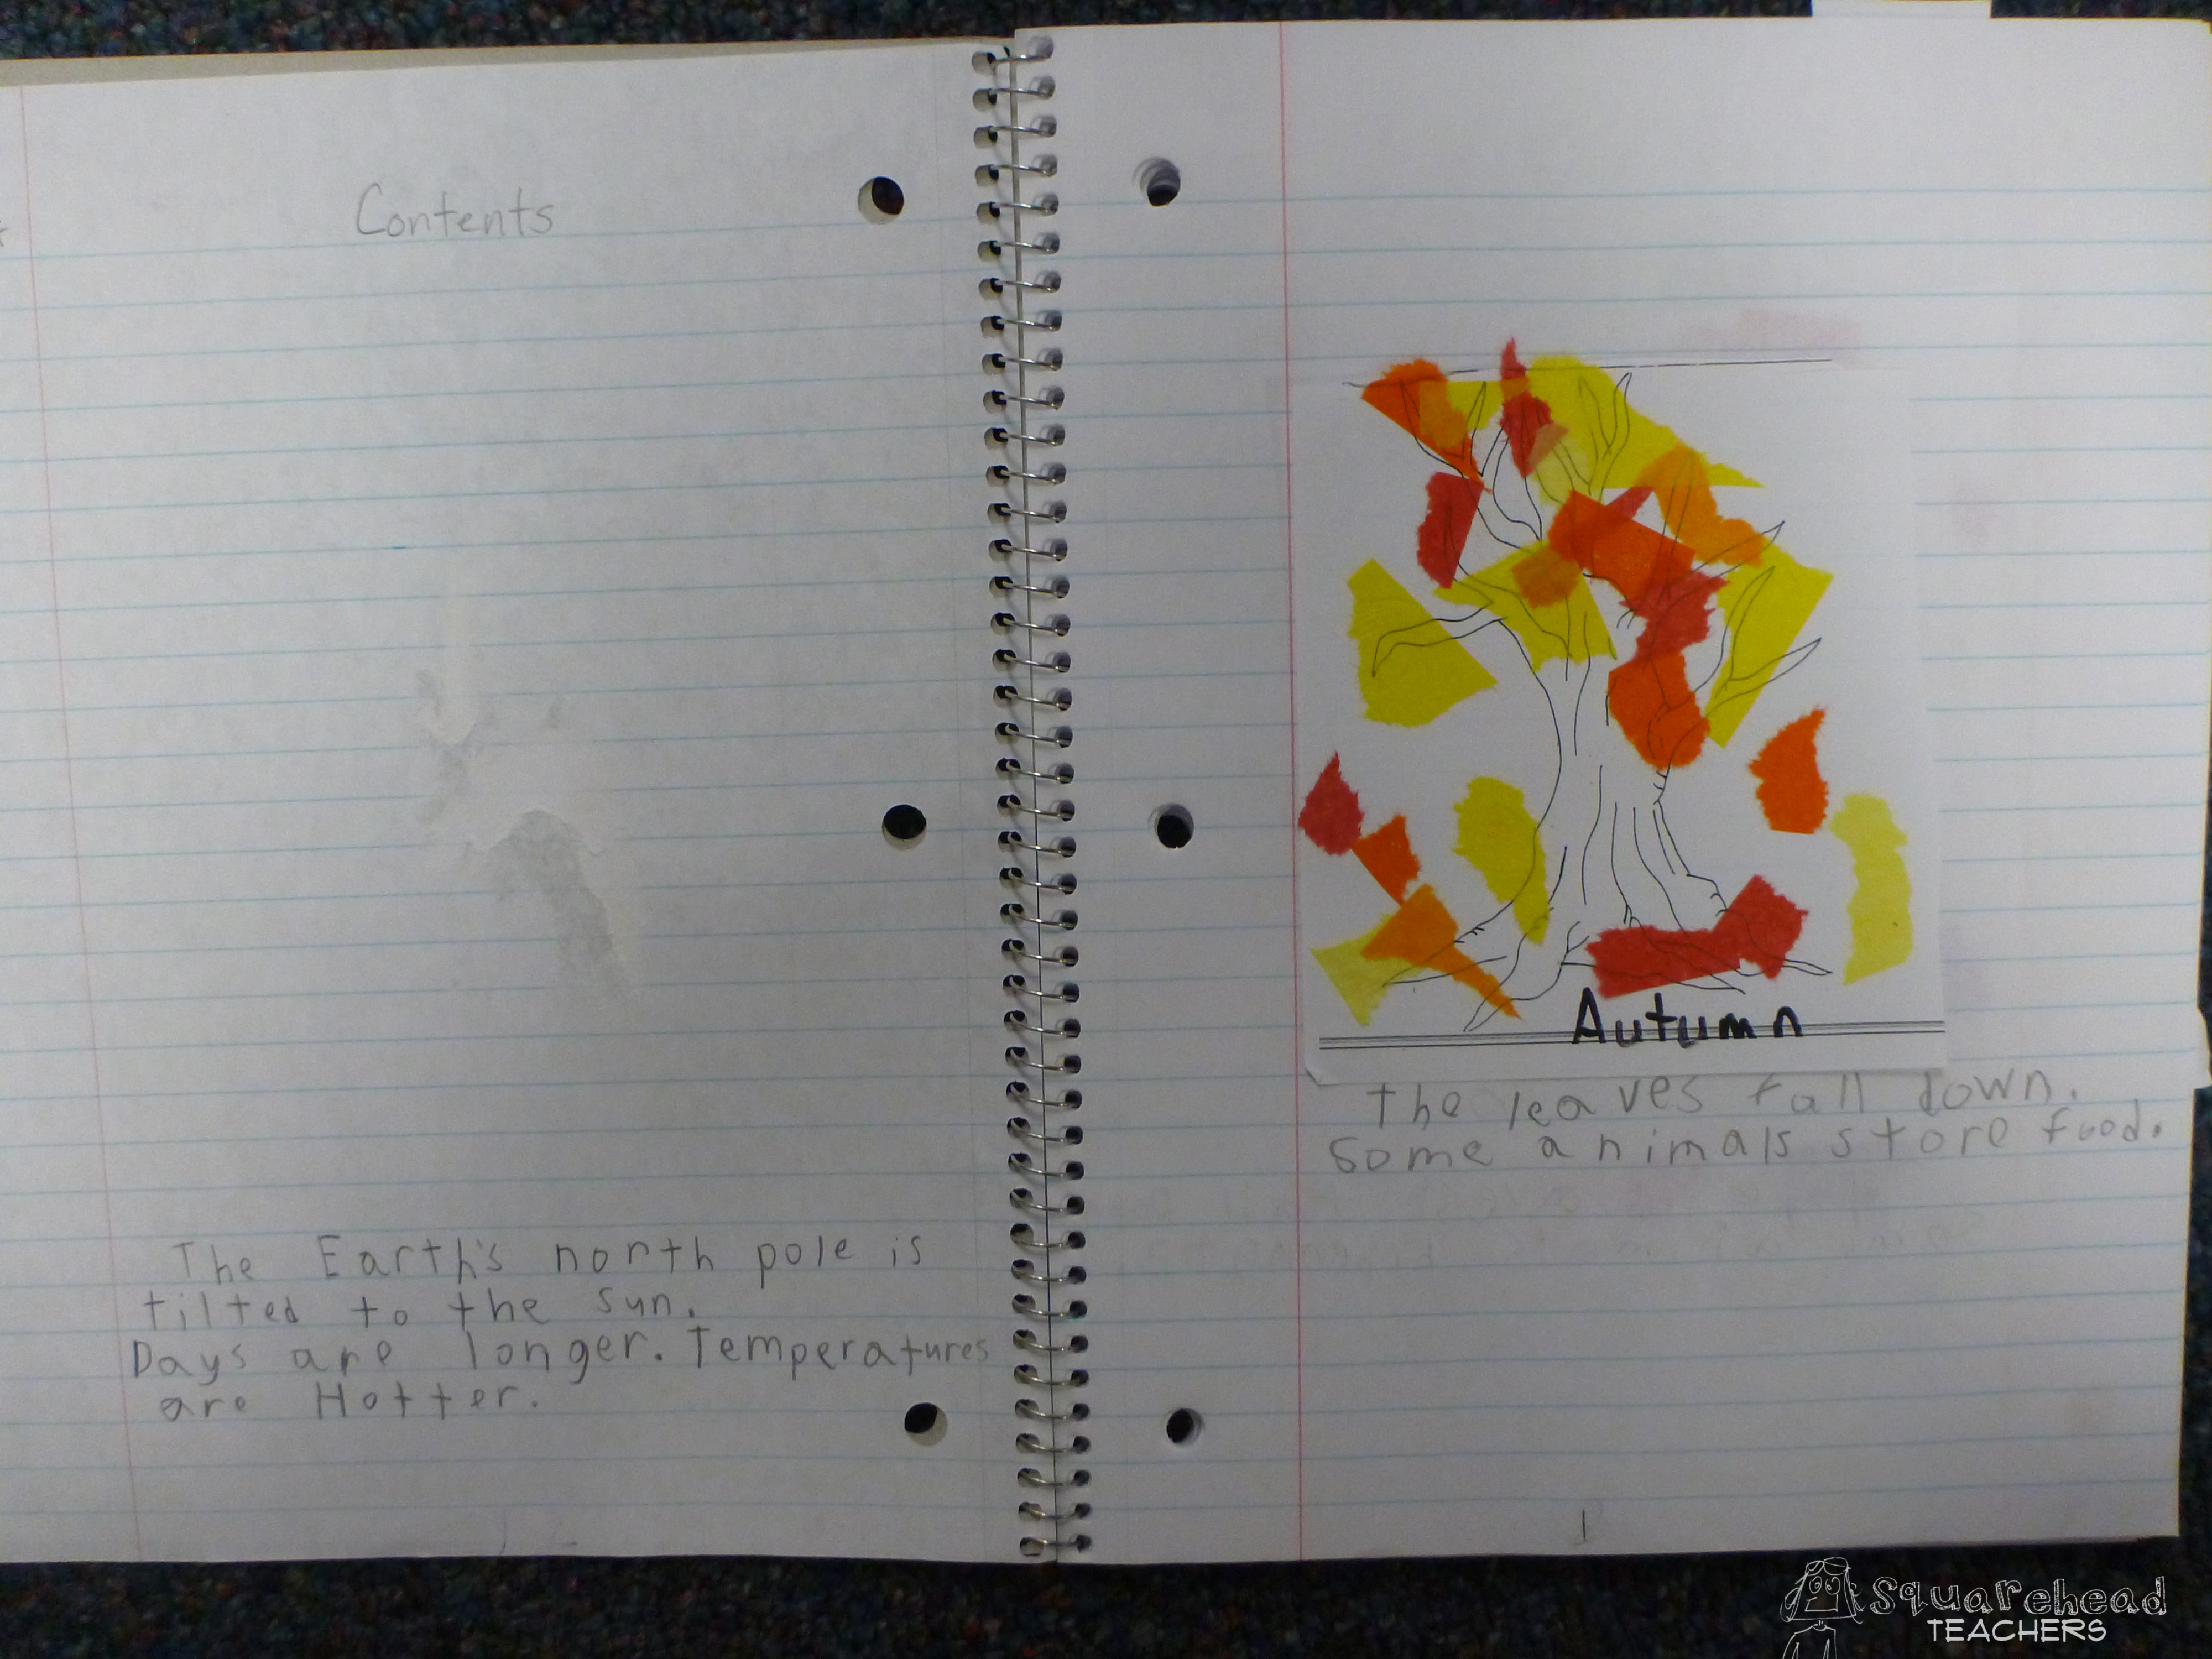
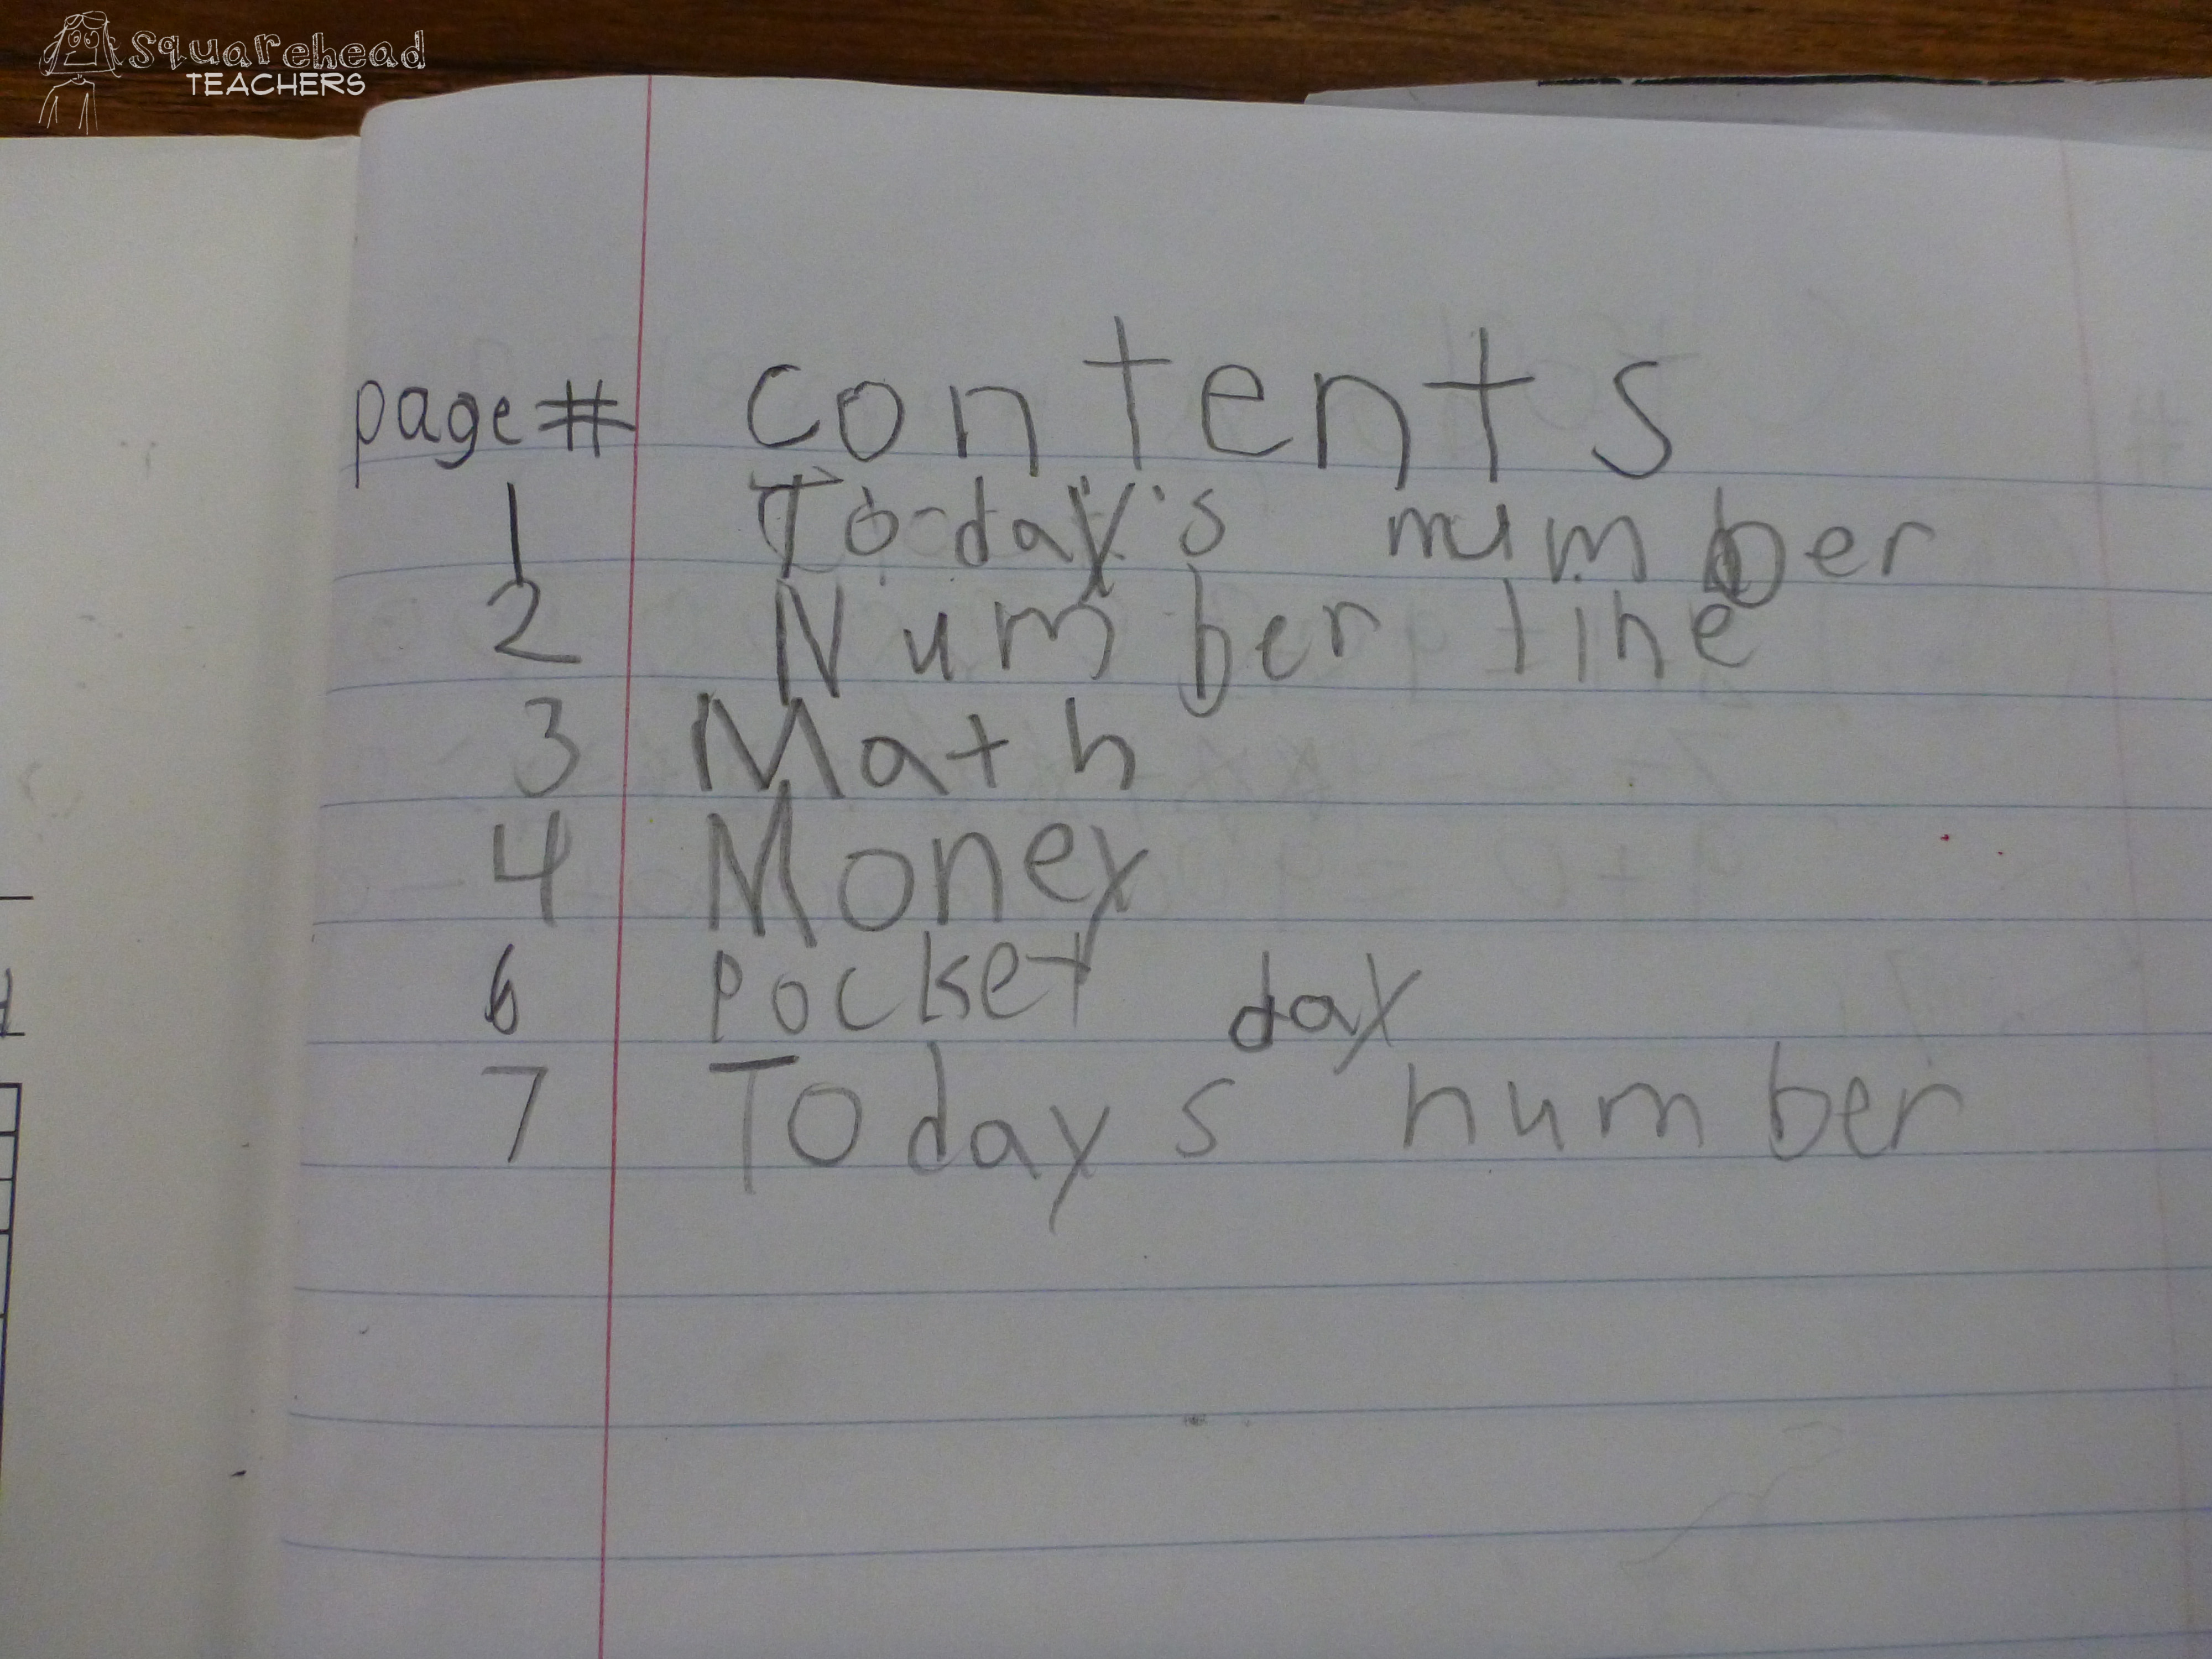
2. Use the first sheet (front/back) for the table of contents. Each time you have students start a new journal entry/topic, have them add it to the table of contents. Then, when they’re looking for their notes on a certain topic, they’ll be able to fins it easily. This also means your students need to add page numbers as they go. I have conflicting thoughts about writing in all the page numbers in the beginning. PRO- you don’t have to worry about it each time you start a new set of notes. CON- if your kids tear out pages, they can get confused when there’s no page 16.

P1030238

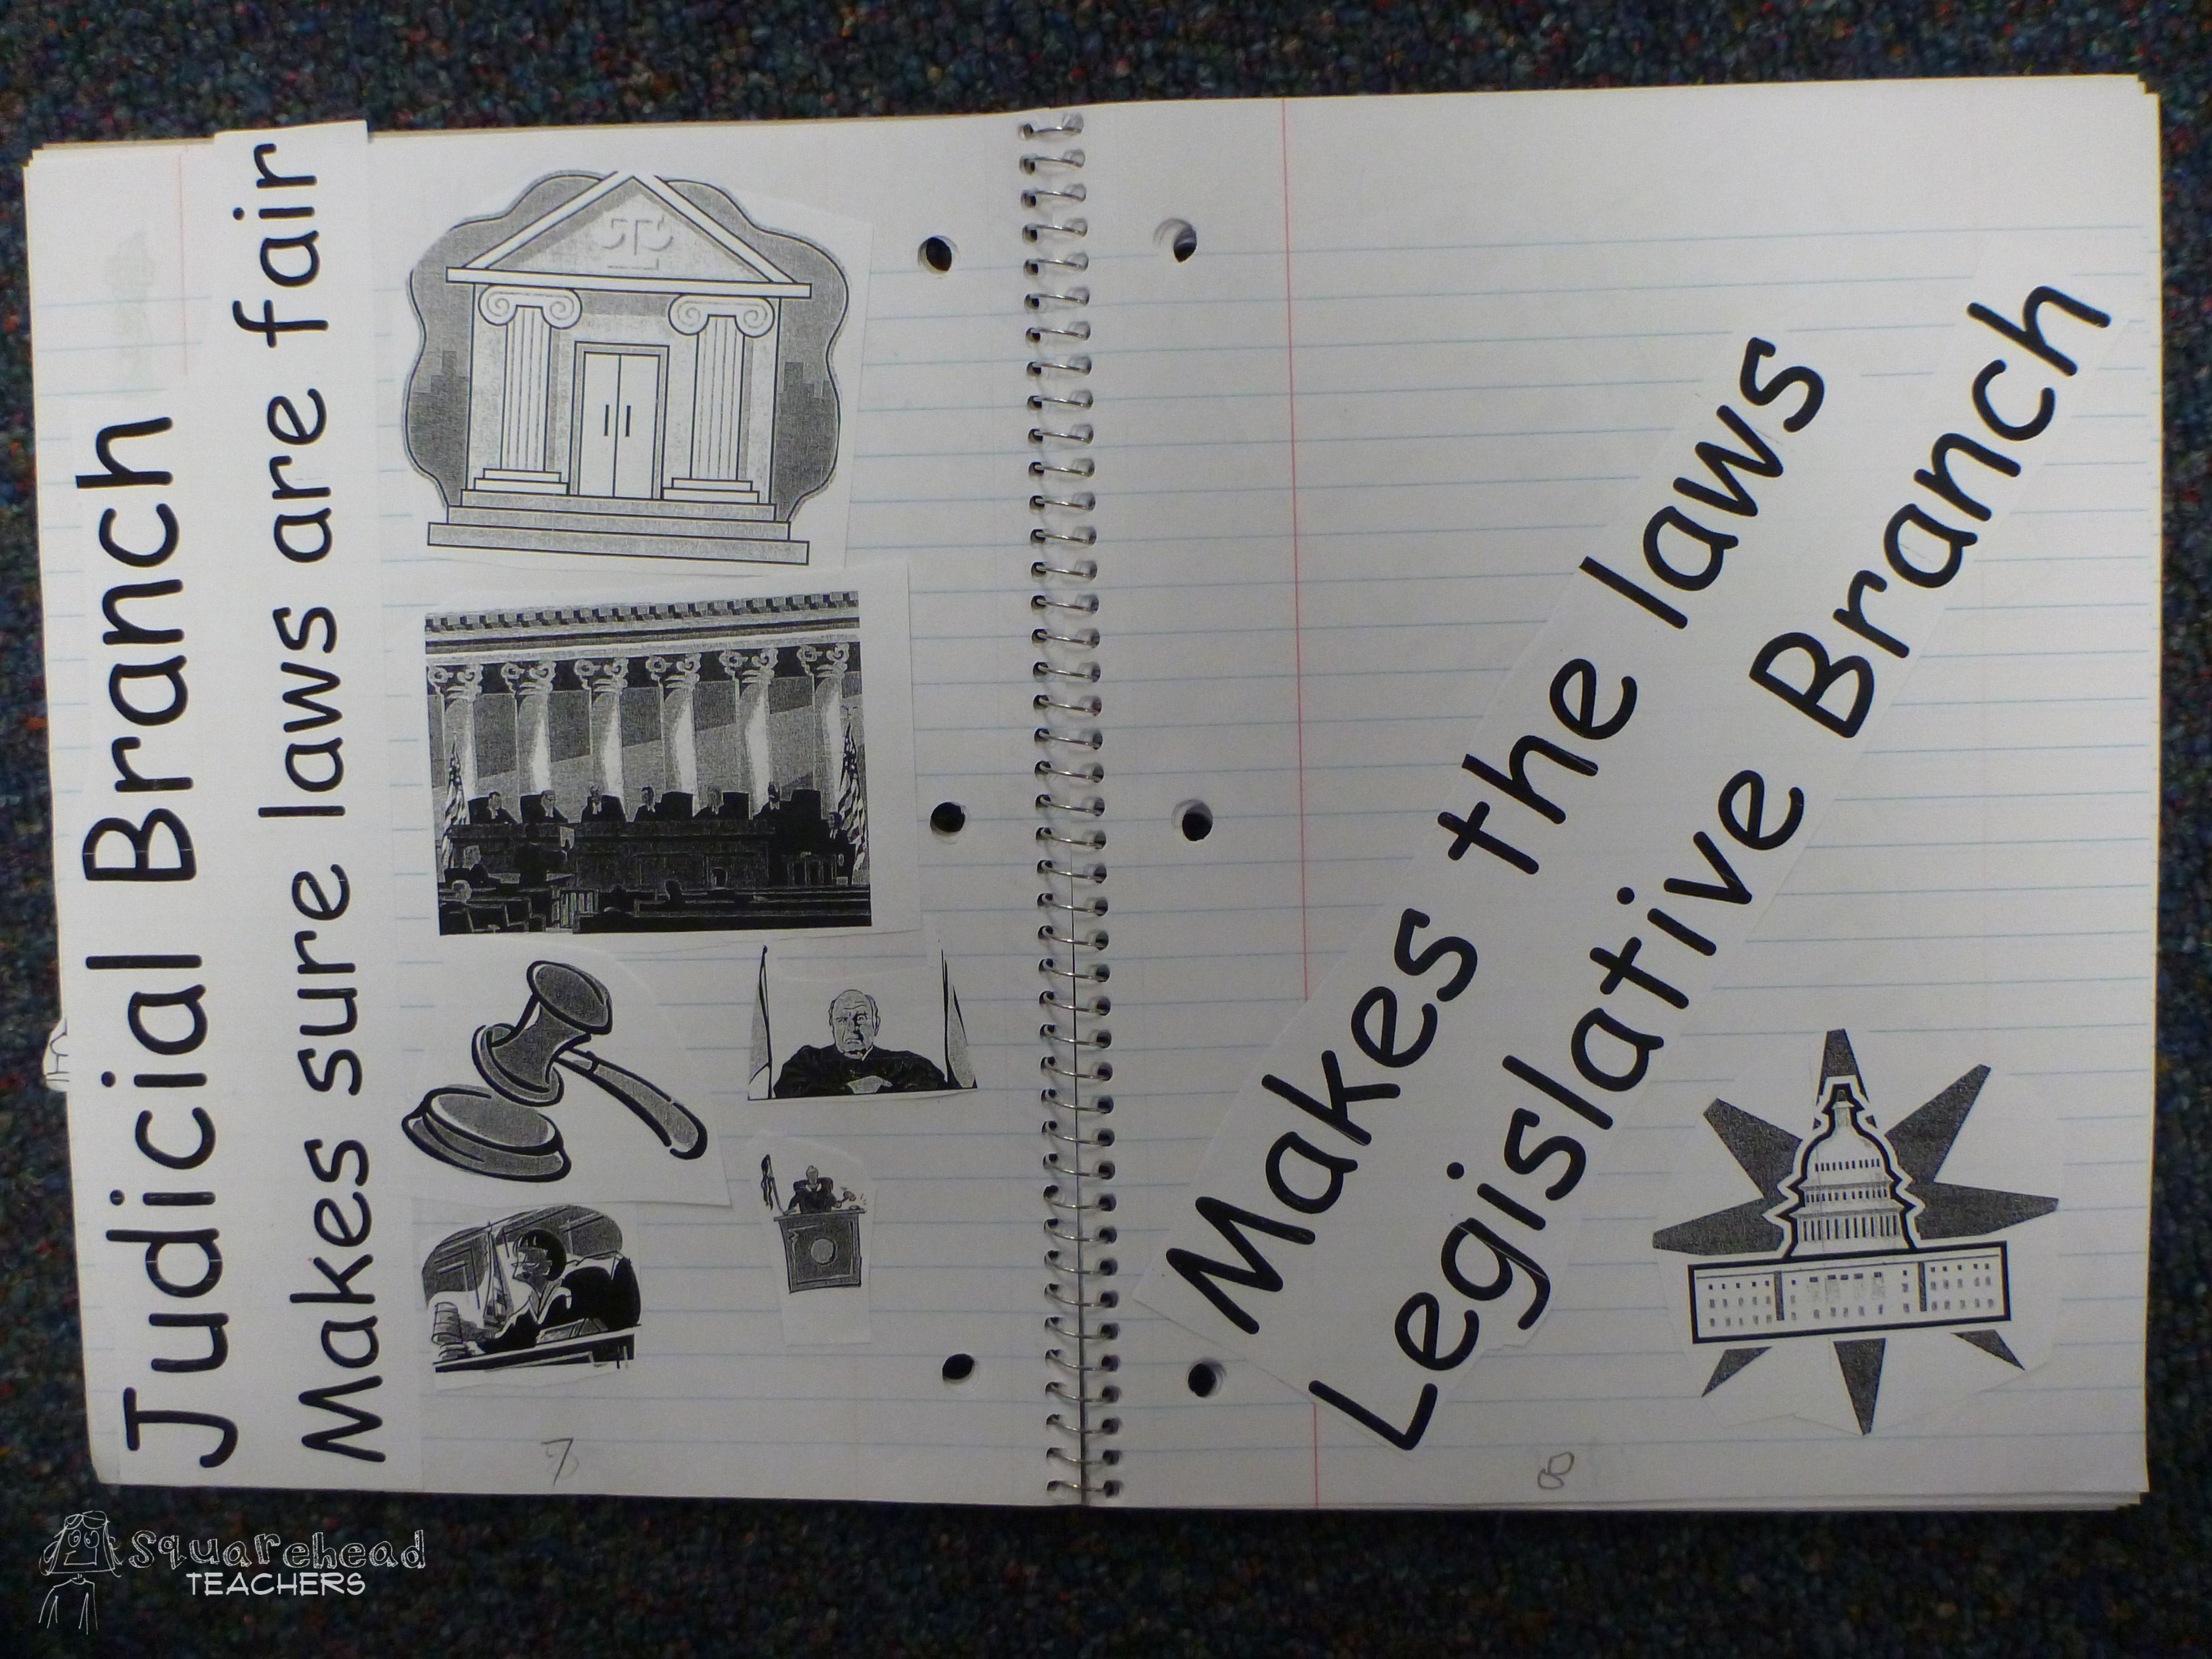
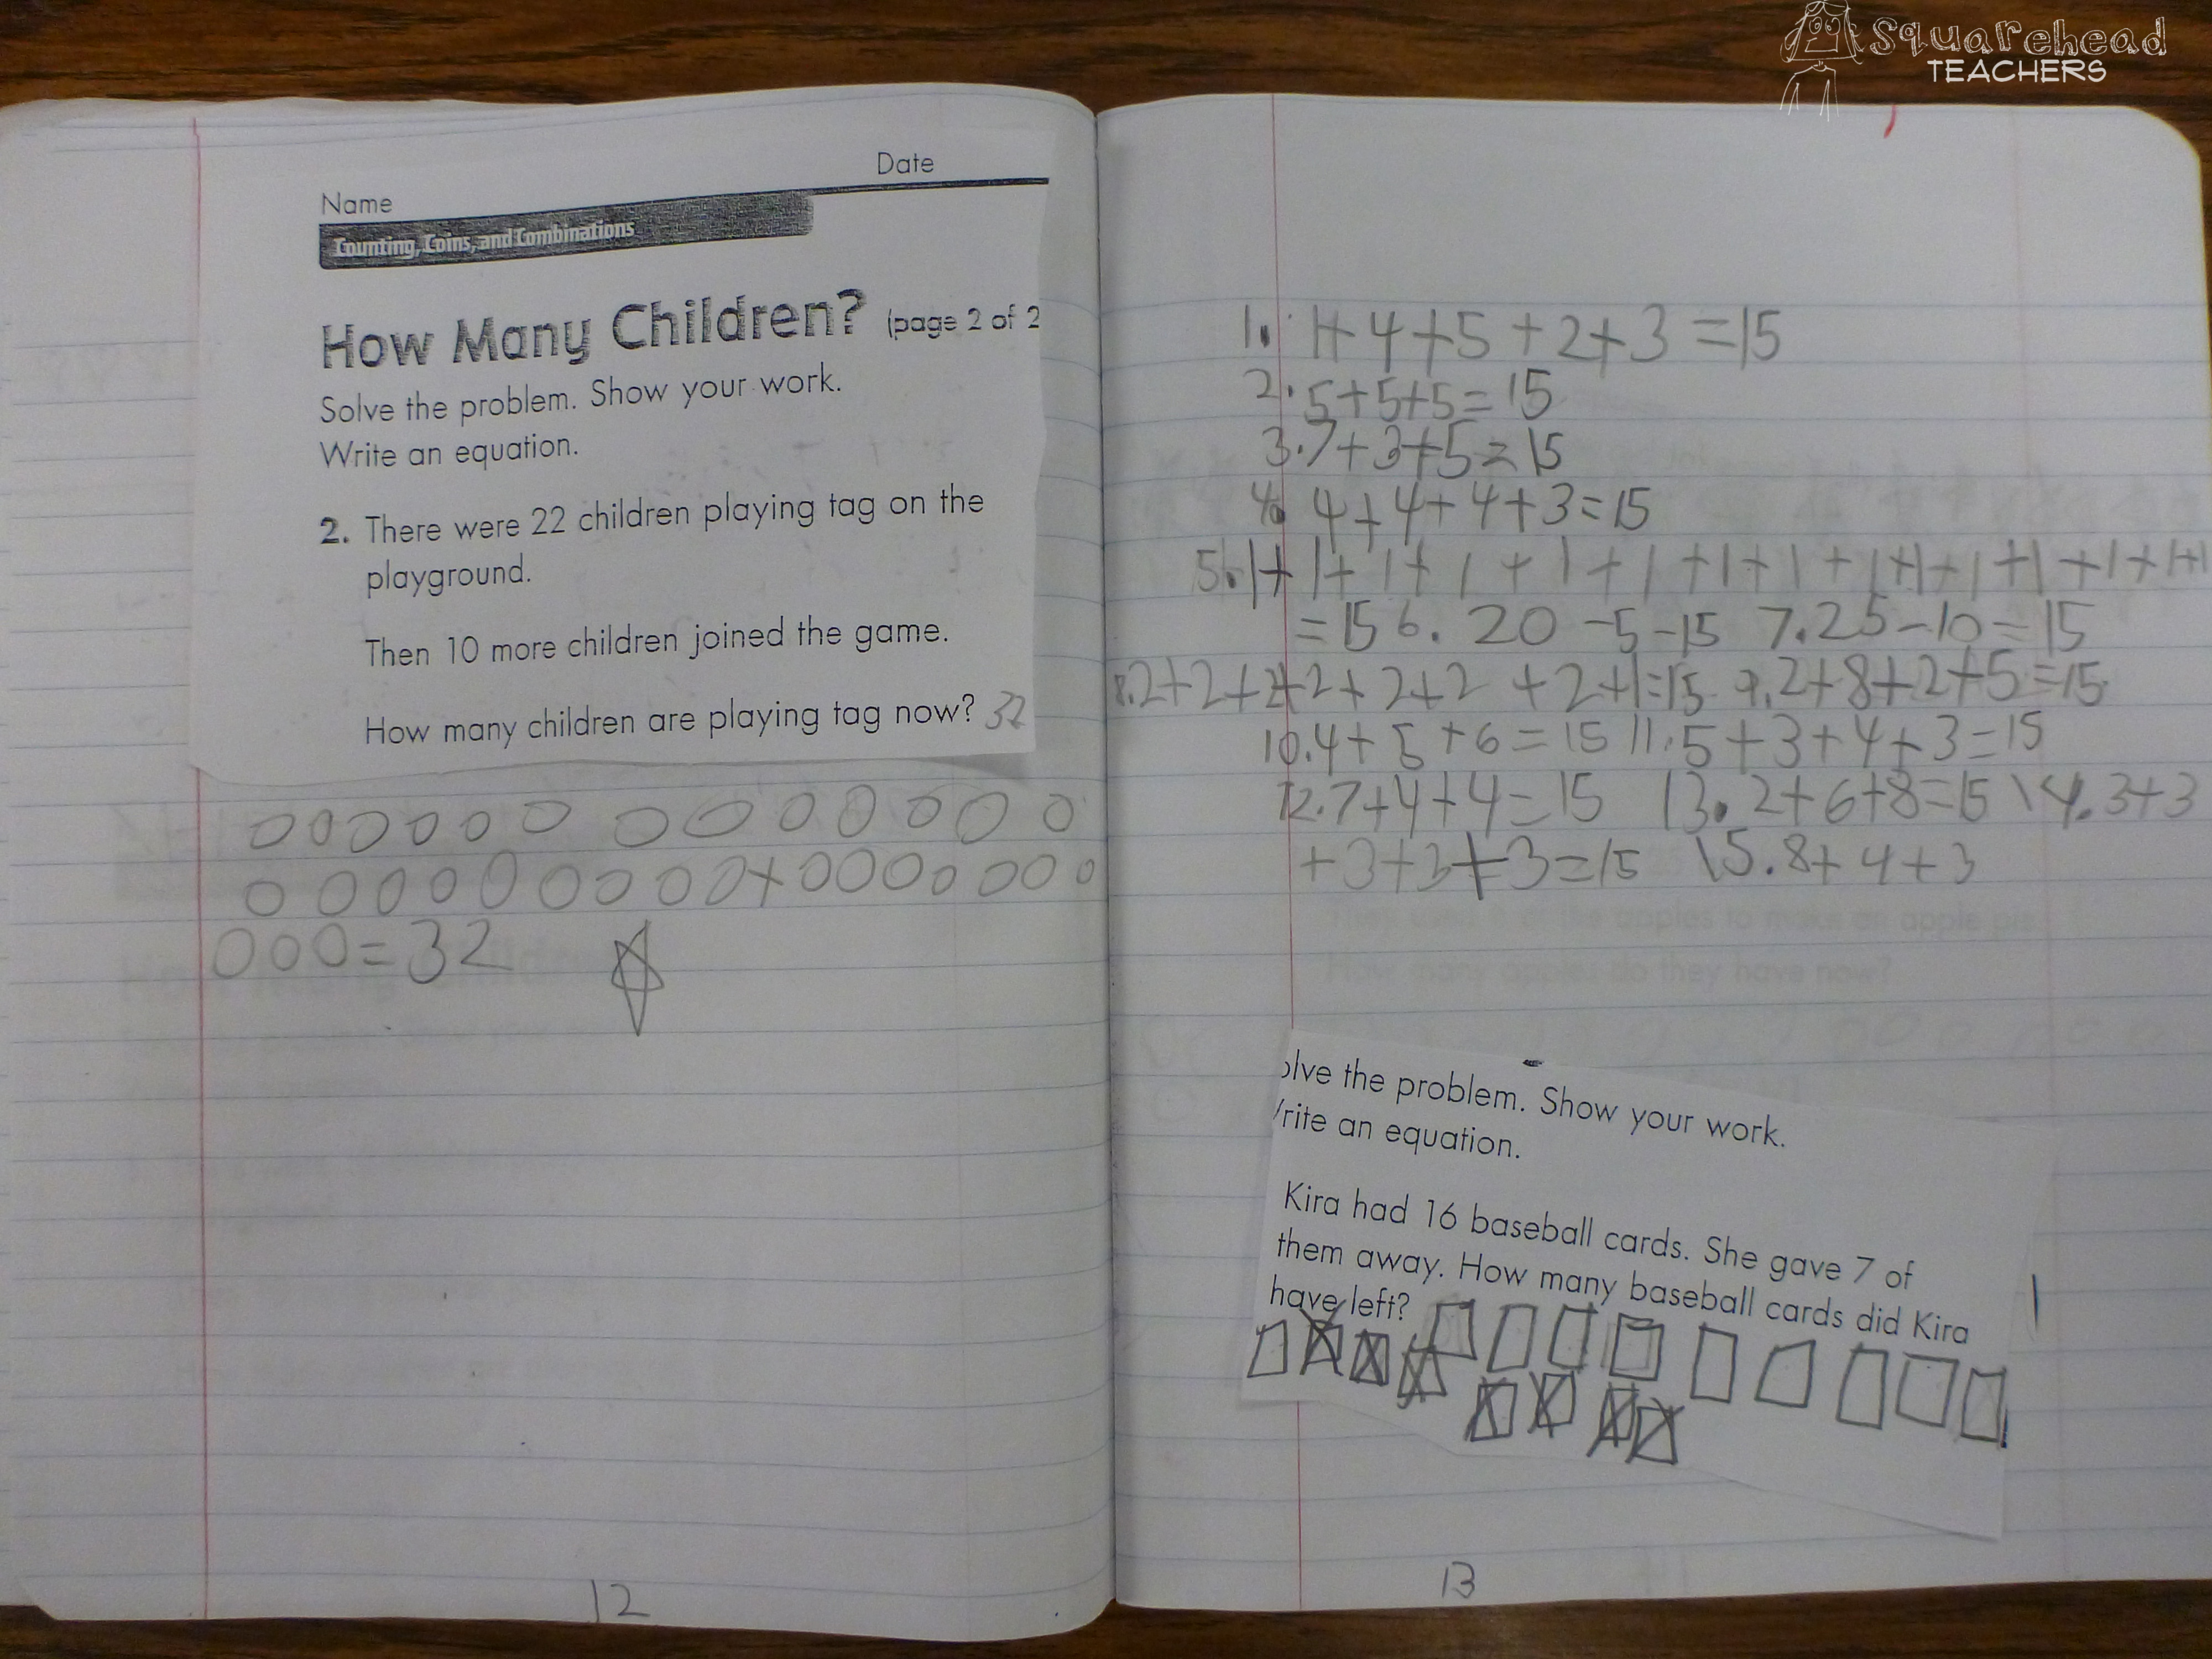
3. Do projects directly in the journal… or have them glued in when kids finish the project. This way, you can refer back to projects/assignments you’ve done when you need to review for a test, etc.

P1030239 P1030240 P1030241

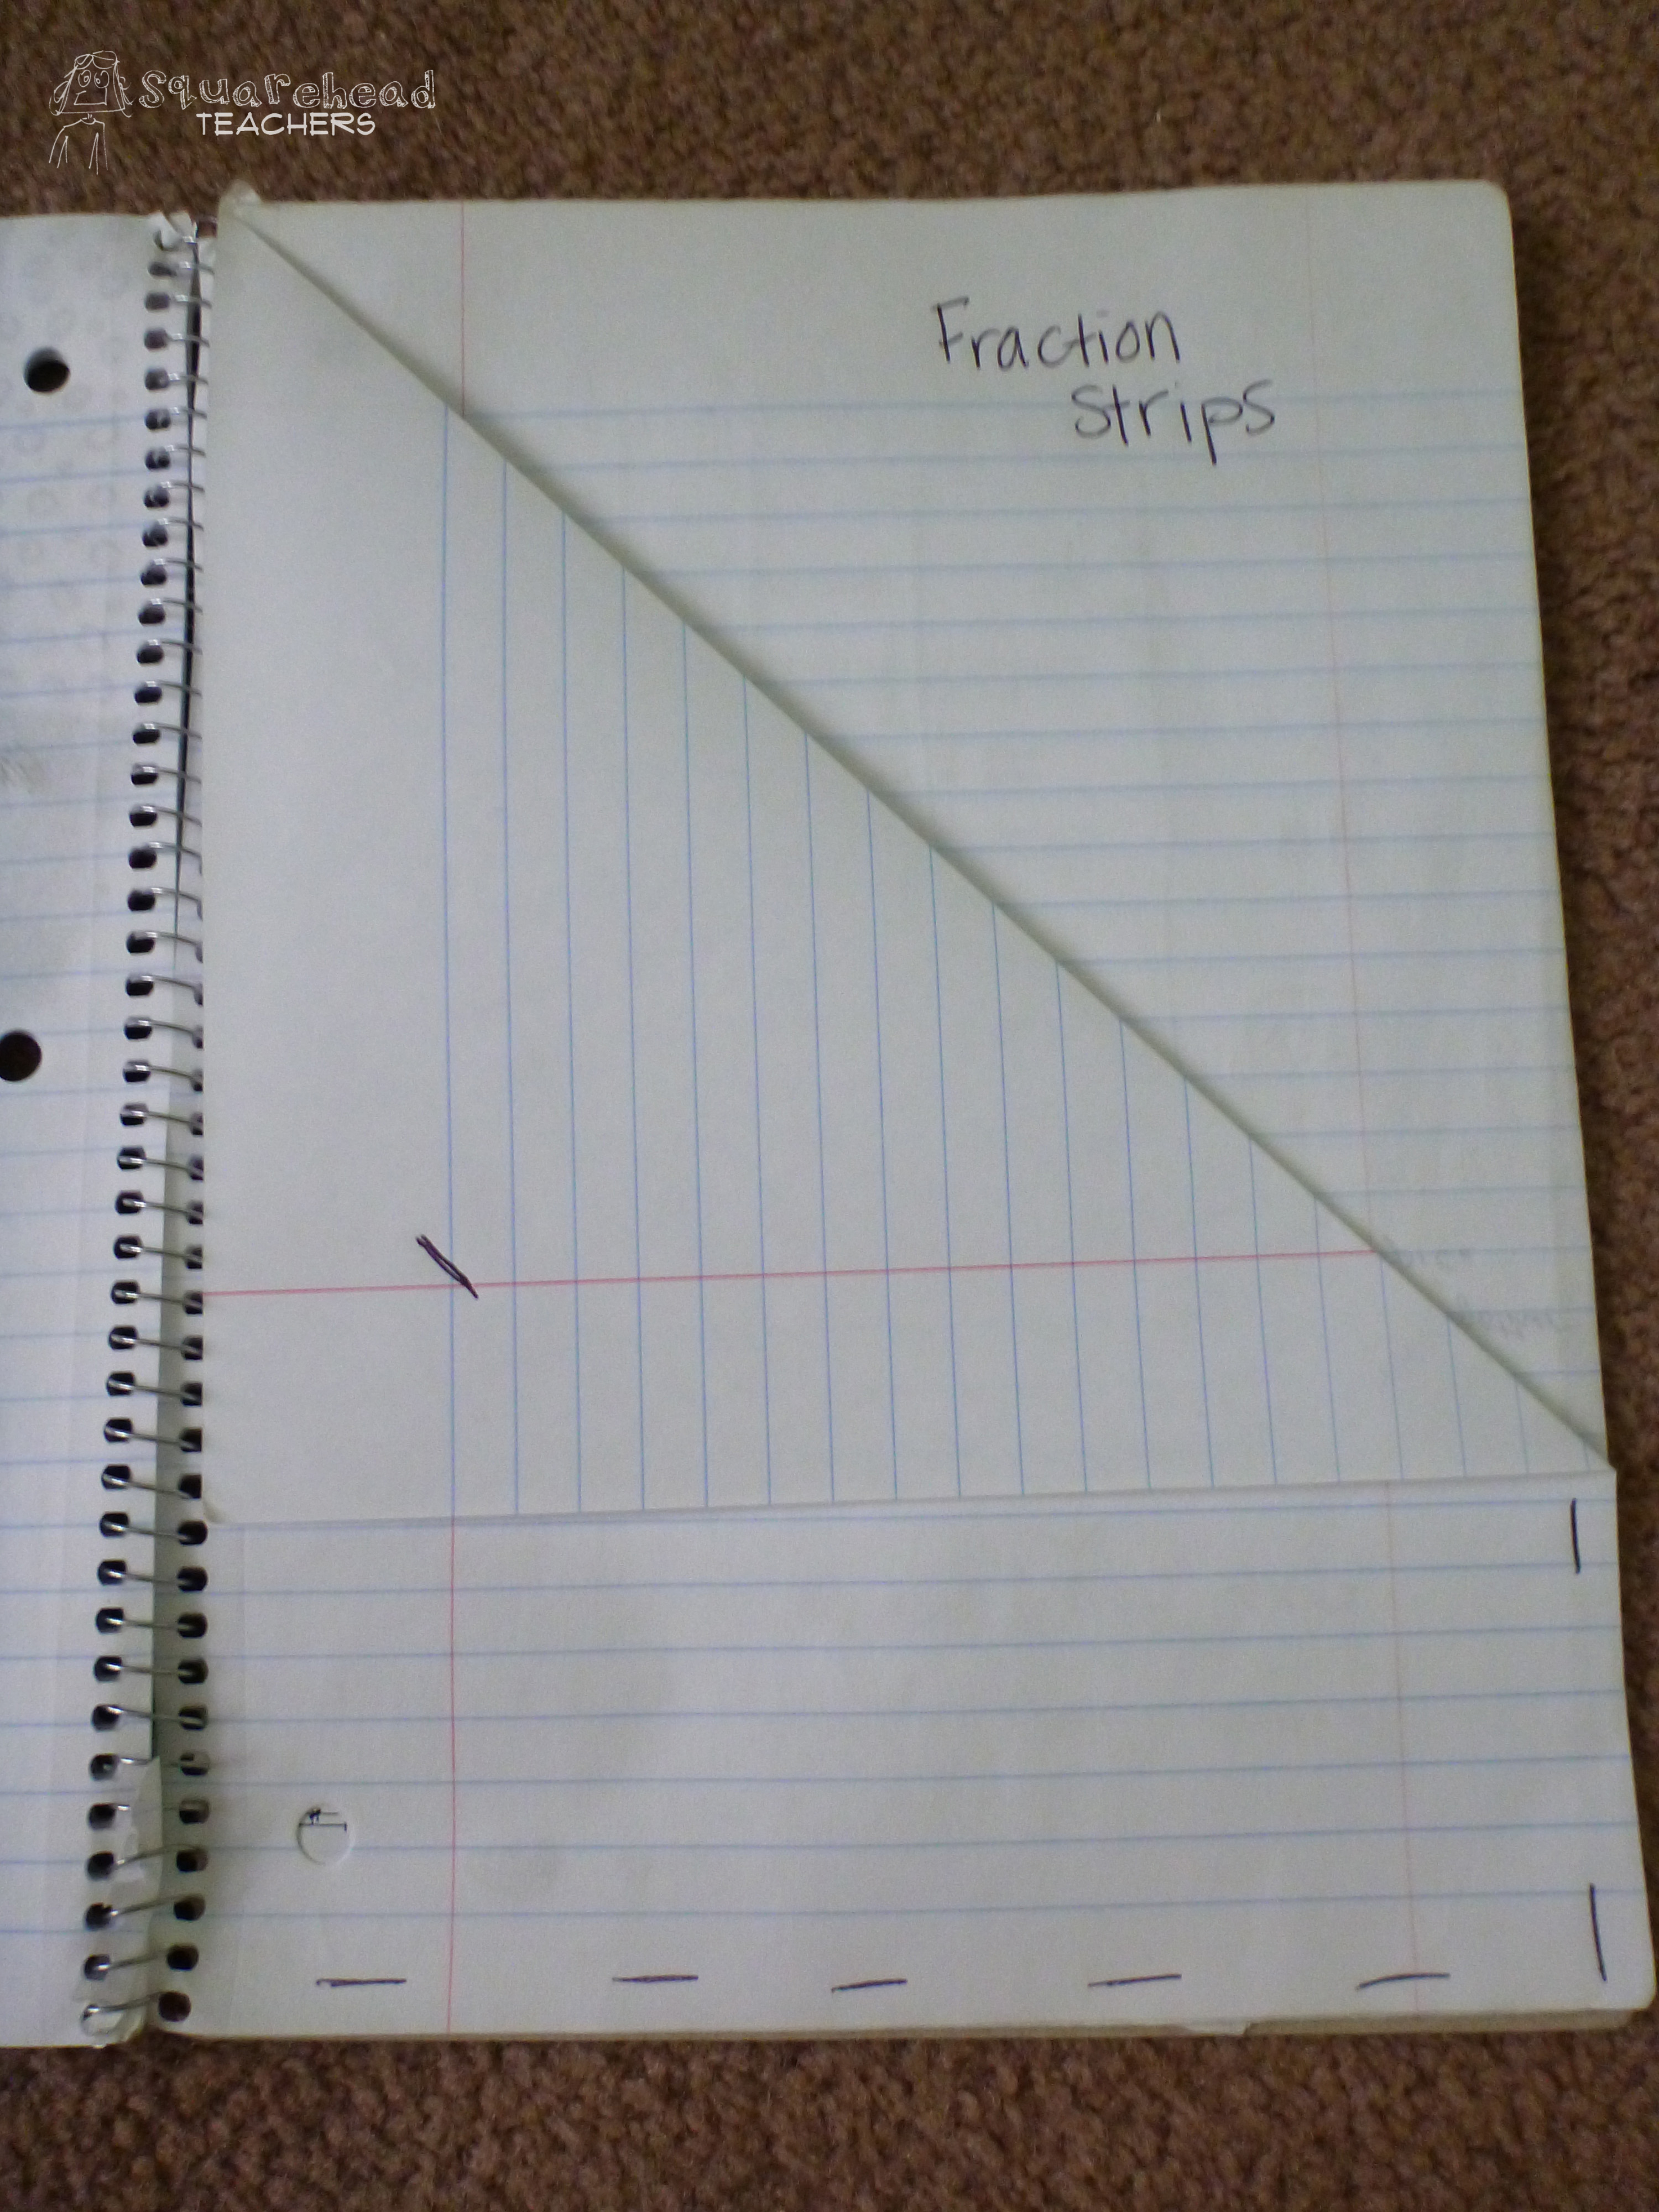
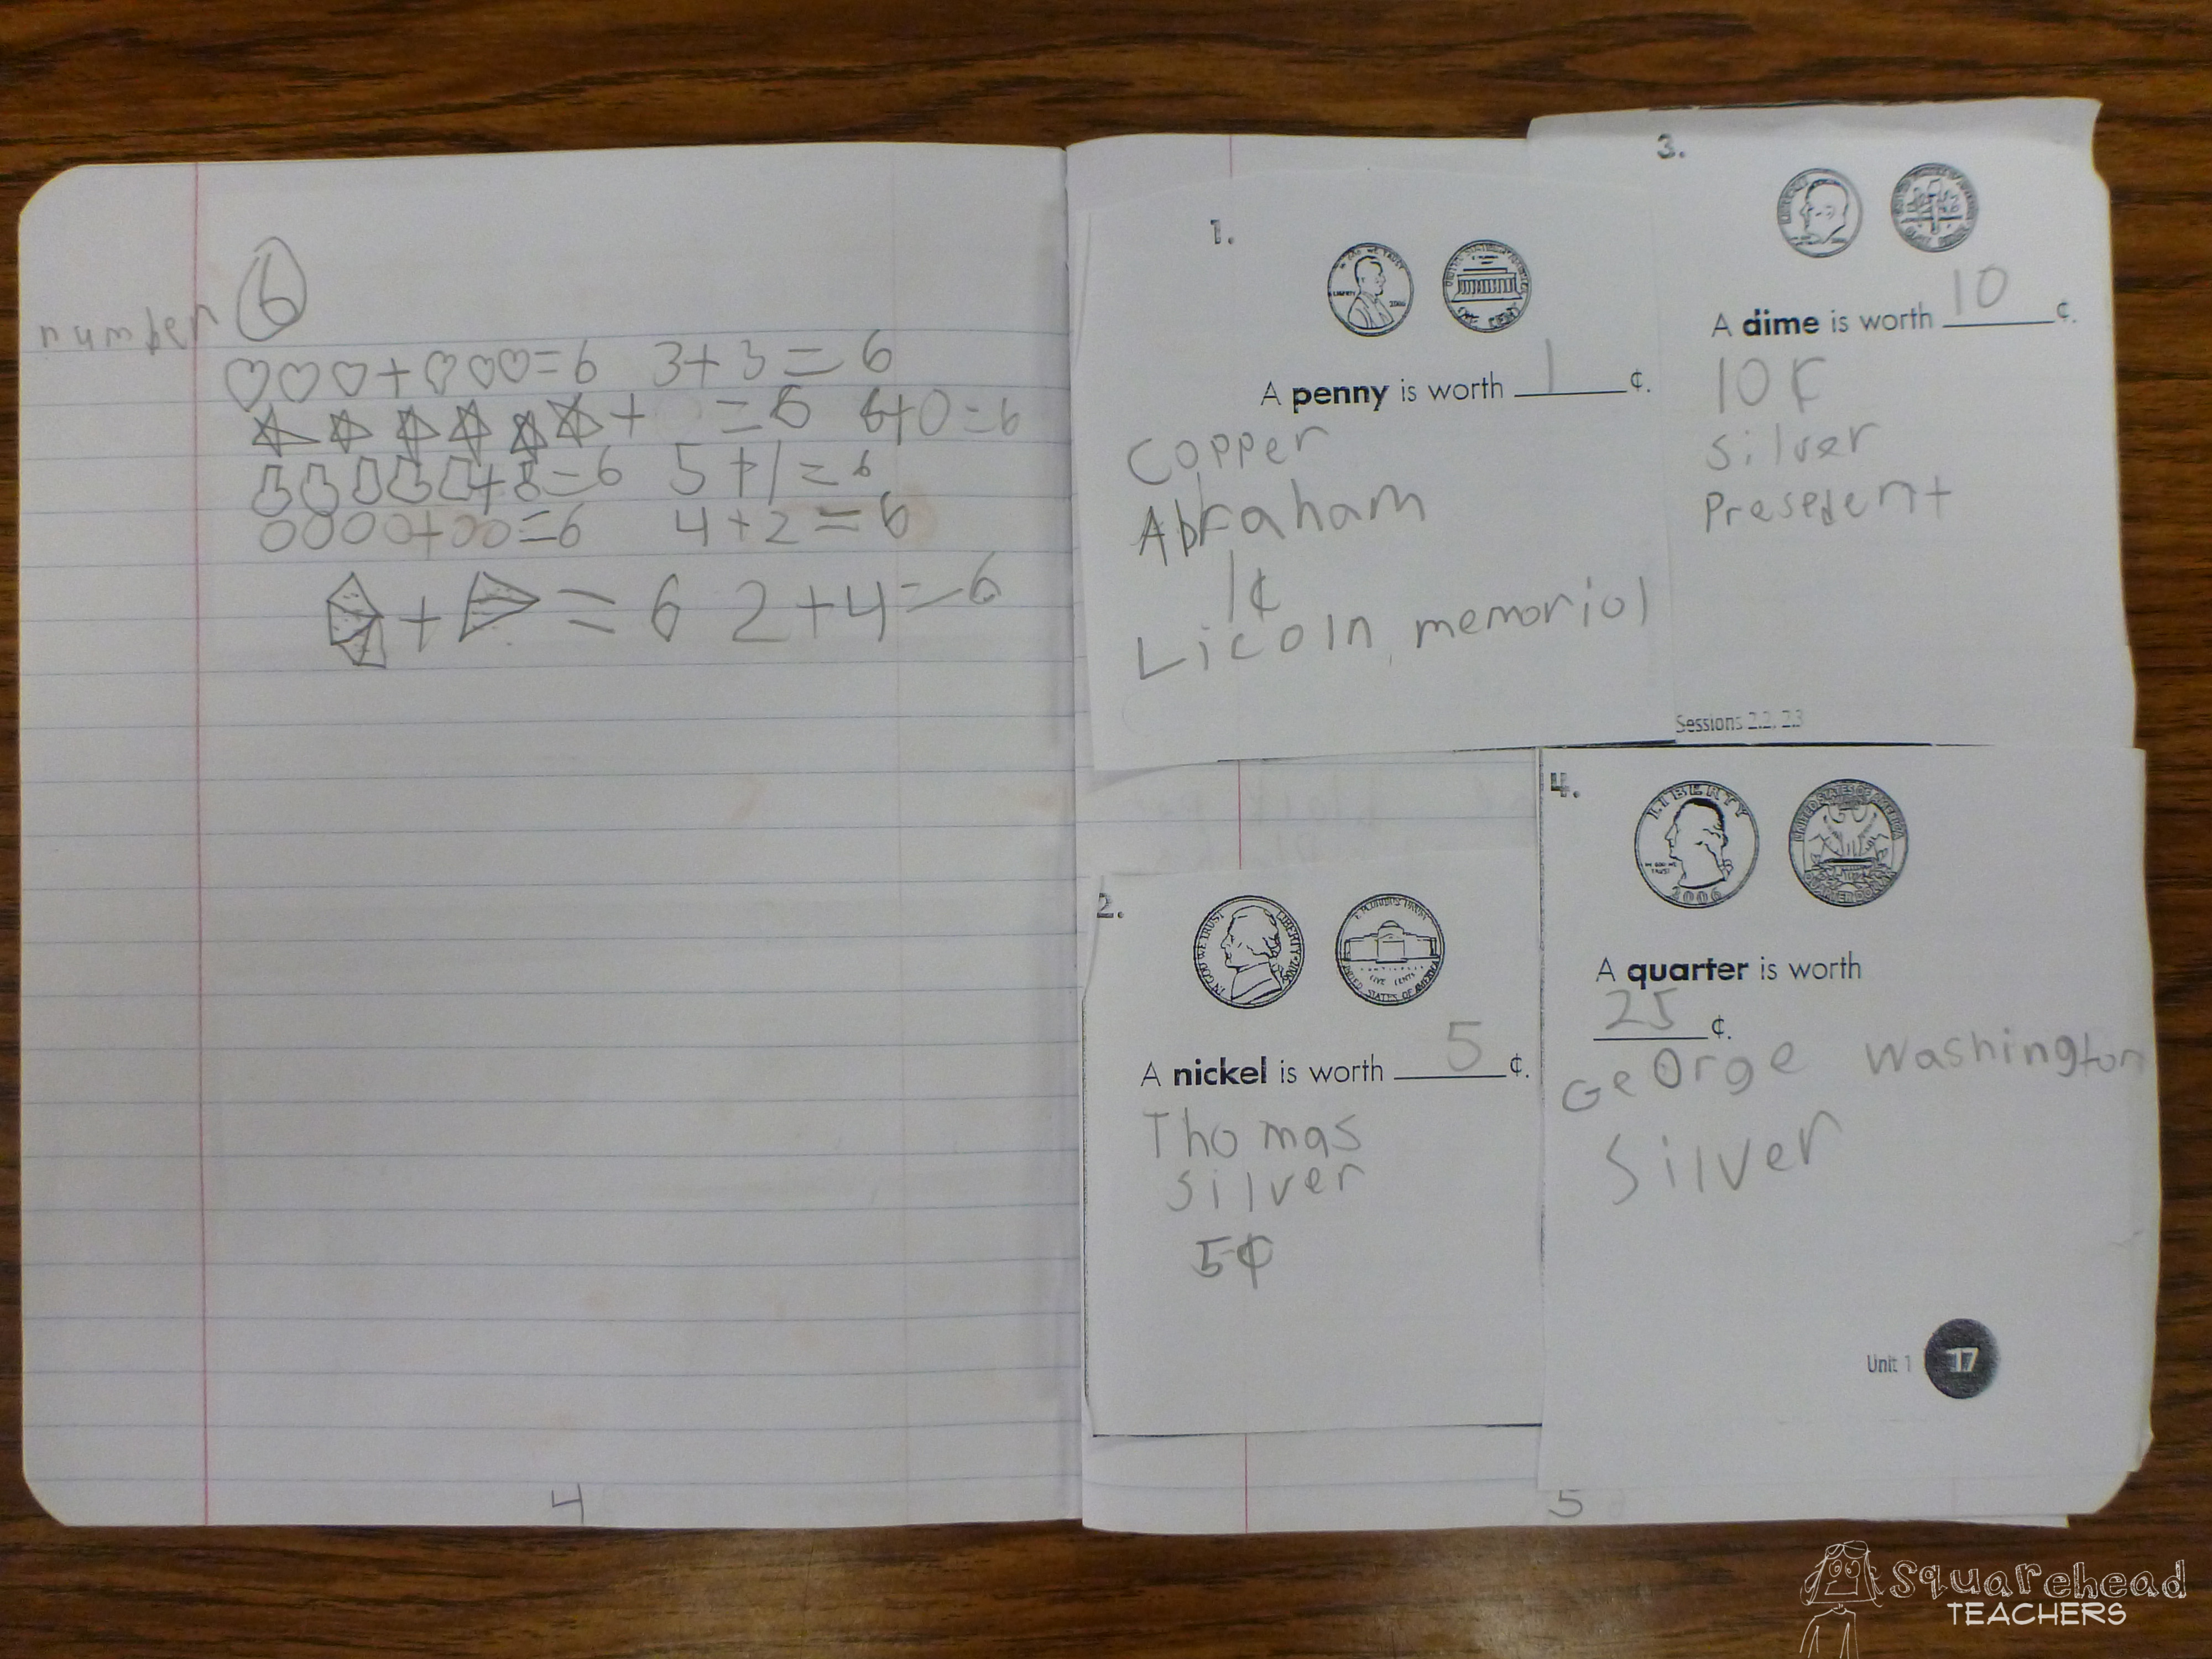
4. Pockets are awesome. Sometimes you want students to keep a project, but you don’t want it glued down. So pockets do the trick. Fold down one corner of a sheet and staple it to the page behind it. Label the pocket, so kids will know what goes in the pocket. Some teachers like the triangle cut off, but I sometimes just have them staple it down to save time (I walk around with the stapler, since it just seems to work out better when I do it). Make sure you have the folded triangle on the outside, or sometimes things get stick inside the pocket. Cut or staple the triangle piece, it’s up to you…

P1050168

If you have to combine 2 subjects into one notebook, you’ll have to figure out a way to keep the subjects straight. Some teachers have the kids start one subject on one side, have them flip the book over and start from the back on the second subject. This way, there are 2 front covers and no back cover. My only caution with this is to make sure your kids understand how this flipping ordeal works and that they open to the right part of the book each time you start a lesson.

I also make a sample journal as the students make theirs. This way, I can model exactly how I want theirs to look, and the struggling kids can just copy me each time.

Oooh! One more thought. Sometimes, for really important things, I give students a quarter sheet of colored paper and ask them to write main ideas on it before gluing it to the page. This way, you’ve got the effect of highlighting without the mess of the marker. And everyone’s looks the same. For my 6th grade math journals, I did this with things like formulas. This way, I could always say “the formula you need is on a bright orange square in your journal. Go find it in your notes.”

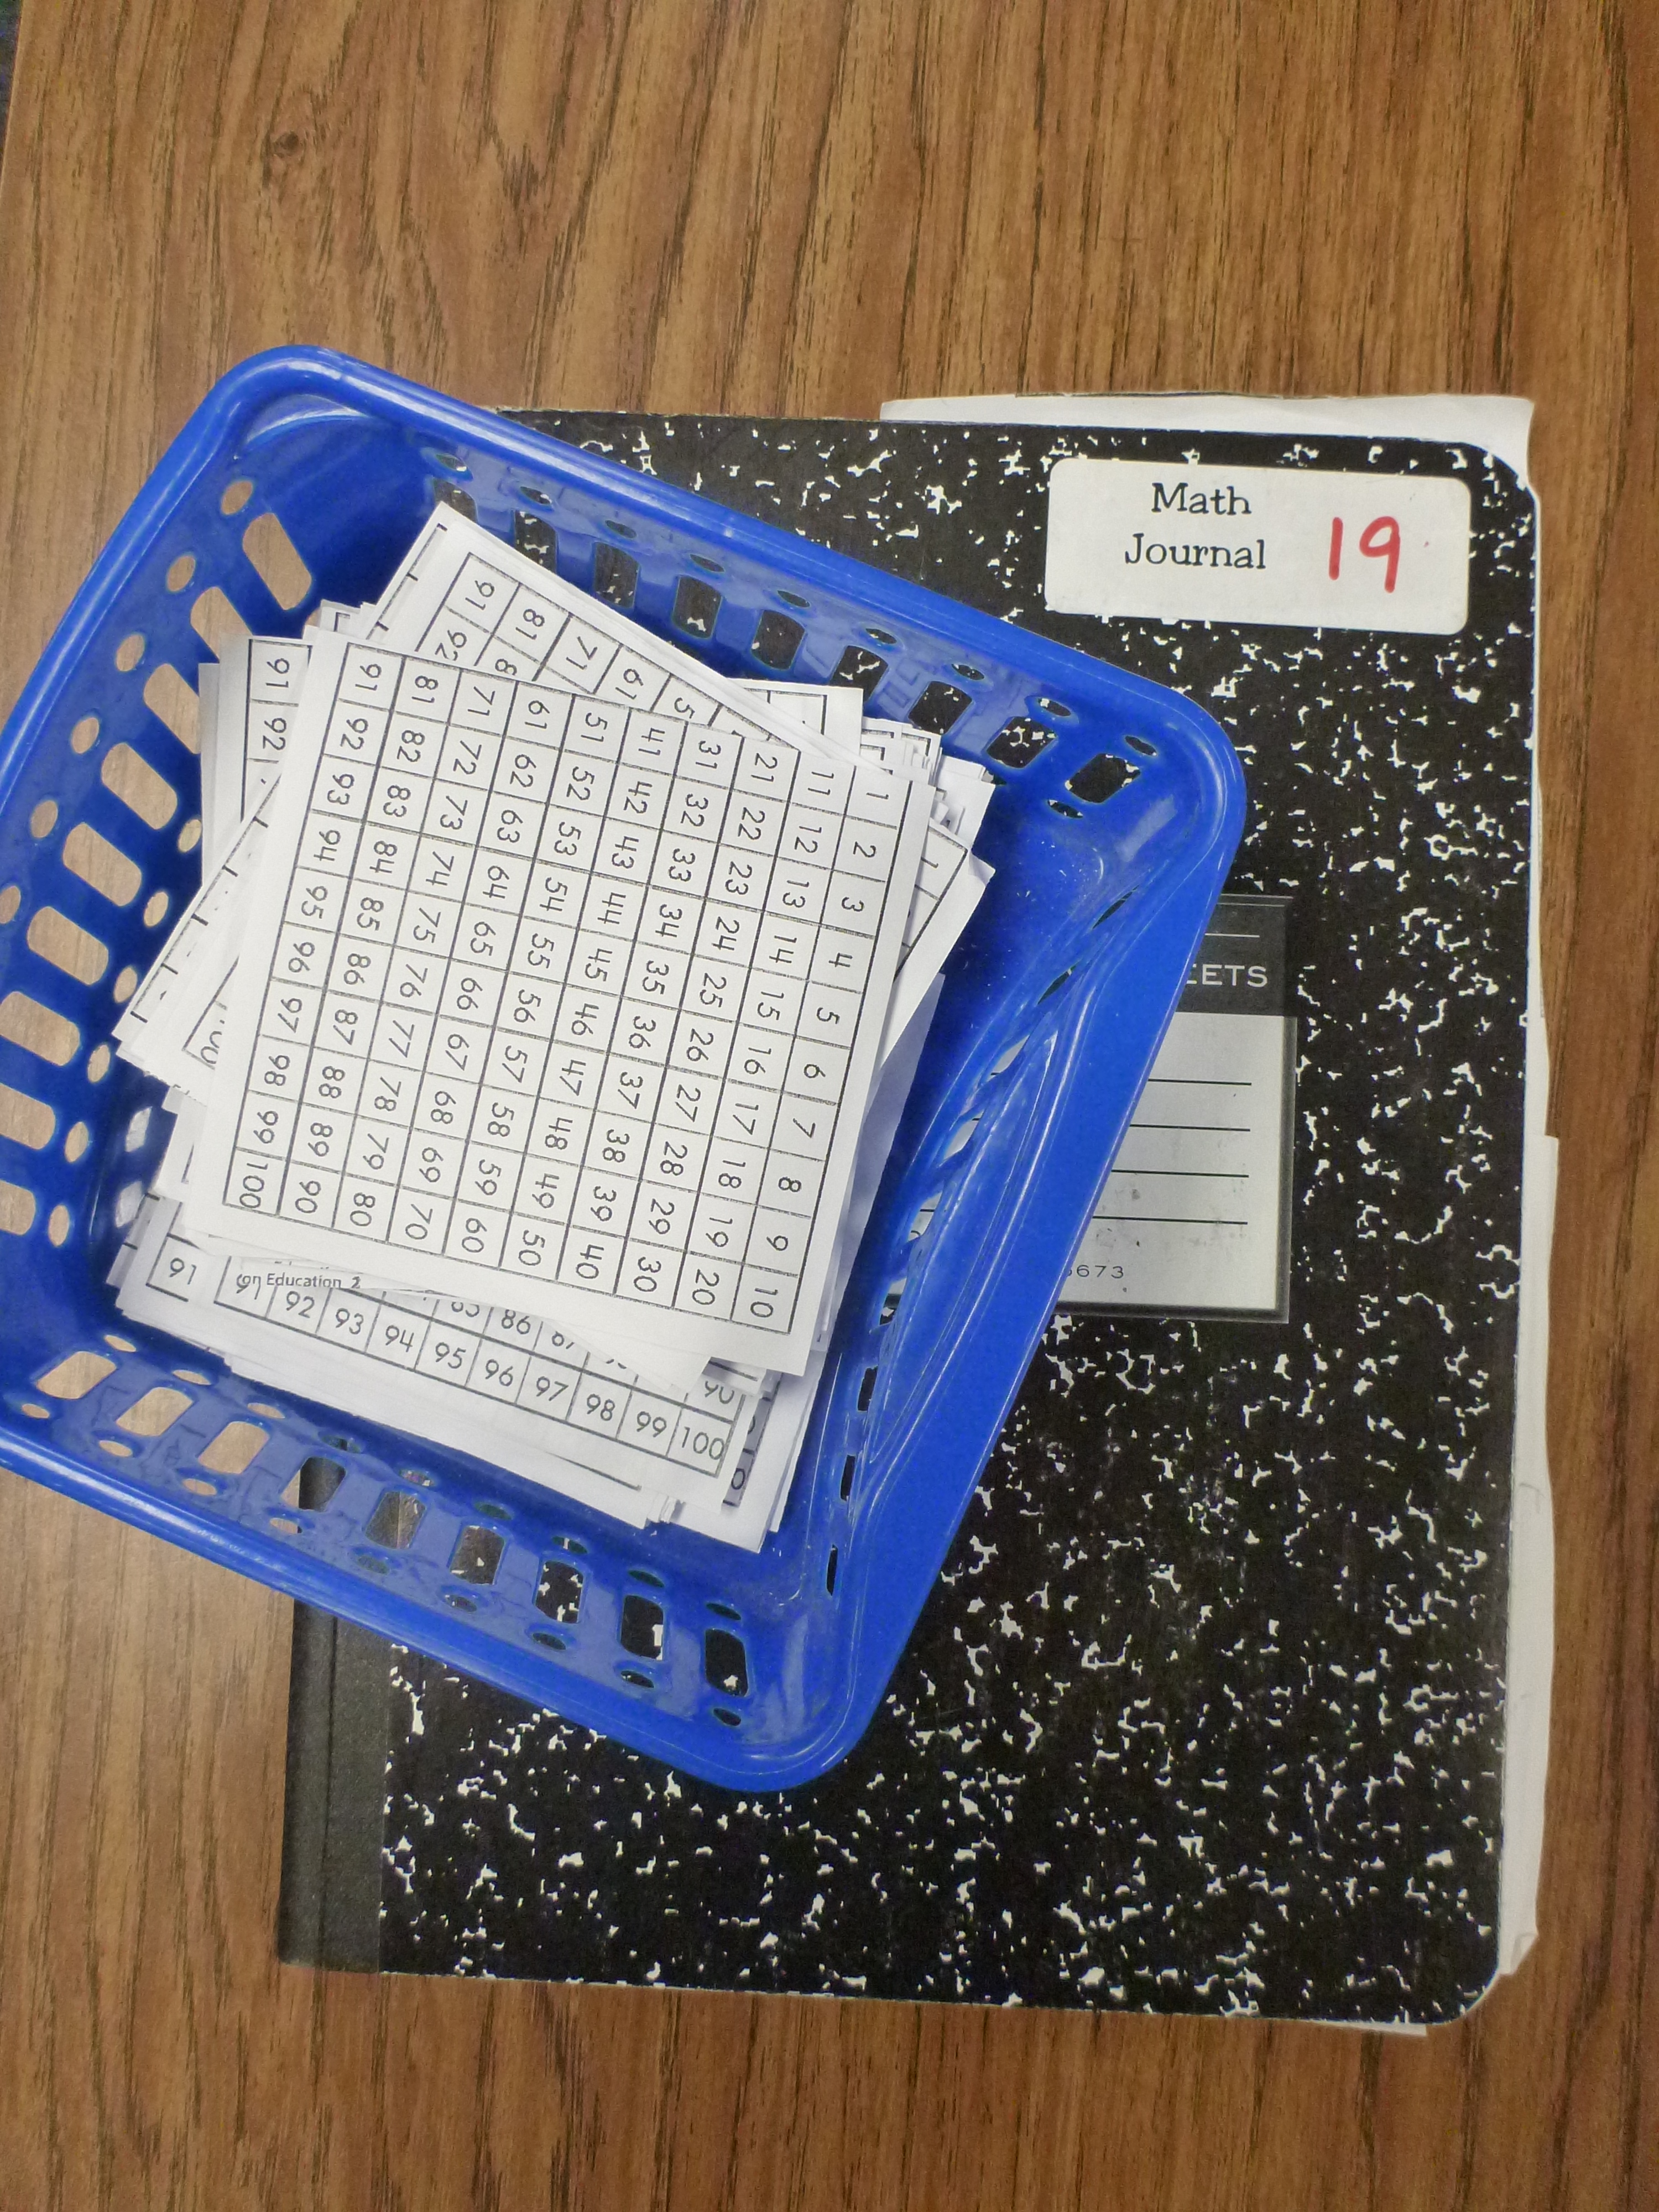
One teacher I discussed this with keeps lots of extra copies of a hundreds chart handy so she can use them in math journals.

P1030236

P1030233

P1030235 P1030234

Click here for more free math stuff!


What You Need to Know About Daylight Savings

Daylight Savings Time

Here’s a great way to explain what Daylight Savings Time is. Free worksheet for older kids (can do independently) or younger kids (probably will need help, because of the reading level). Comprehension questions at the bottom of the page. Don’t forget to switch your classroom clocks!

Click here for the free printable PDF: Daylight Savings

End of the Day Review- NO PREP Jeopardy!

Sometimes you have a few minutes left at the end of the day you’d like to use productively.
Sometimes, you’re just an awesome teacher and you plan for an end of the day review on spelling, grammar, social studies, math vocab, etc. Here’s a super easy way to do it:

  1. Draw columns on the white board (1 for each topic you’d like to review)
  2. Title the columns from things you’ve done that day/week
  3. Write the following numbers under each column header: 10, 20, 30, 40, 50
  4. Divide your class into small groups (super easy if you have kids in tables already) and let a team choose a question.
  5. MAKE UP QUESTIONS AS YOU GO! Killer easy right!? Just make the higher point values a little more challenging. You can make any kind of question you want: multiple choice, true/false, fill-in-the-blank. Just do it!
  6. Keep track of points on the whiteboard

Additional rules/notes:

  • Let everyone try to answer so that everyone is part of the review (choose whoever raises their hands, or choose a student number randomly, you choose)
  • More than one team can answer if you make an answer with multiple answers (just day that the first team to raise their hands or whatever gets to choose the next question)
  • Whatever team gets the question right, chooses the next category/point value

Best Ever Games to Review in Any Content Area!

Teachers dread the end of the year tests. Their kids are ready for summer, but it’s the test that reflects the work of the teacher. When I taught 6th grade, this was especially difficult, since my kids thought they were practically in junior high already and were way over the elementary school tests. So I came up with a plan that ROCKED MY WORLD! Here it is:

1. I printed copies of all the unit tests (given to us by the district) in any content area (I used math and science).

2. I cut the tests into pieces with 1 question per piece and put all of them into an envelope along with the answer key to the test.

3. I prepared for the games below and planned to do 1 game using 1 set of questions each day for the 3 weeks leading up to the state tests.

4. Execution was simple! My kids loved these games and the kids were reviewing all the content areas without even realizing it! Some of these got a little wild, but that’s part of the disguise of the review (for some reason kids thing reviewing for tests always has to be ultra boring). Some of these games were so awesome that my kids would even request their favorite game instead of learning a new one!

I’ve still got to write up the rest of the games we used, but I’ll post them when they’re written up. I’ve played them with kids 3rd grade – college and they’ve always been a hit. Here are the games:

*DART BOARD: set up throwing lines different distances from the dart board. Show a question. Teams try to solve it. The team that gets the answer right first may throw from the first line, team 2 gets to throw from 2nd line, etc. Team with the most points wins.

*DICE GAME: Divide into teams. number on the dice represents the number of points for the question solved. Most points wins.

*HUMAN TIC TAC TOE: Set up – 9 chairs in the center of the class in a tic tac toe formation.

XXX
XXX
XXX


Divide into two teams (x’s and o’s). Everyone on each team gets a number (We had 8 on each team so numbered them from 1-8).
Object – your team makes a tic tac toe before the other team.
The teams stand to the sides, x’s on one side of the room and o’s on the other. Call out 3 numbers, (i.e. 1, 5 and 8)(Thus making 6 players, three x’s and three o’s). People with those numbers have to find the SM that I start reading. Once they solve it (you may choose to have them come to you and show you the answer) and run to a chair to start making a tic tac toe. The others join them as they solve it, trying to block the other team and jumping up and moving to try and get their own team into a straight line (3 in a row) (they can switch chairs as they please). Whoever gets the straight line first gets a point. They then go back to the side. Second round starts by calling out another 3 numbers and gives a new question. (keep track of who I had called so that everyone would get a few turns) It took about 20 minutes for everyone to have 4 turns. I let them help each other find the scriptures on the team. My non participators really got into it. Really gets the blood going. I had to make a rule that they couldn’t push someone off of a chair, but after that they were good!

* MOVE ONE GAME: Give each team a set of 10 colored squares (2 of each color, so 5 colors). Place all of the game cards on the board in pairs (either one above the other or side-by-side).  None of the card pairs should be matching colors. Read/show a question. The team that gets the question right first gets to switch 2 color cards (eventually making all color pairs match).

*RACE TO THE CHAIRS. Set up 4 chairs (or one for each team) in the front of the room. Label each chair with a point value (20, 15, 10, 5). Show a question, and have the teams solve it. Once a team has solved it, a player from that team must write down the answer, run up to the chairs and sit in the highest point value chair. Once each team has a player in a chair, show the answers. If correct, the team earns the value of the chair; if incorrect, the team loses the value of the chair. Most points wins. This one was an absolute favorite! I even played this with my students in China and it was a hit!

*CAT’S CLAW:  Prepare 5 cards (3X5 cards work well) each with a different point value (100, 75, 50, 25, &10). (You may also wish to laminate them or do something to make sure they can’t see through the cards.)
• Divide players into several teams (5 teams if possible).
• Physically separate the teams and place a small table in the middle of the room.
• Place these 5 point cards face up on the table.
• Select one player from each team to be the team’s runner for that round.
• The Clue Giver begins by giving a question.
• As soon as the team knows the answer, the team runner must write it down then quickly move to the table and take one of the point cards and return to their team.
The Round ends when all five teams have a point card or forfeit if they don’t know the answer.  The teacher checks to see that answers are correct on each team.
• Points are scored based on the card selected by the team’s runner. (Or subtracted if they lgot the question wrong.)
• The Teacher returns all cards to the table, selects new runners, and begins a new round.
• (Variation: You may choose to play with the point cards placed face down—the first one you touch is your point value)

Game Boards: Sunshine!

Can you tell I’m into the color yellow today? Enjoy!

To get these game boards: right click on the picture, choose “save as” or “save image as” and save it to your computer. Then you’re free to resize it and print as desired. Enjoy!

Game Board: Vine Spiral

This classic game board can be used in pretty much any content area. Click here for review game ideas I love to use in my classroom to review any content area.

Click here for the free printable PDF: Vines Gameboard PDF

Game Board: Stepping Stones

Game Board: Stripes

If you wanted to add some more pizzaz to this game board, you could assign a specific space (red with white dots) an extra special property. Maybe landing on the space means you can roll again, etc.

 To get this game board, just right-click, “save as” and save this image to your computer. Resize the image to fit the paper you’re printing it on. Ta-da!