No, Cinco de Mayo isn’t Mexico’s independence day. That’s on September 16. Here’s a free worksheet to help kids learn about Cinco de Mayo. Comprehension questions at the bottom.
Click here for the free printable PDF: Cinco de Mayo

No, Cinco de Mayo isn’t Mexico’s independence day. That’s on September 16. Here’s a free worksheet to help kids learn about Cinco de Mayo. Comprehension questions at the bottom.
Click here for the free printable PDF: Cinco de Mayo
 I recently learned about an awesome Dr. Seuss-inspired field day planned and organized by Patti, an elementary school PE teacher. Here is one of her 21 stations:
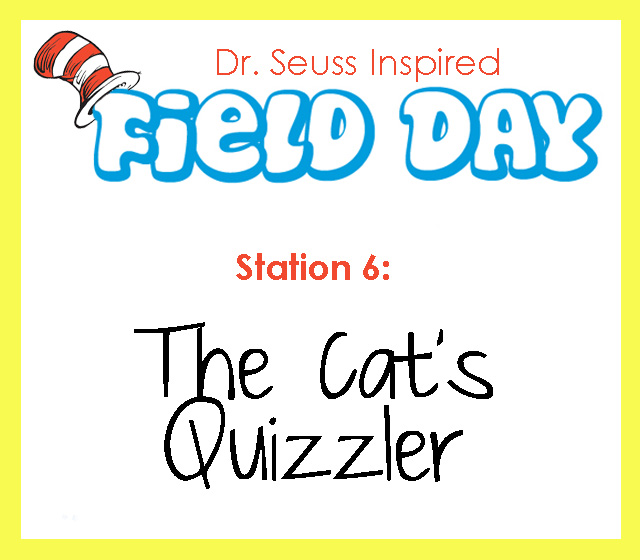
Station 6
Title: THE CAT’S QUIZZER
Skills: TEAM WORK KNOWLEDGE, RUNNING
Description: DIVIDE THE CLASS INTO 6 TEAMS. EACH TEAM WILL CHALLENGE EACH OTHER, TO SEE WHO KNOWS THE MOST ABOUT DR. SEUSS. EVERY TEAM HAS A CHANCE TO EARN POINTS ON EACH QUESTION. TEAMS MUST WRITE DOWN THEIR ANSWER AND RUN IT TO A DESIGNATED SPOT BEFORE TIME RUNS OUT IN ORDER TO RECEIVE POINTS FOR THAT QUESTION.
Click here (answers here) or here for some Dr. Seuss Trivia.
One huge part of motivating students to accomplish a goal is to help them track their progress. Here are some ways I’ve seen elementary school teachers track student progress. Submit your photos or ideas to squareheadteachers at gmail dot com.

Tracking reading goals

Tracking reading goals
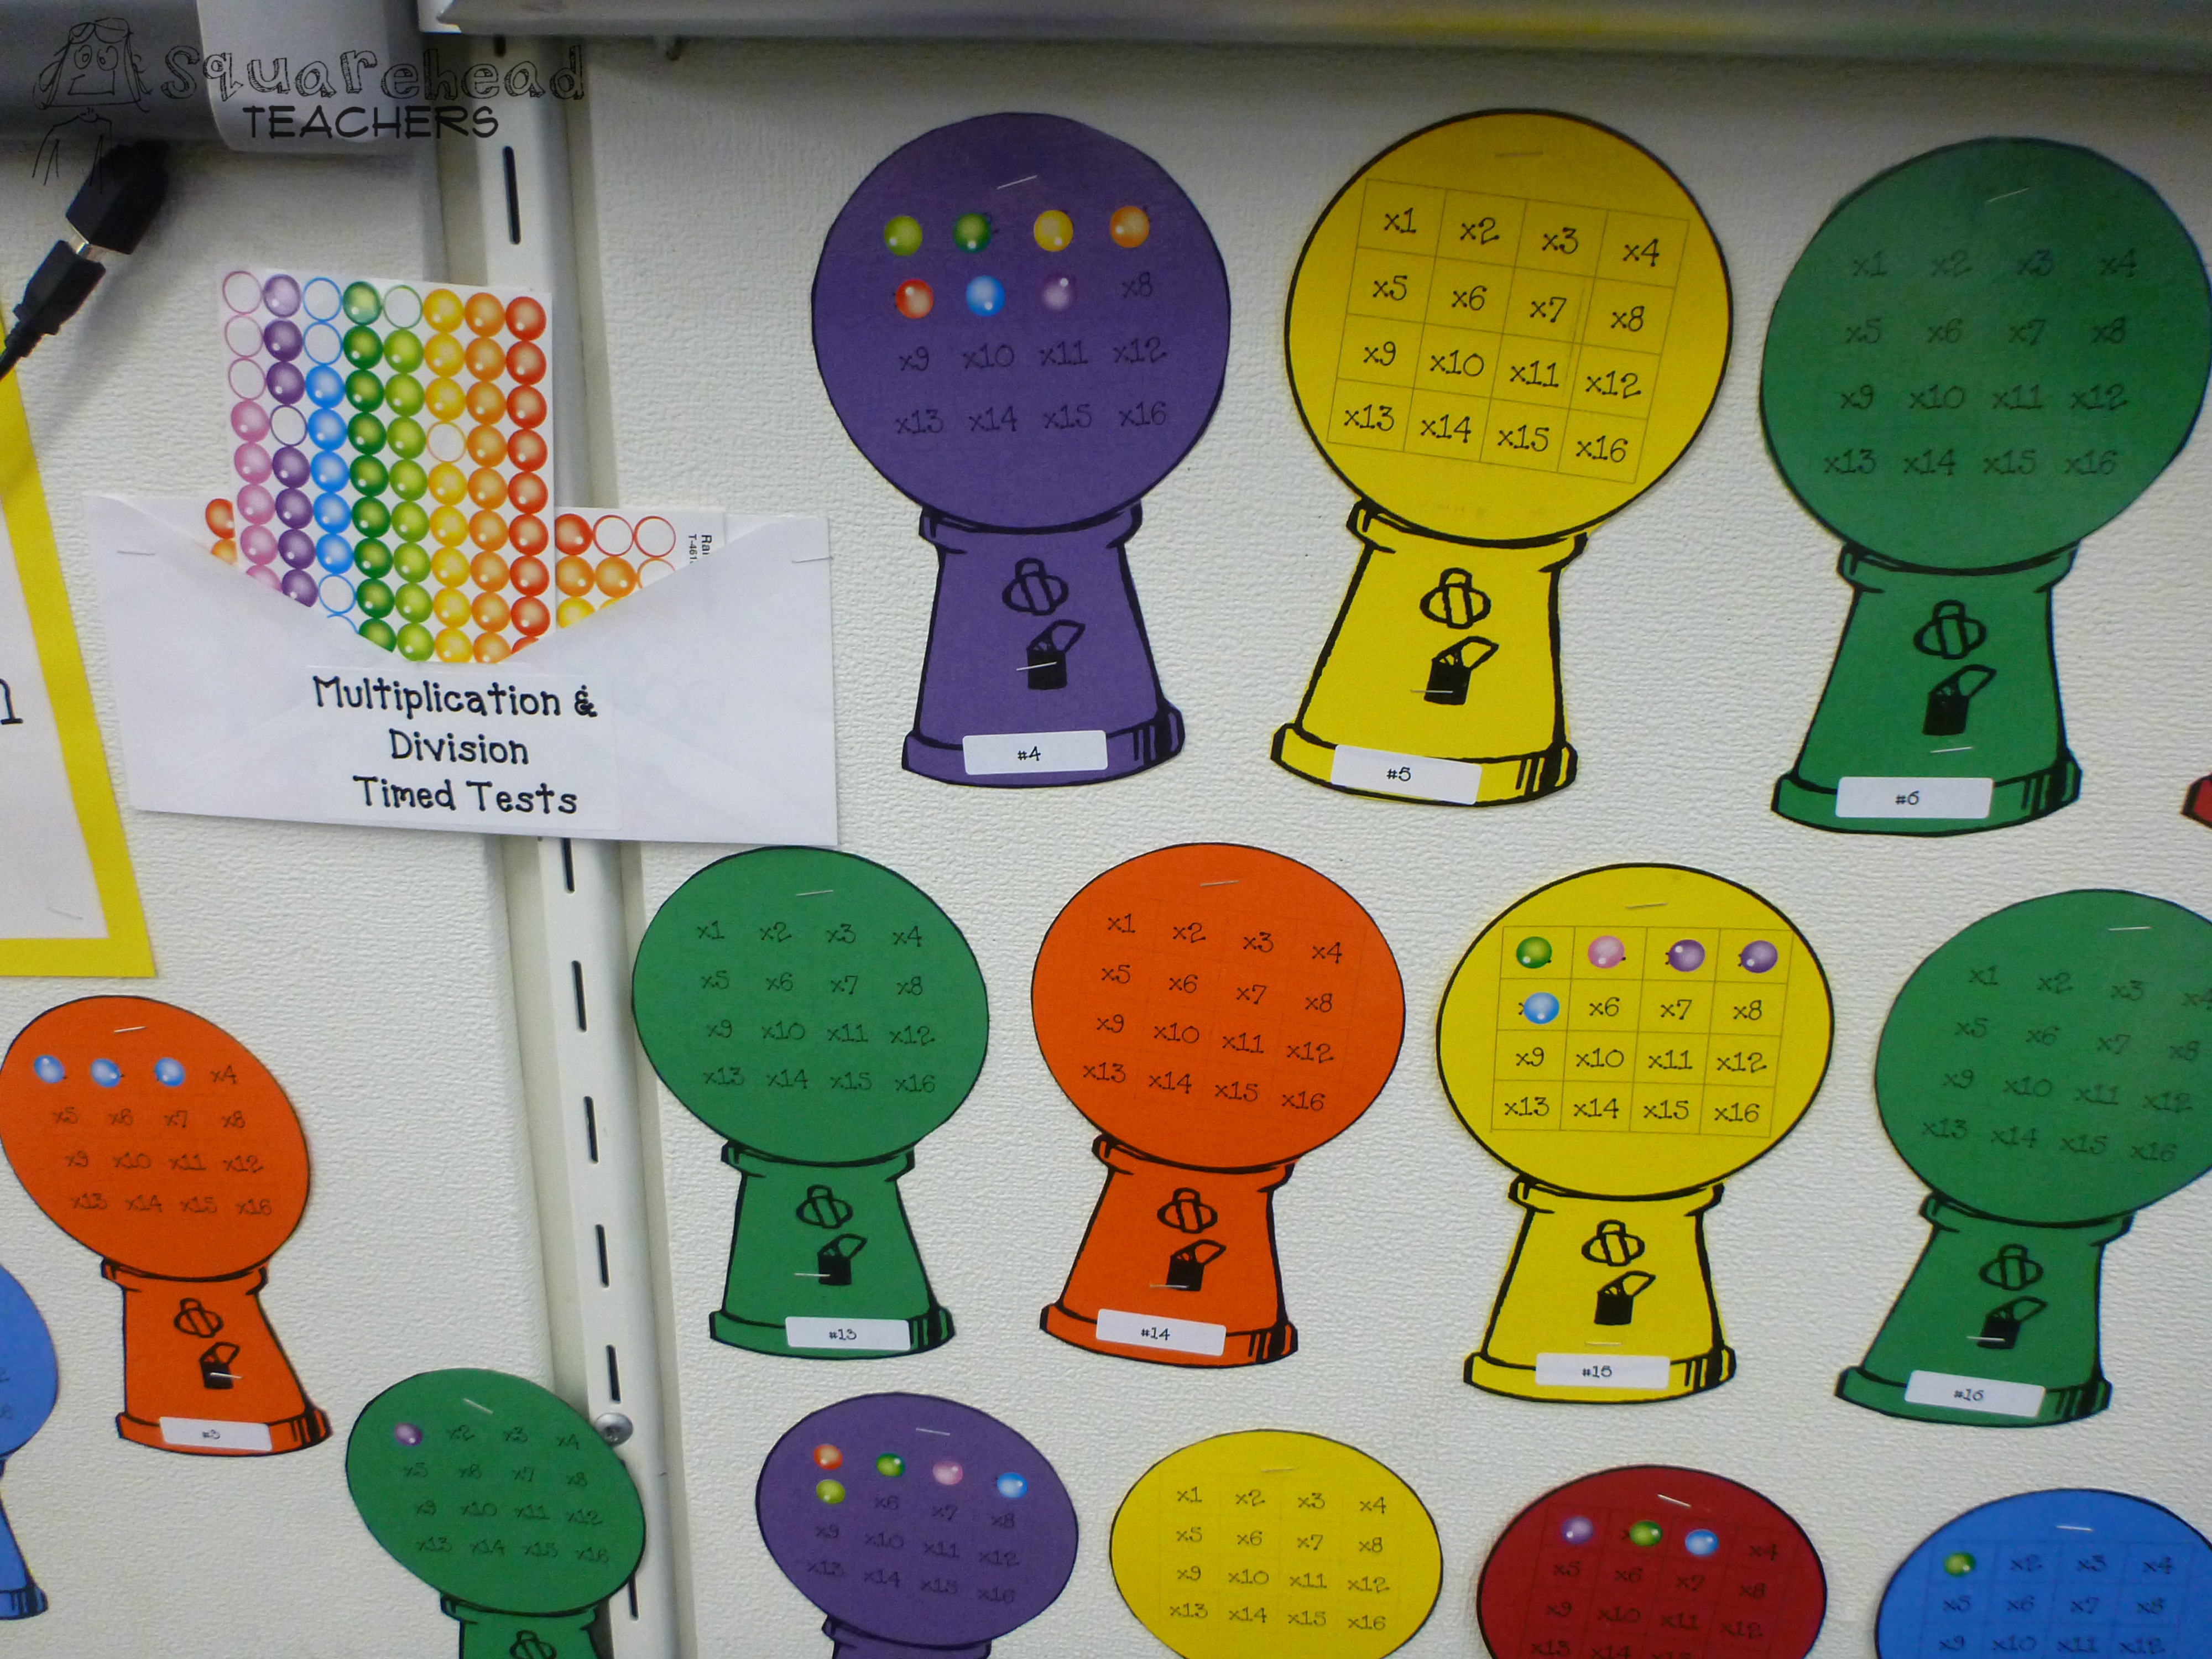
Tracking multiplication and division timed tests
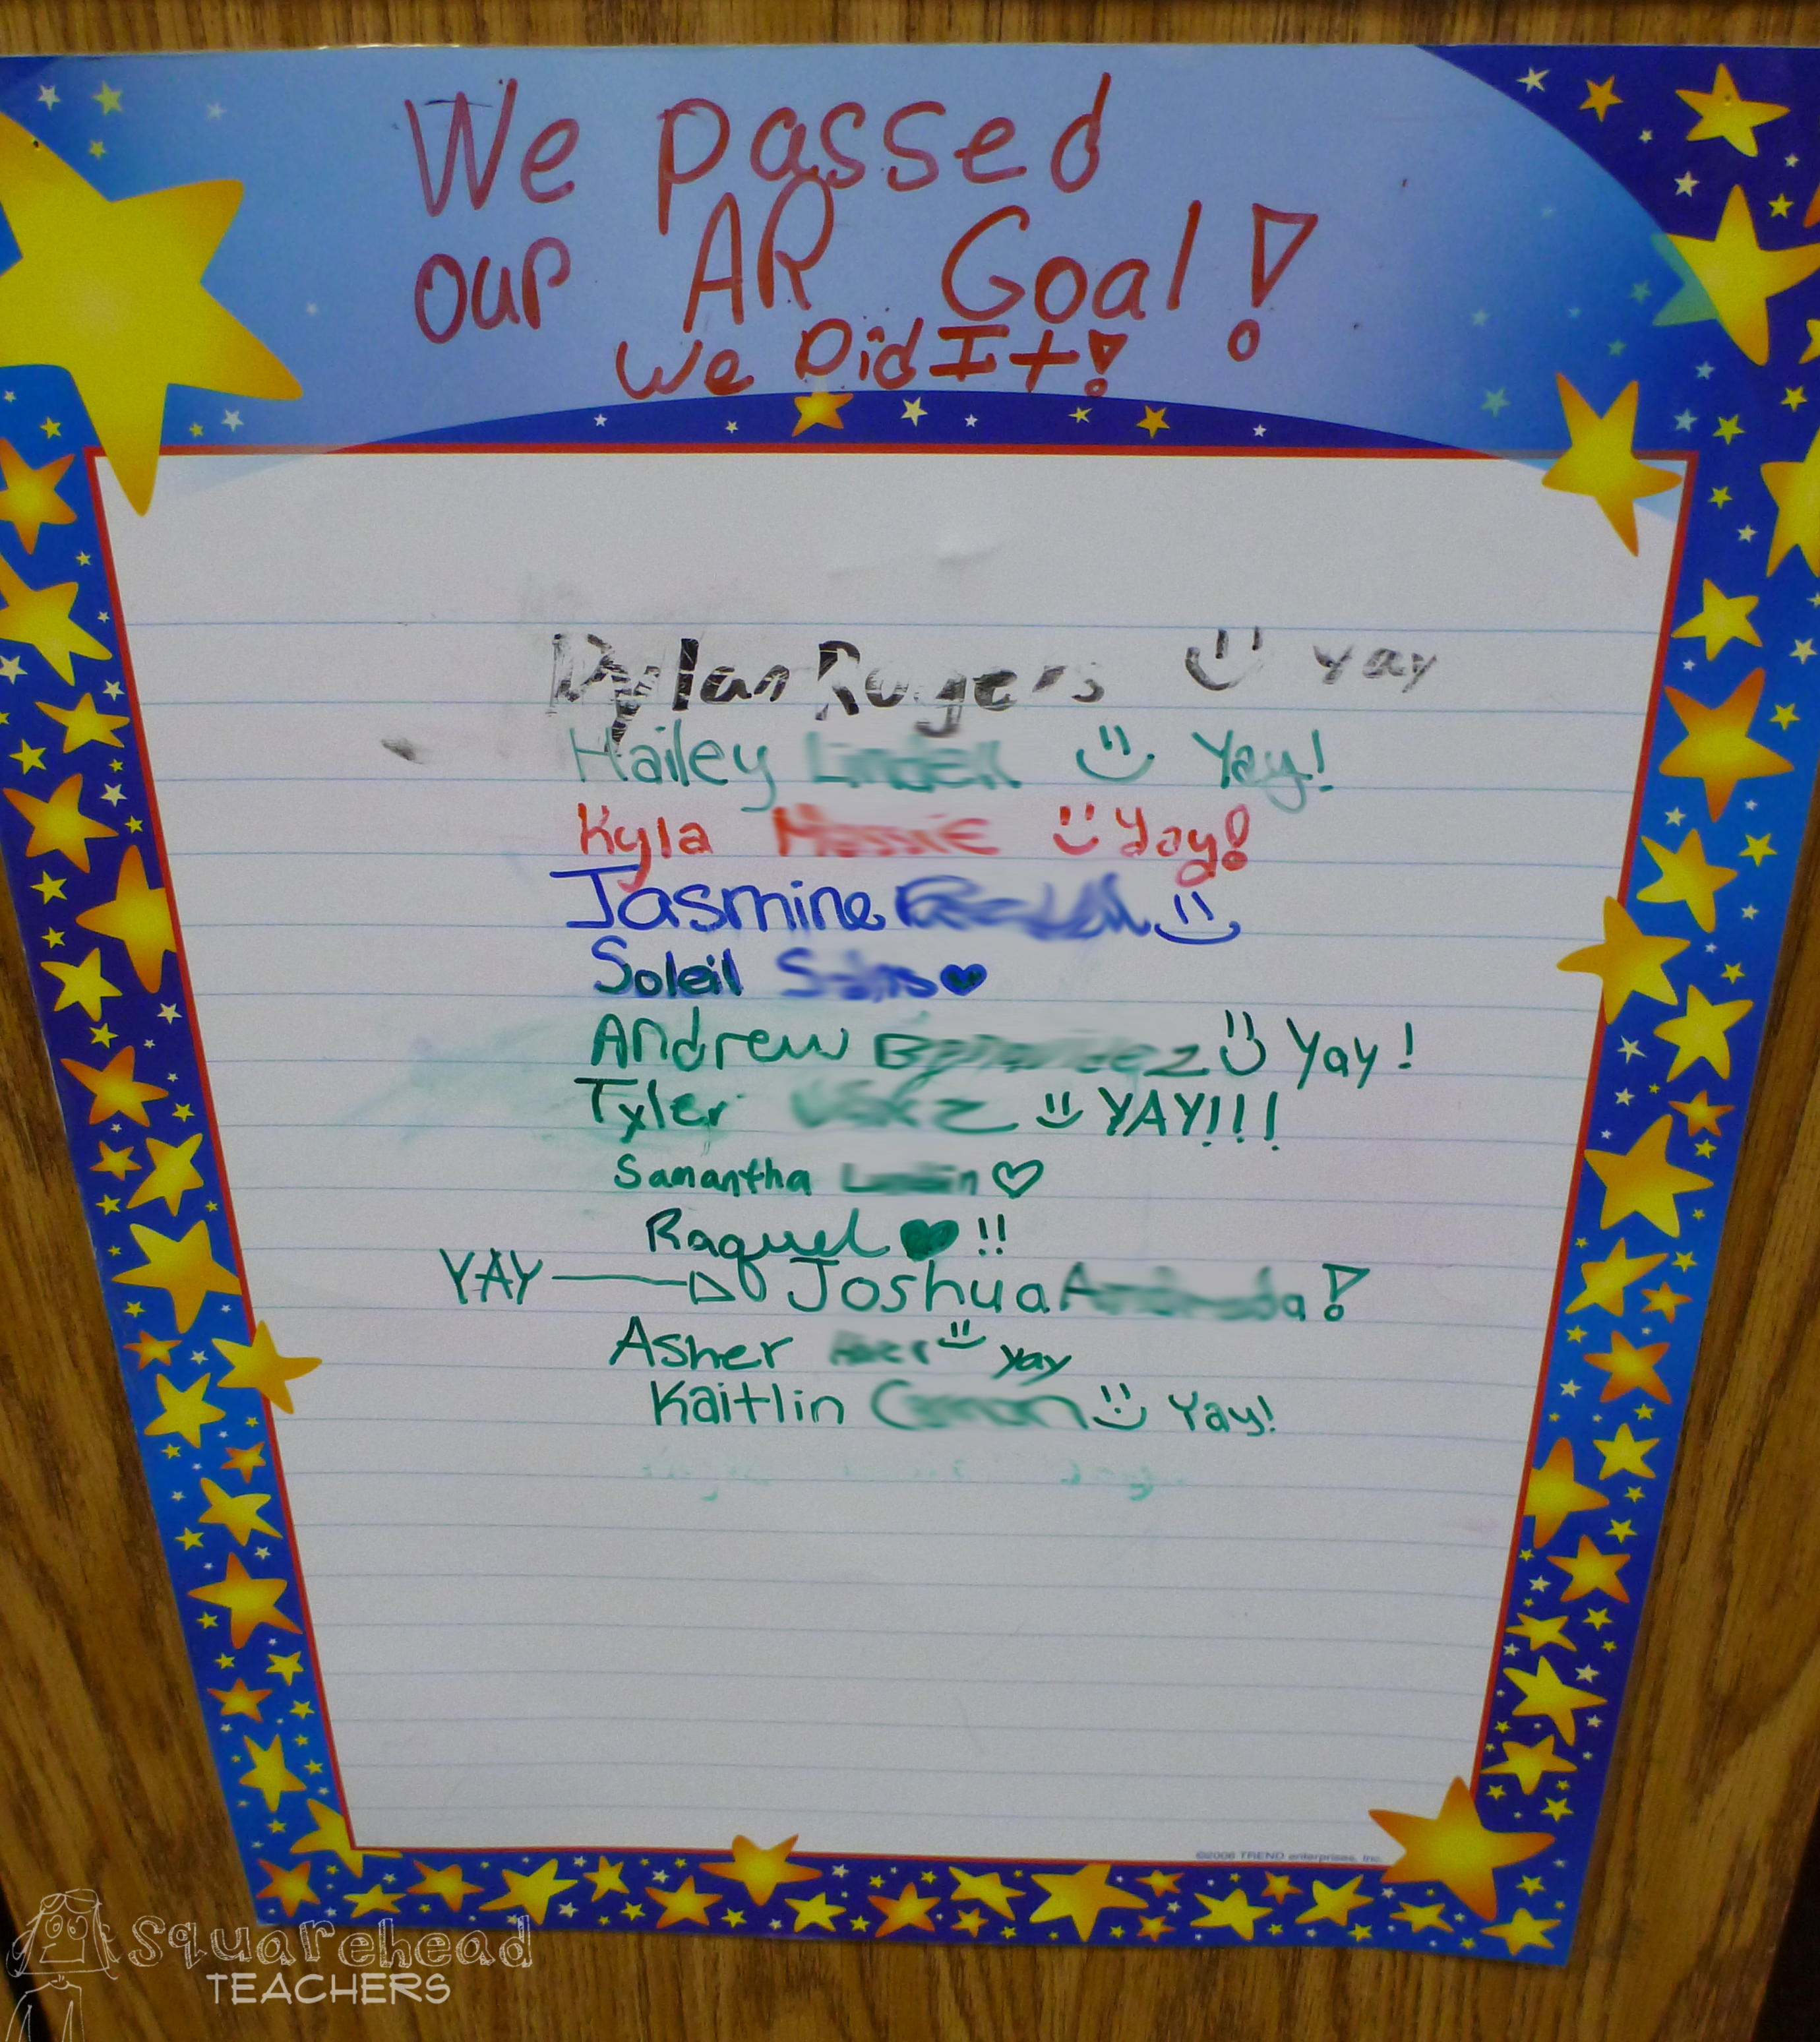
Tracking reading goals

Tracking math facts
It wasn’t until I taught in China that I even had to think about why we do April Fools’ Day. My Chinese students thought this was a pretty funny idea, and were amazed that so many people “celebrated” it! So here ya go… a free worksheet all about April Fools’ Day! Comprehension questions at the bottom.
Click here for the free printable worksheet: April Fools Day
Many kids have a hard time retelling/summarizing a passage or story. This simple hand trick helps them tell only the most important parts of the story. One teacher I know keeps these two hand cut-outs on the wall near their guided reading table, so the kids can refer to it often. She says it’s really helpful for tons of her students.

If you wanted, you could have each student trace their own hand and label each finger at the beginning of the year. You could put them on the wall to, or glue them to the front of a folder or reading journal, etc.
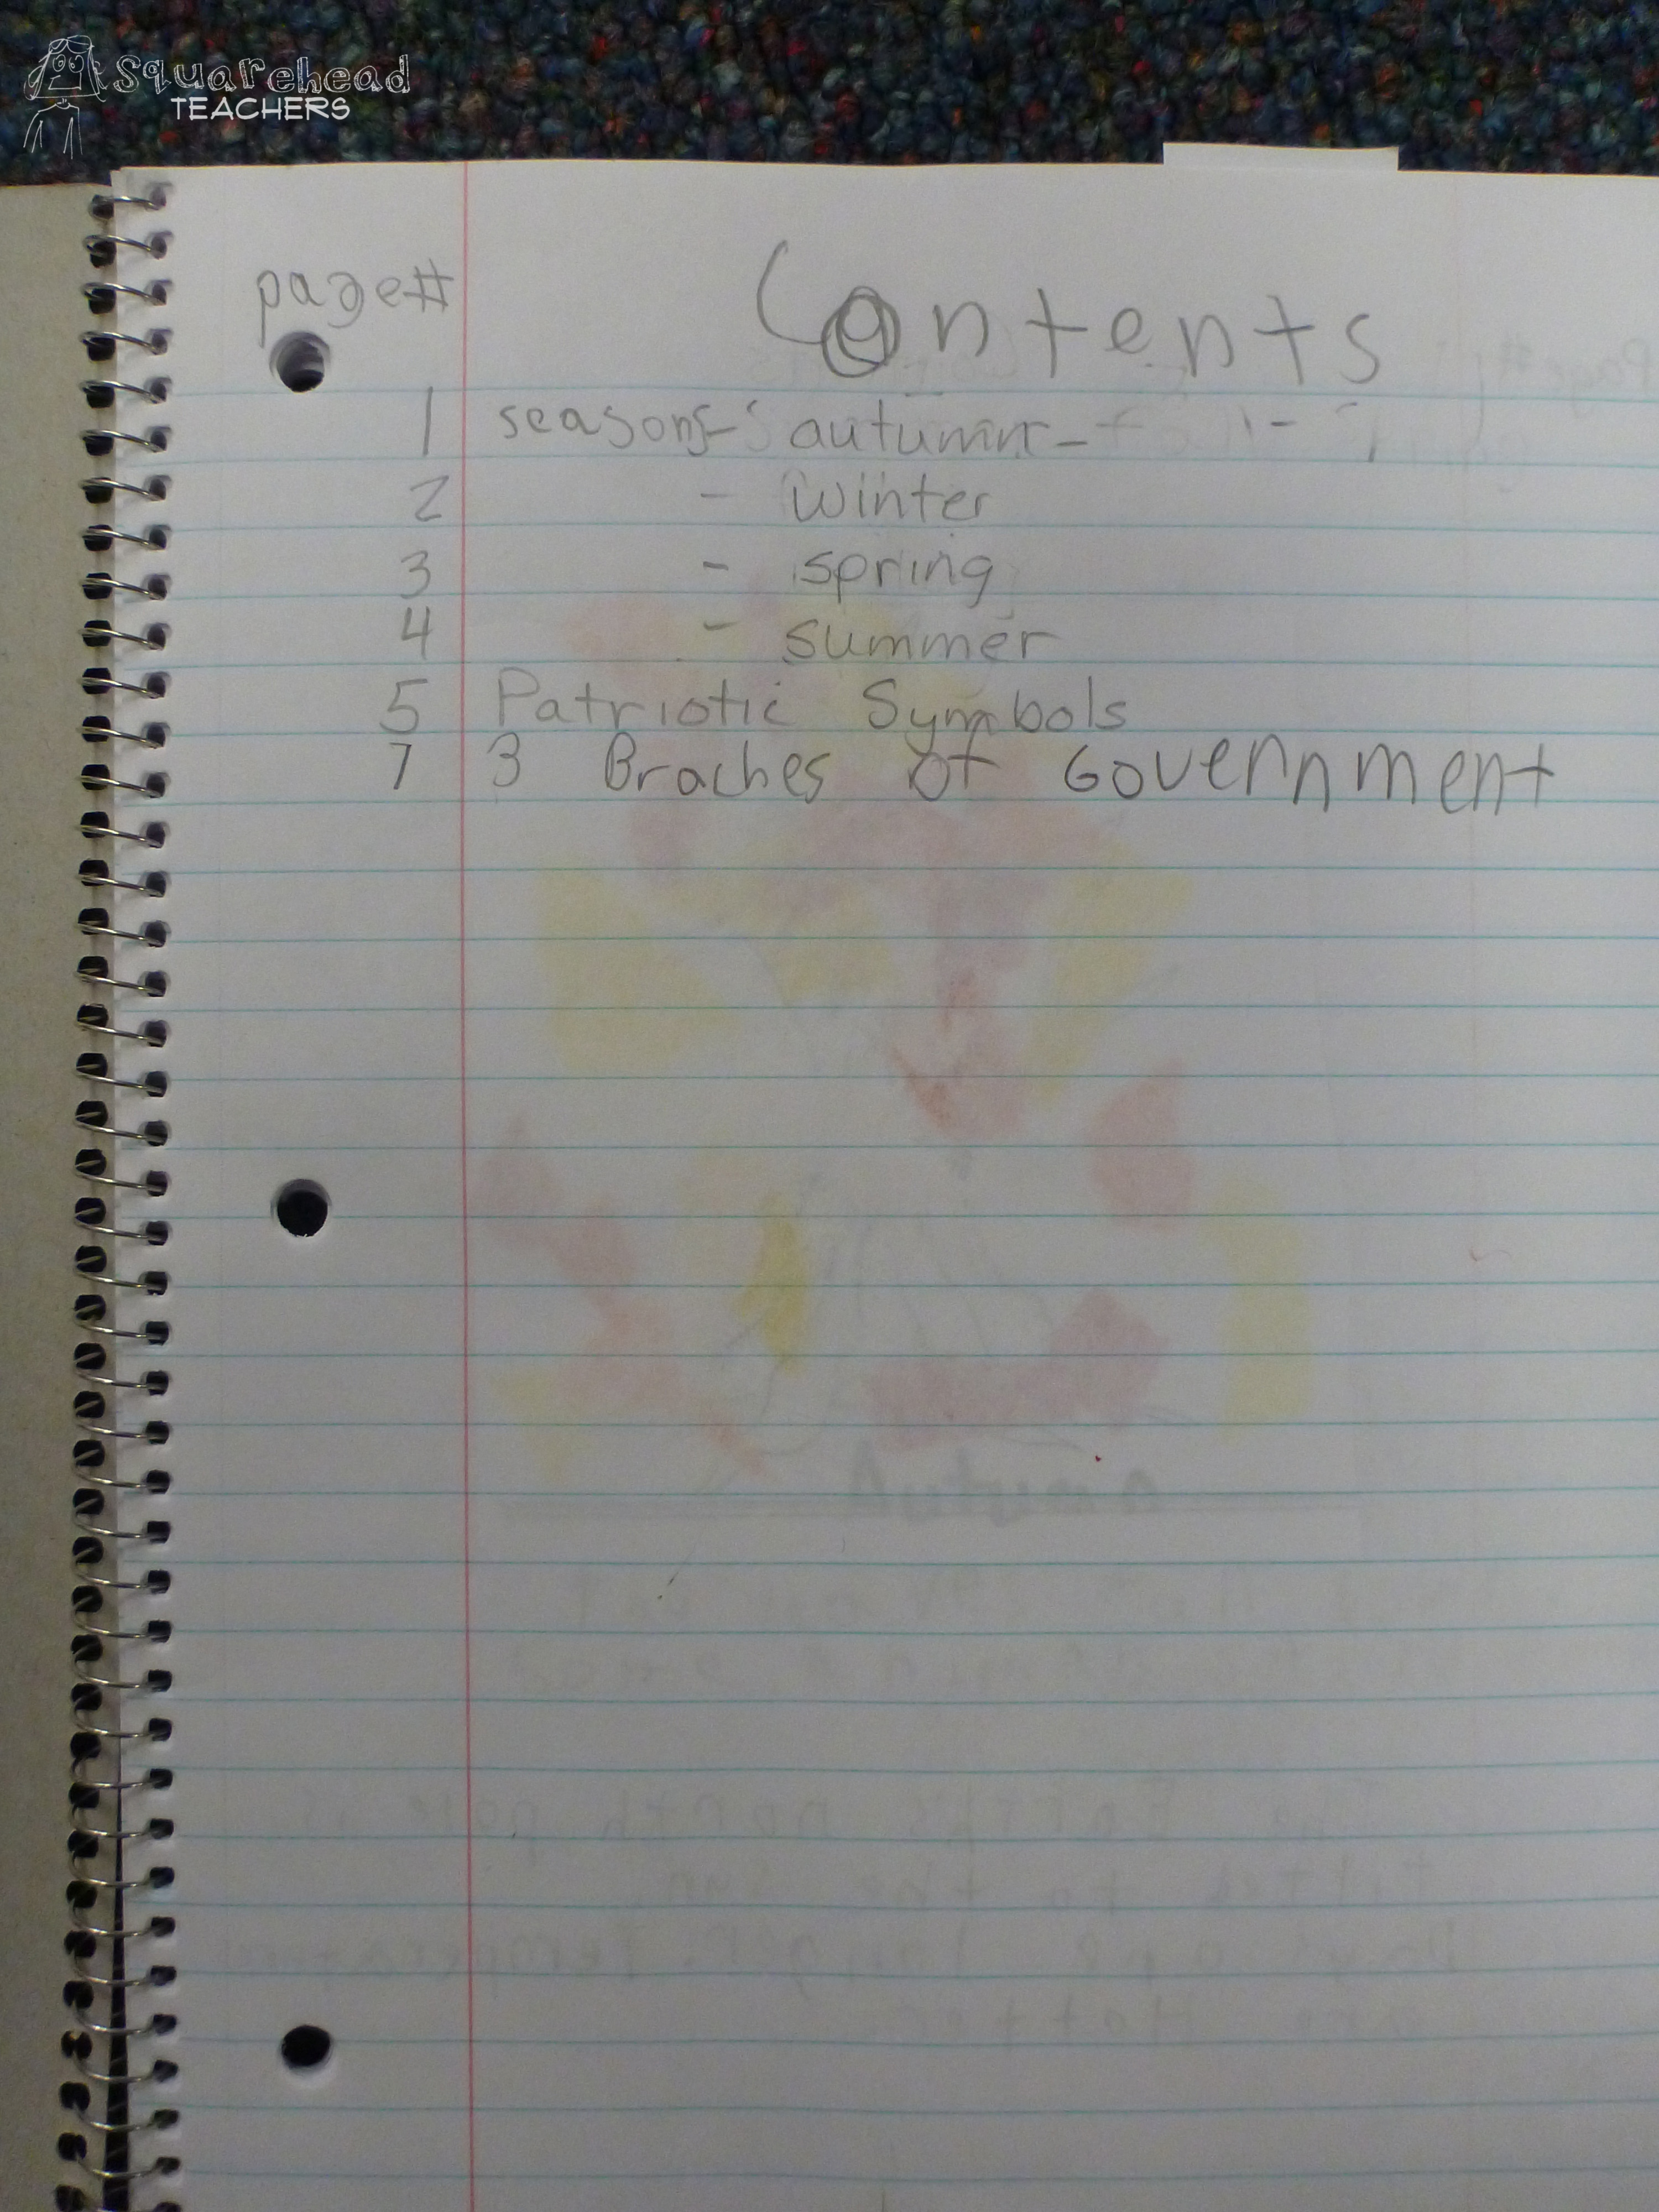
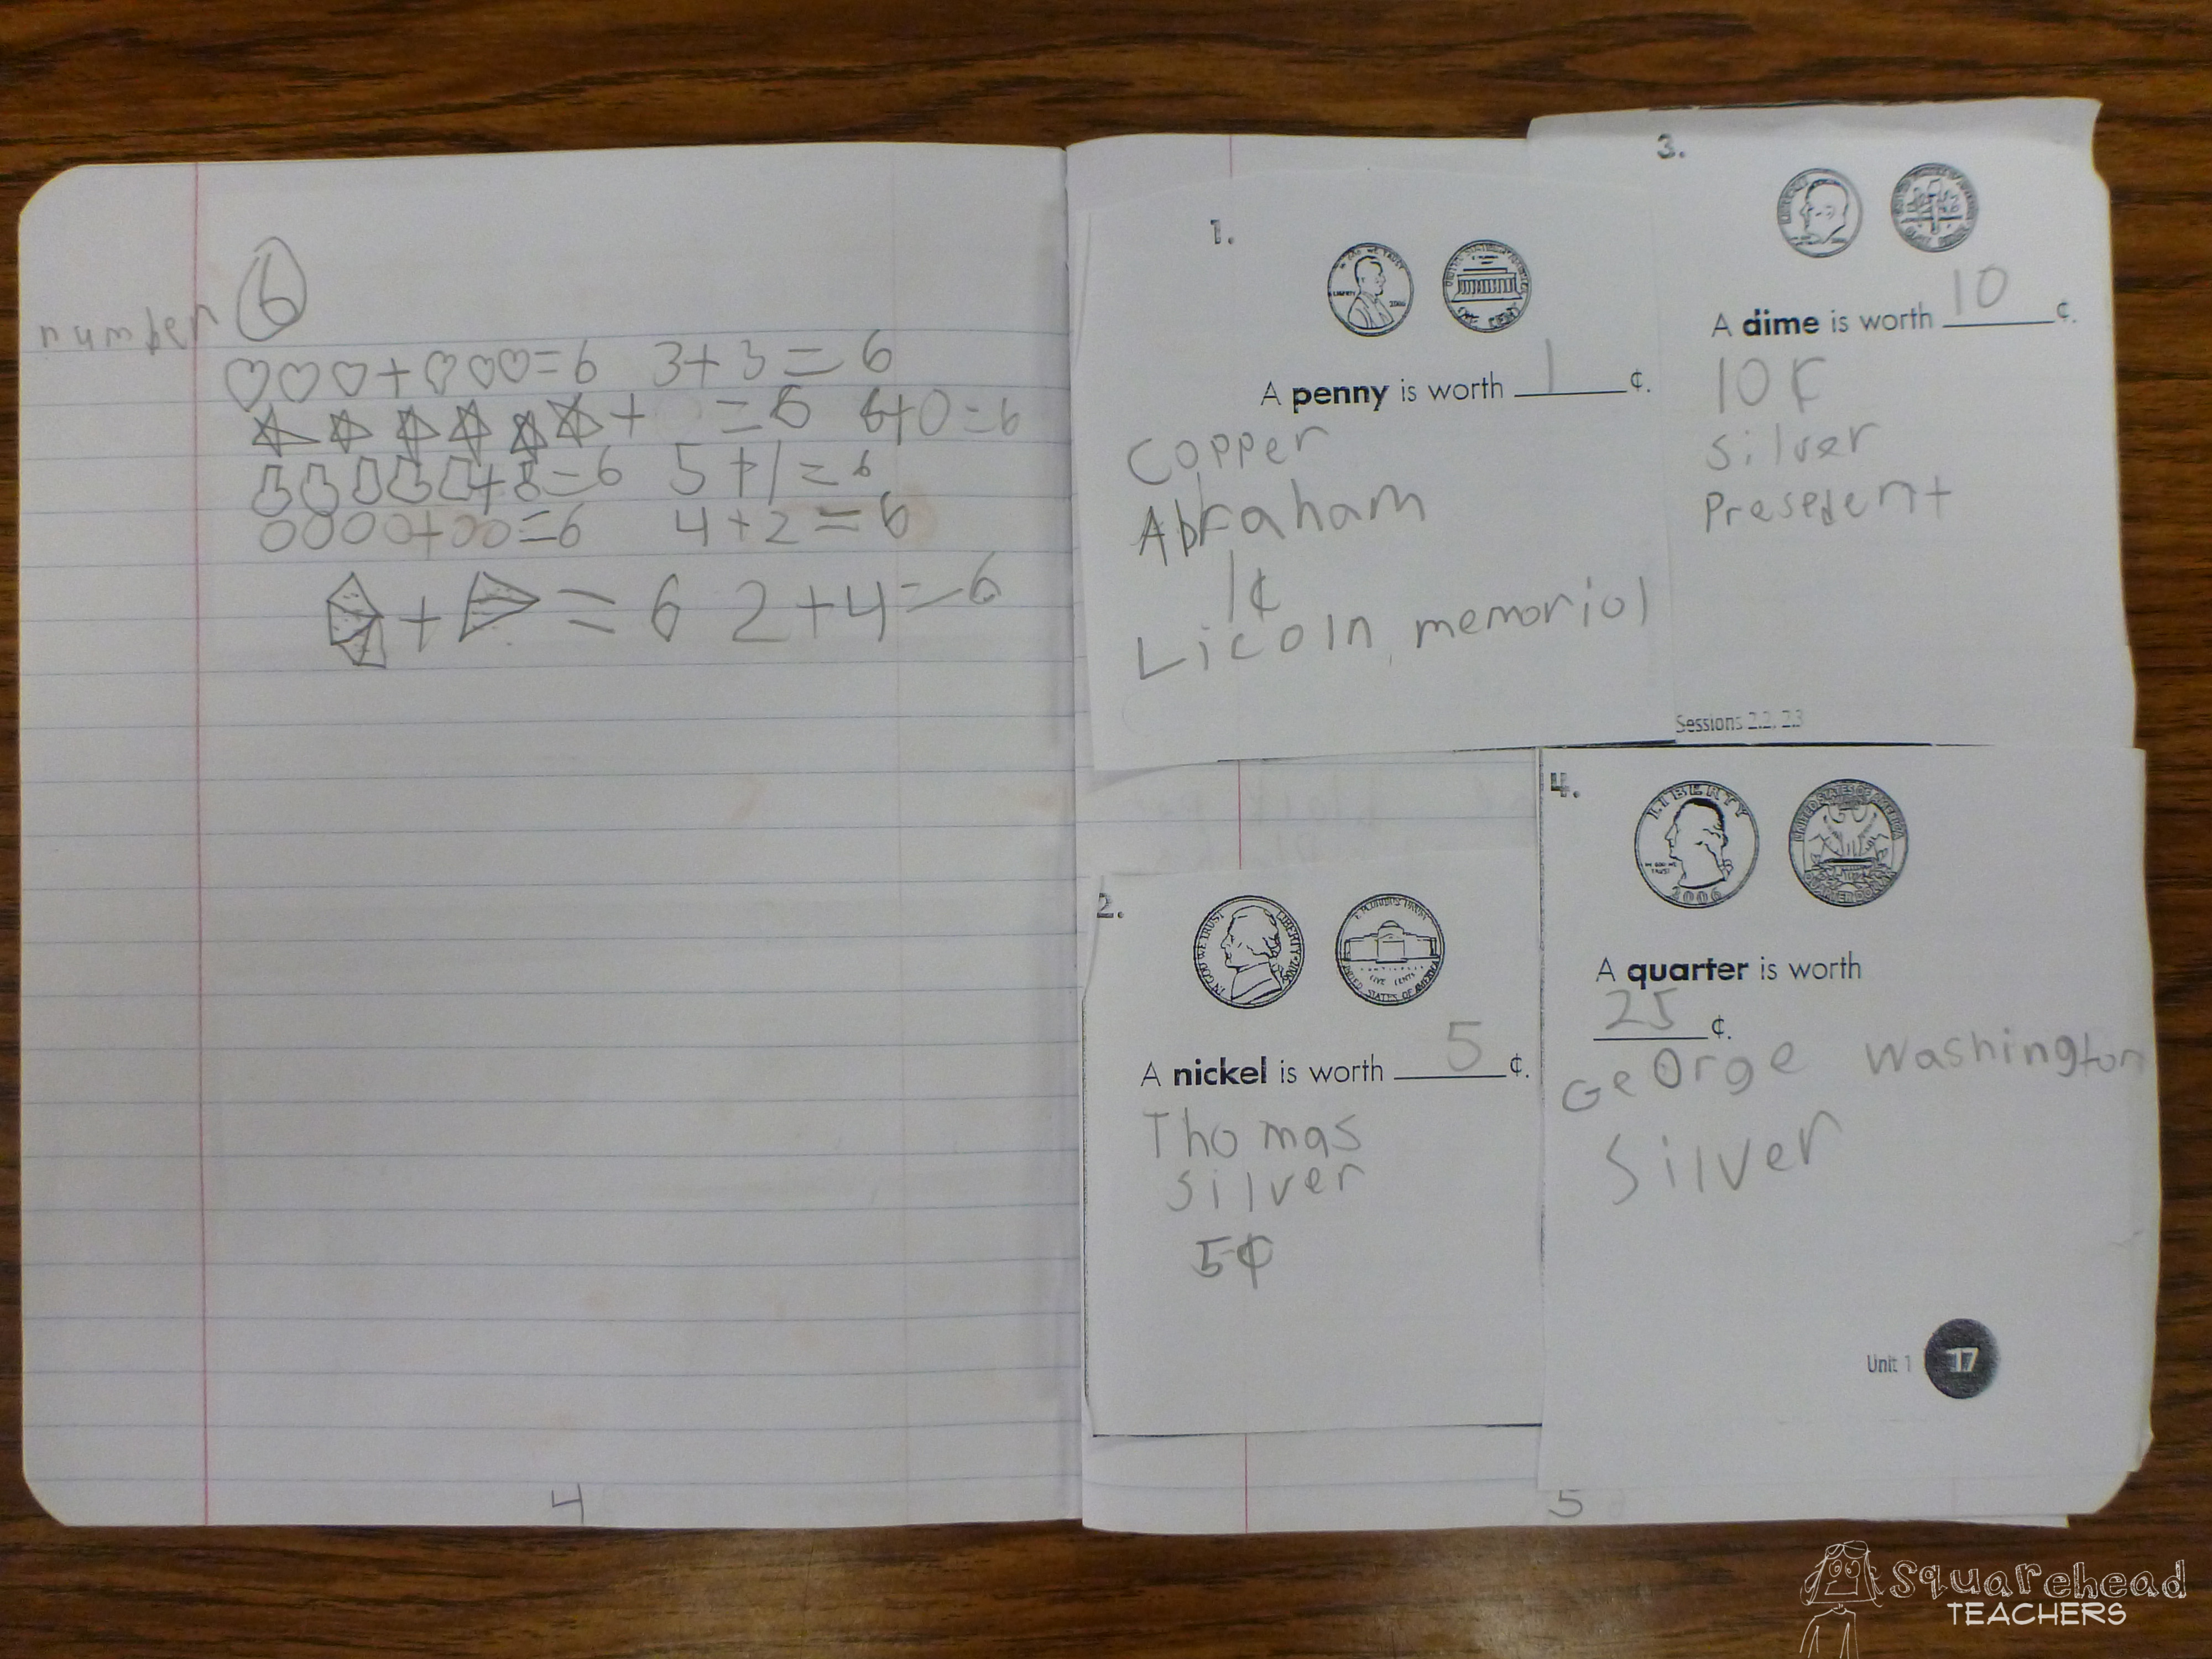
Keeping journals is a great way to help students keep new information recorded and stored in a neat and useful way. Many teachers give their students notebooks for each core subject and expect students to maintain their own journal to use for note taking during lessons and future reference. I love this idea! I’ve done it with my own classes. But if you’re going to do journals, do them the smart way. Here’s what I mean:
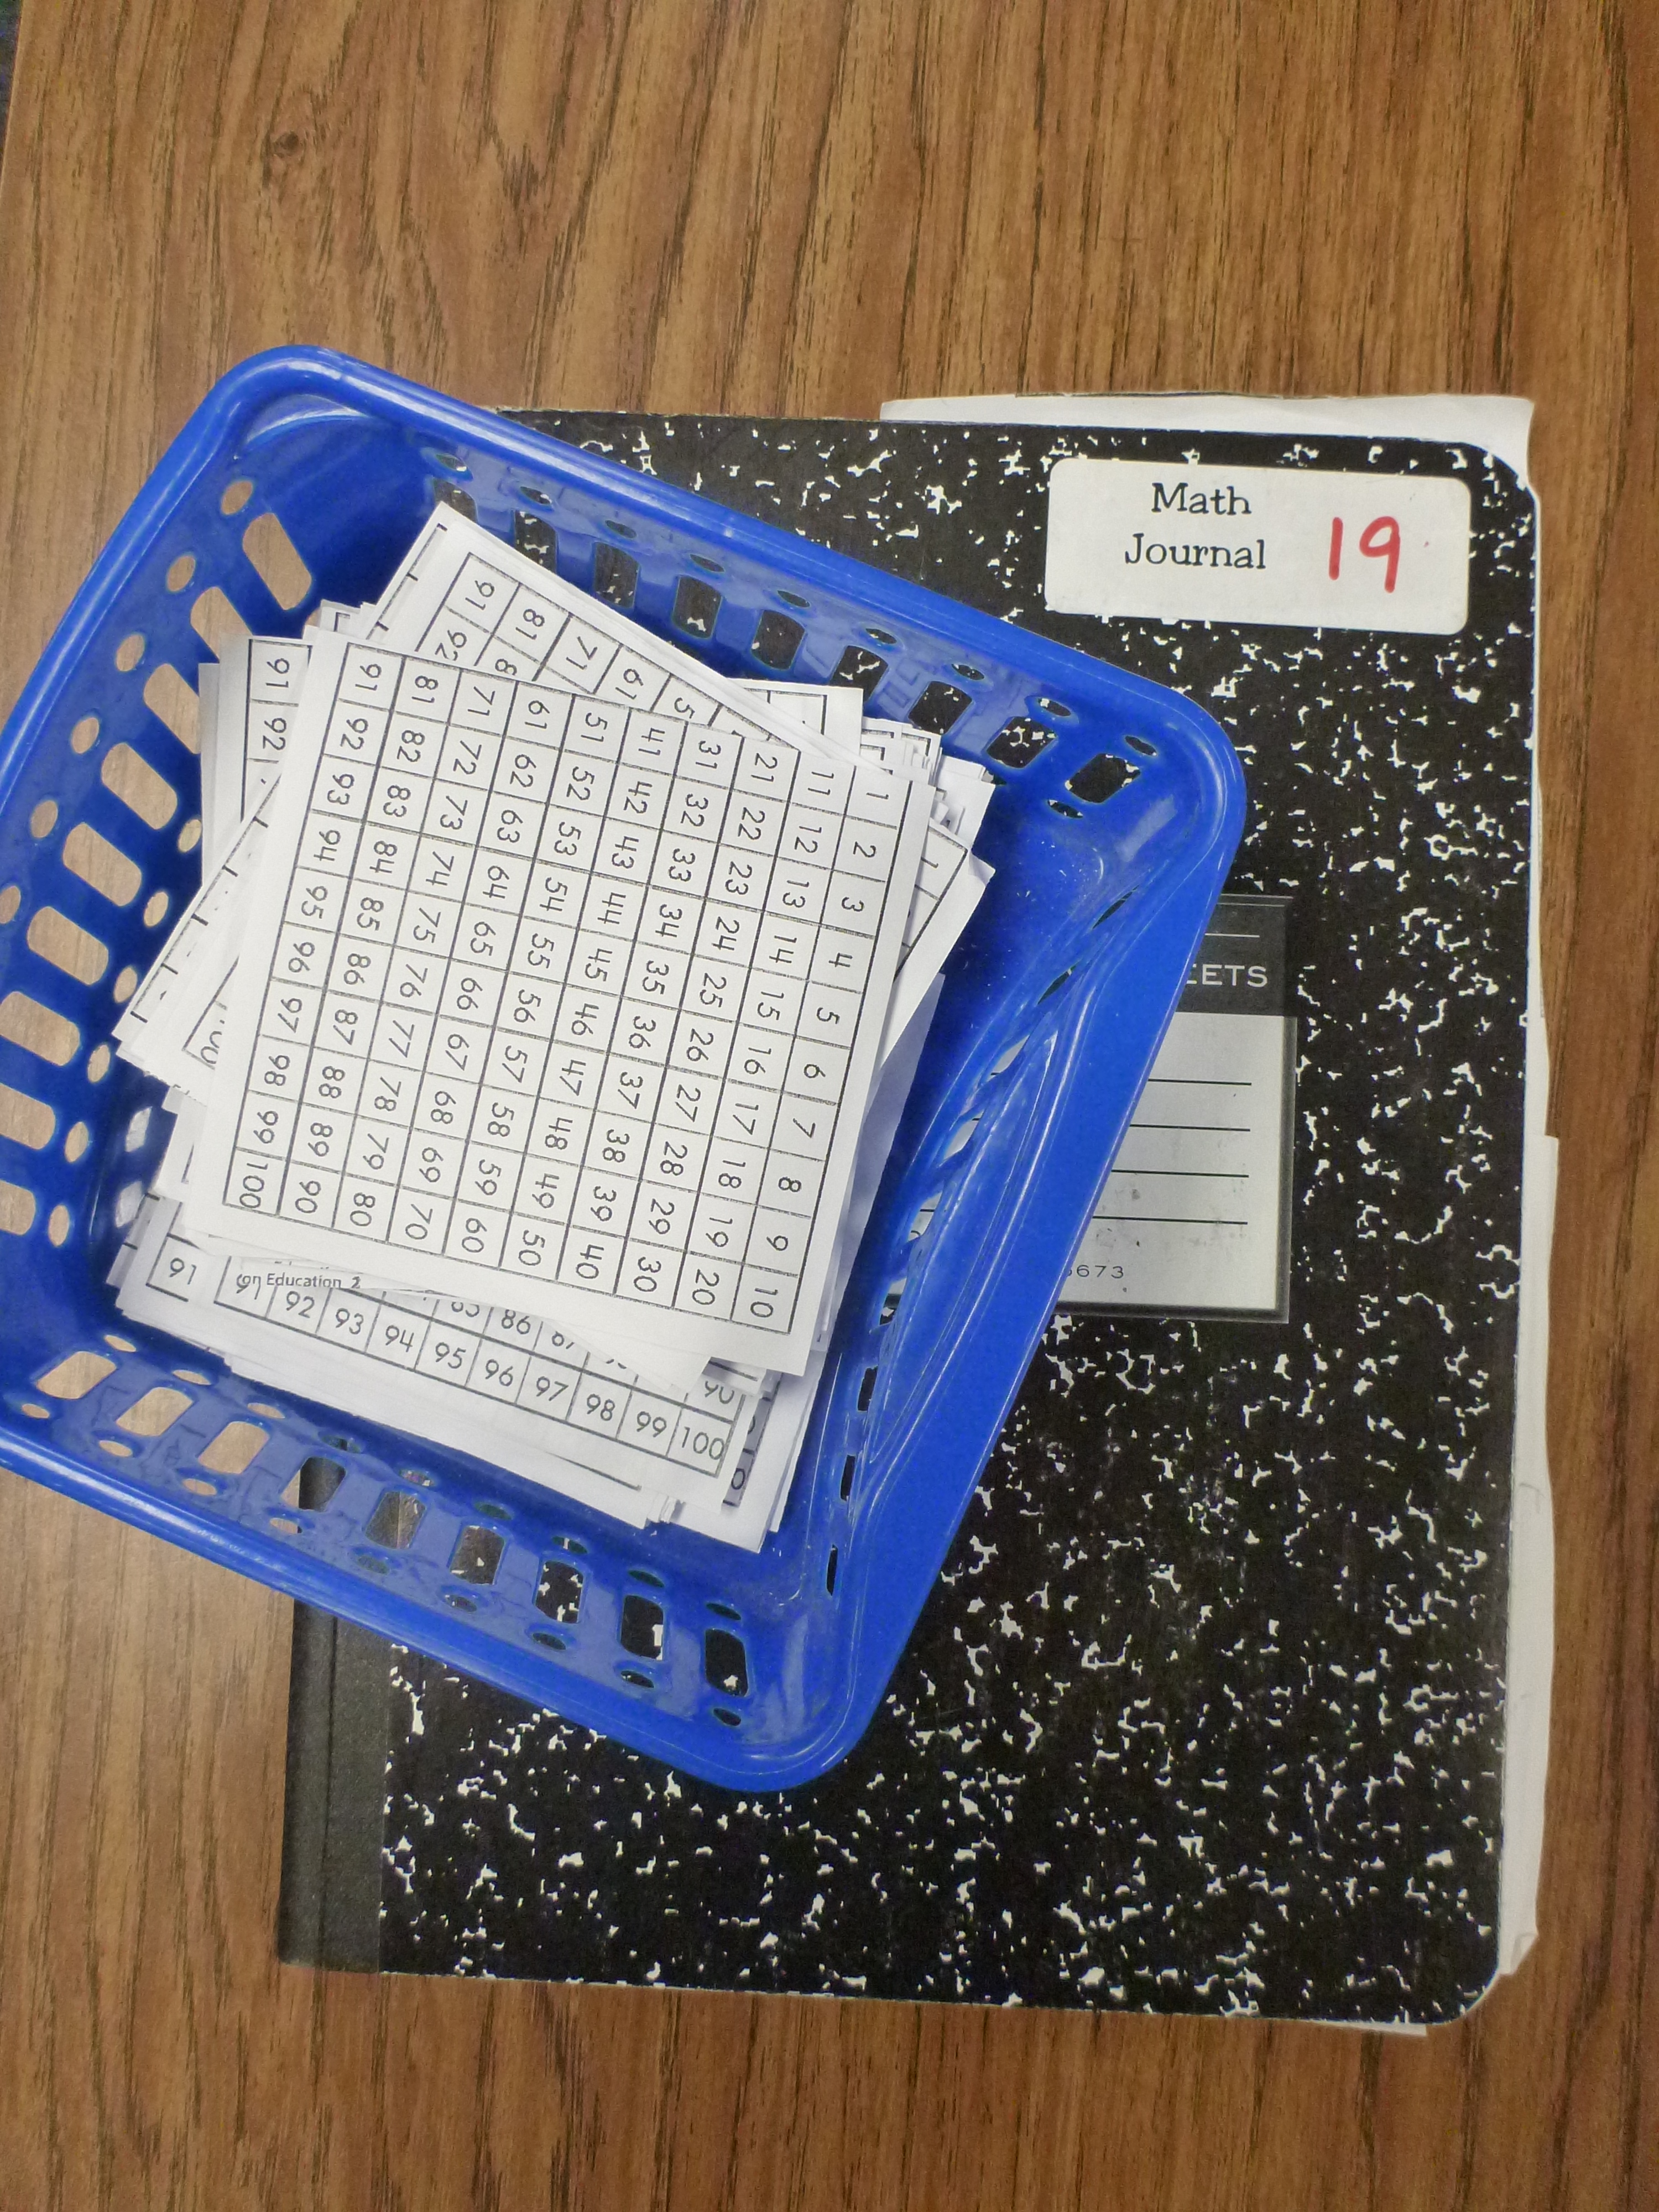
1. Choose a specific color for the subject. Get that same color journal for each student. If you can’t find an entire class set of 1 color, try 2 colors that are easy to remember. So when your student says “Wait! Which one is our science journal?” You can tell them what color notebook to look for. Also make sure the notebooks are clearly labeled with the student’s name, classroom number and what subject the journal is for. Tell students at the beginning of the year that the journal is only for that subject, not for drawing, writing notes to a friend, etc.

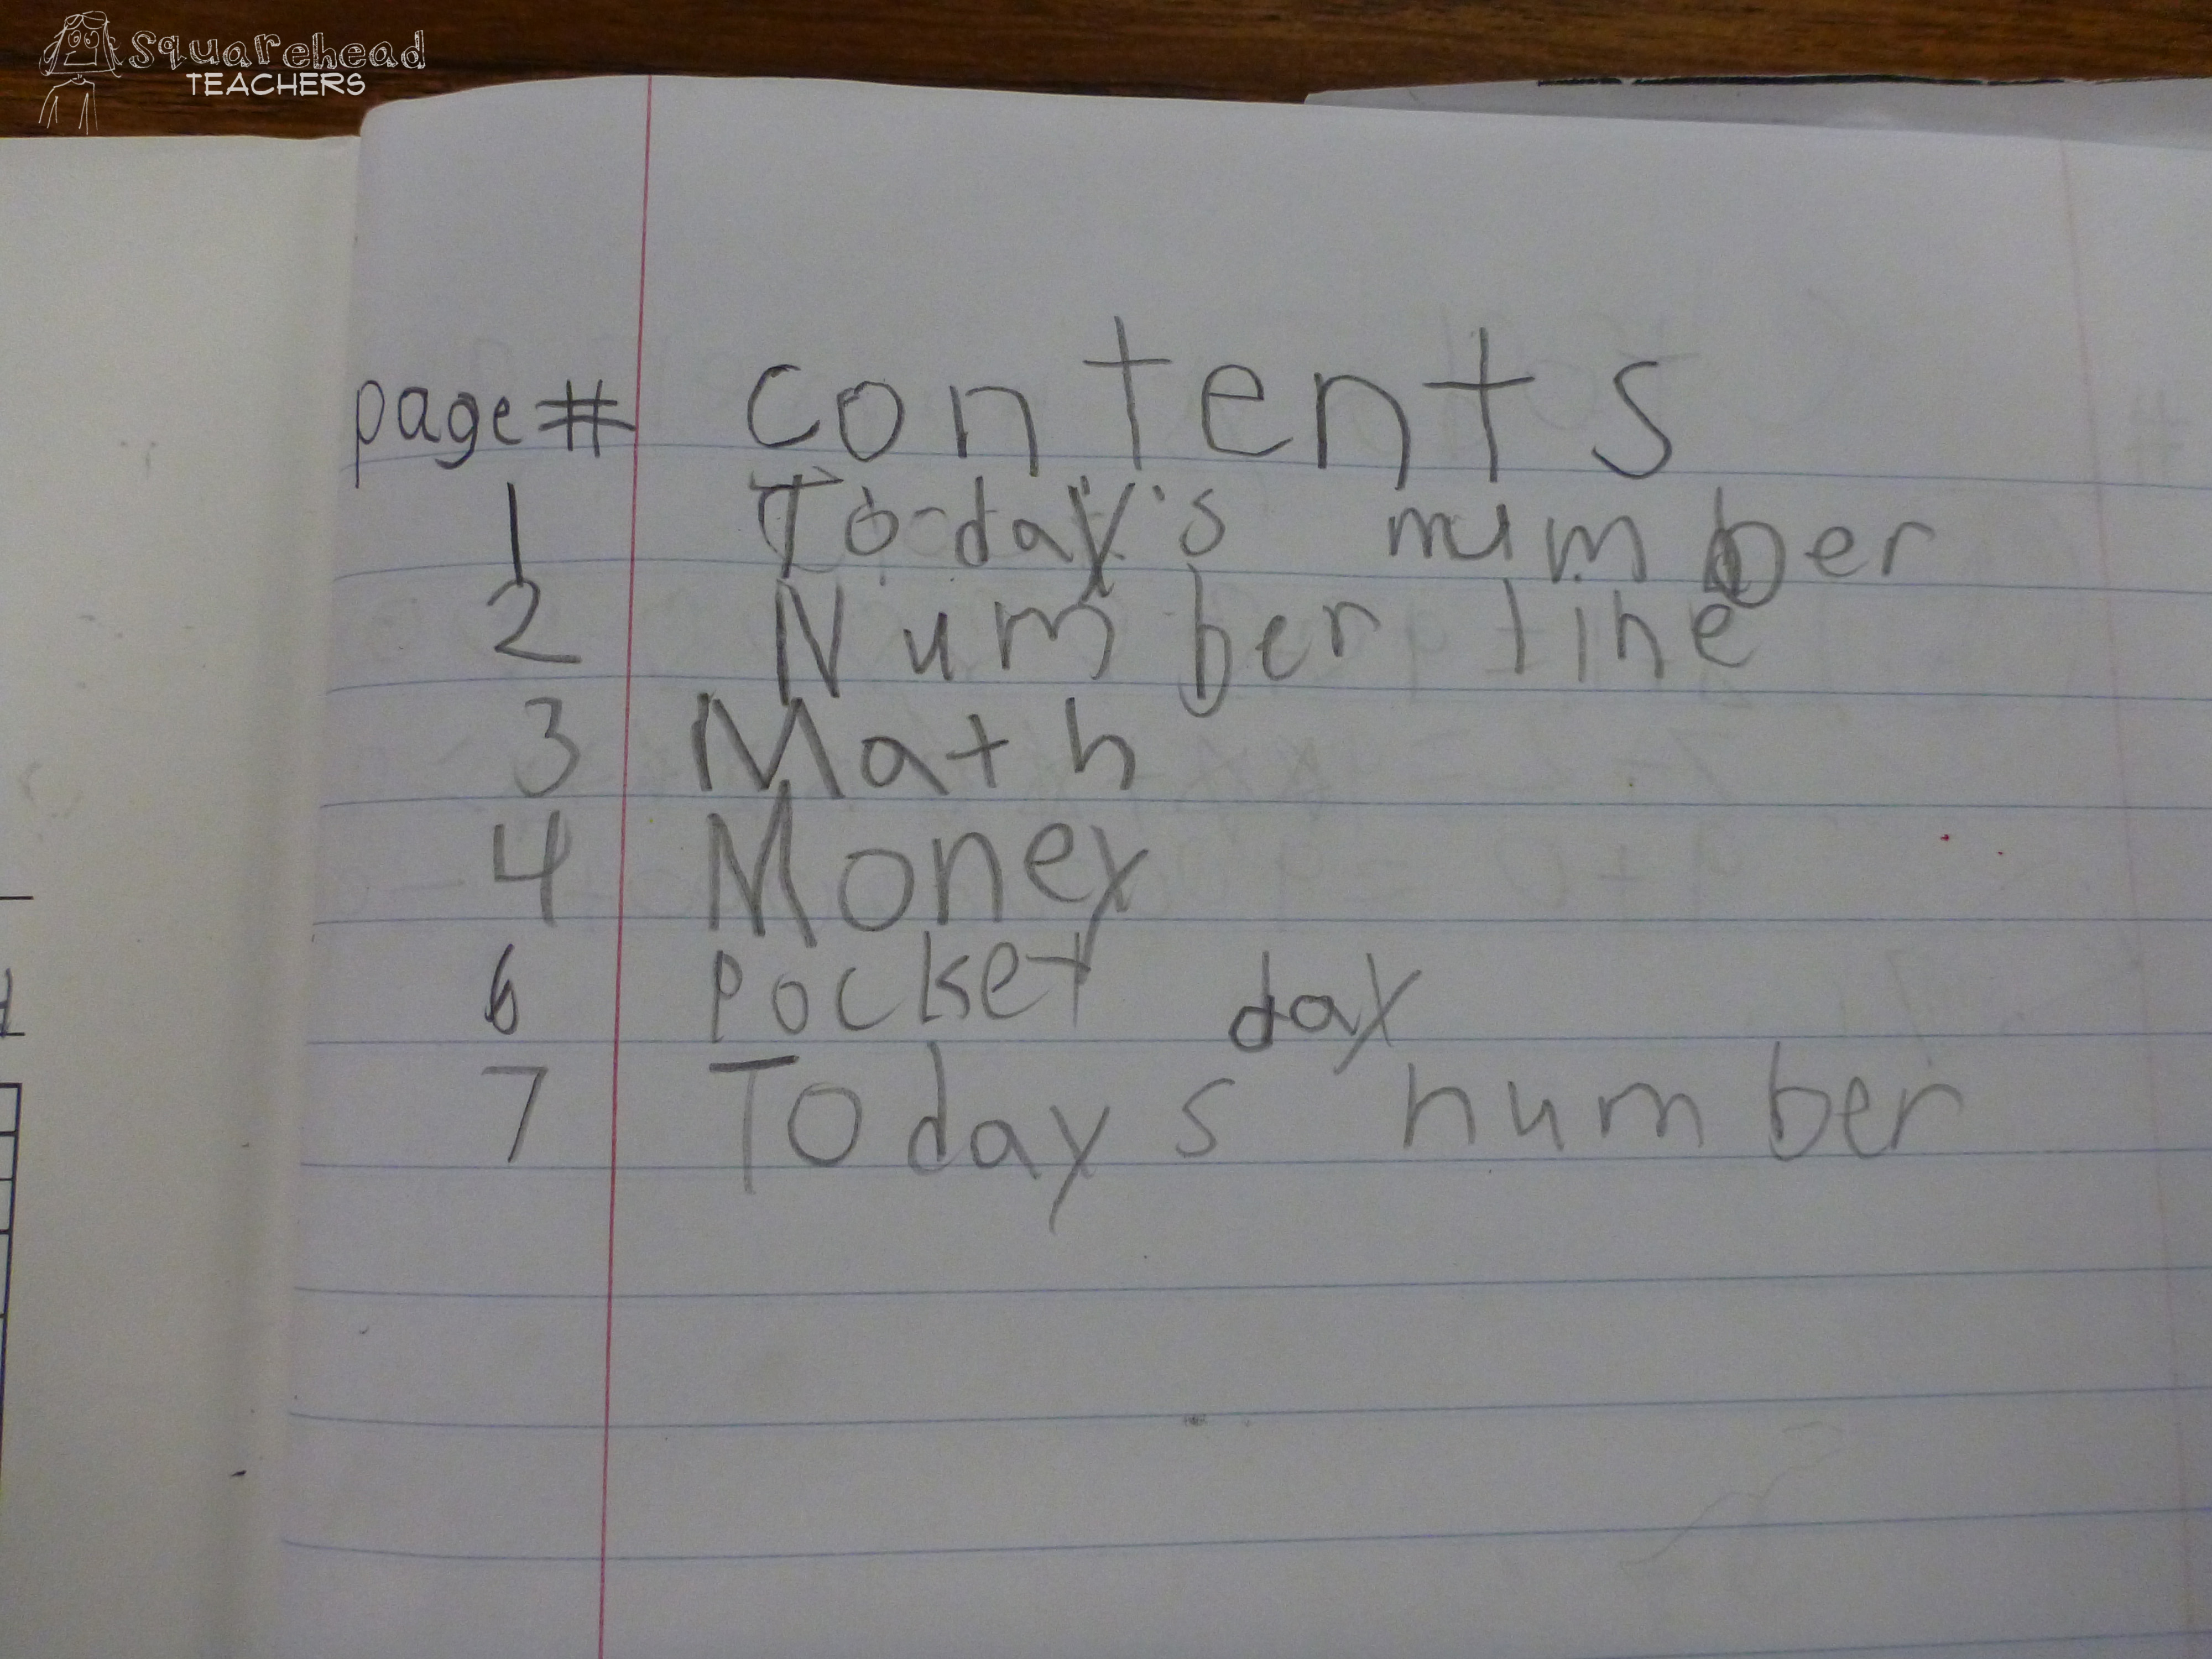
2. Use the first sheet (front/back) for the table of contents. Each time you have students start a new journal entry/topic, have them add it to the table of contents. Then, when they’re looking for their notes on a certain topic, they’ll be able to fins it easily. This also means your students need to add page numbers as they go. I have conflicting thoughts about writing in all the page numbers in the beginning. PRO- you don’t have to worry about it each time you start a new set of notes. CON- if your kids tear out pages, they can get confused when there’s no page 16.
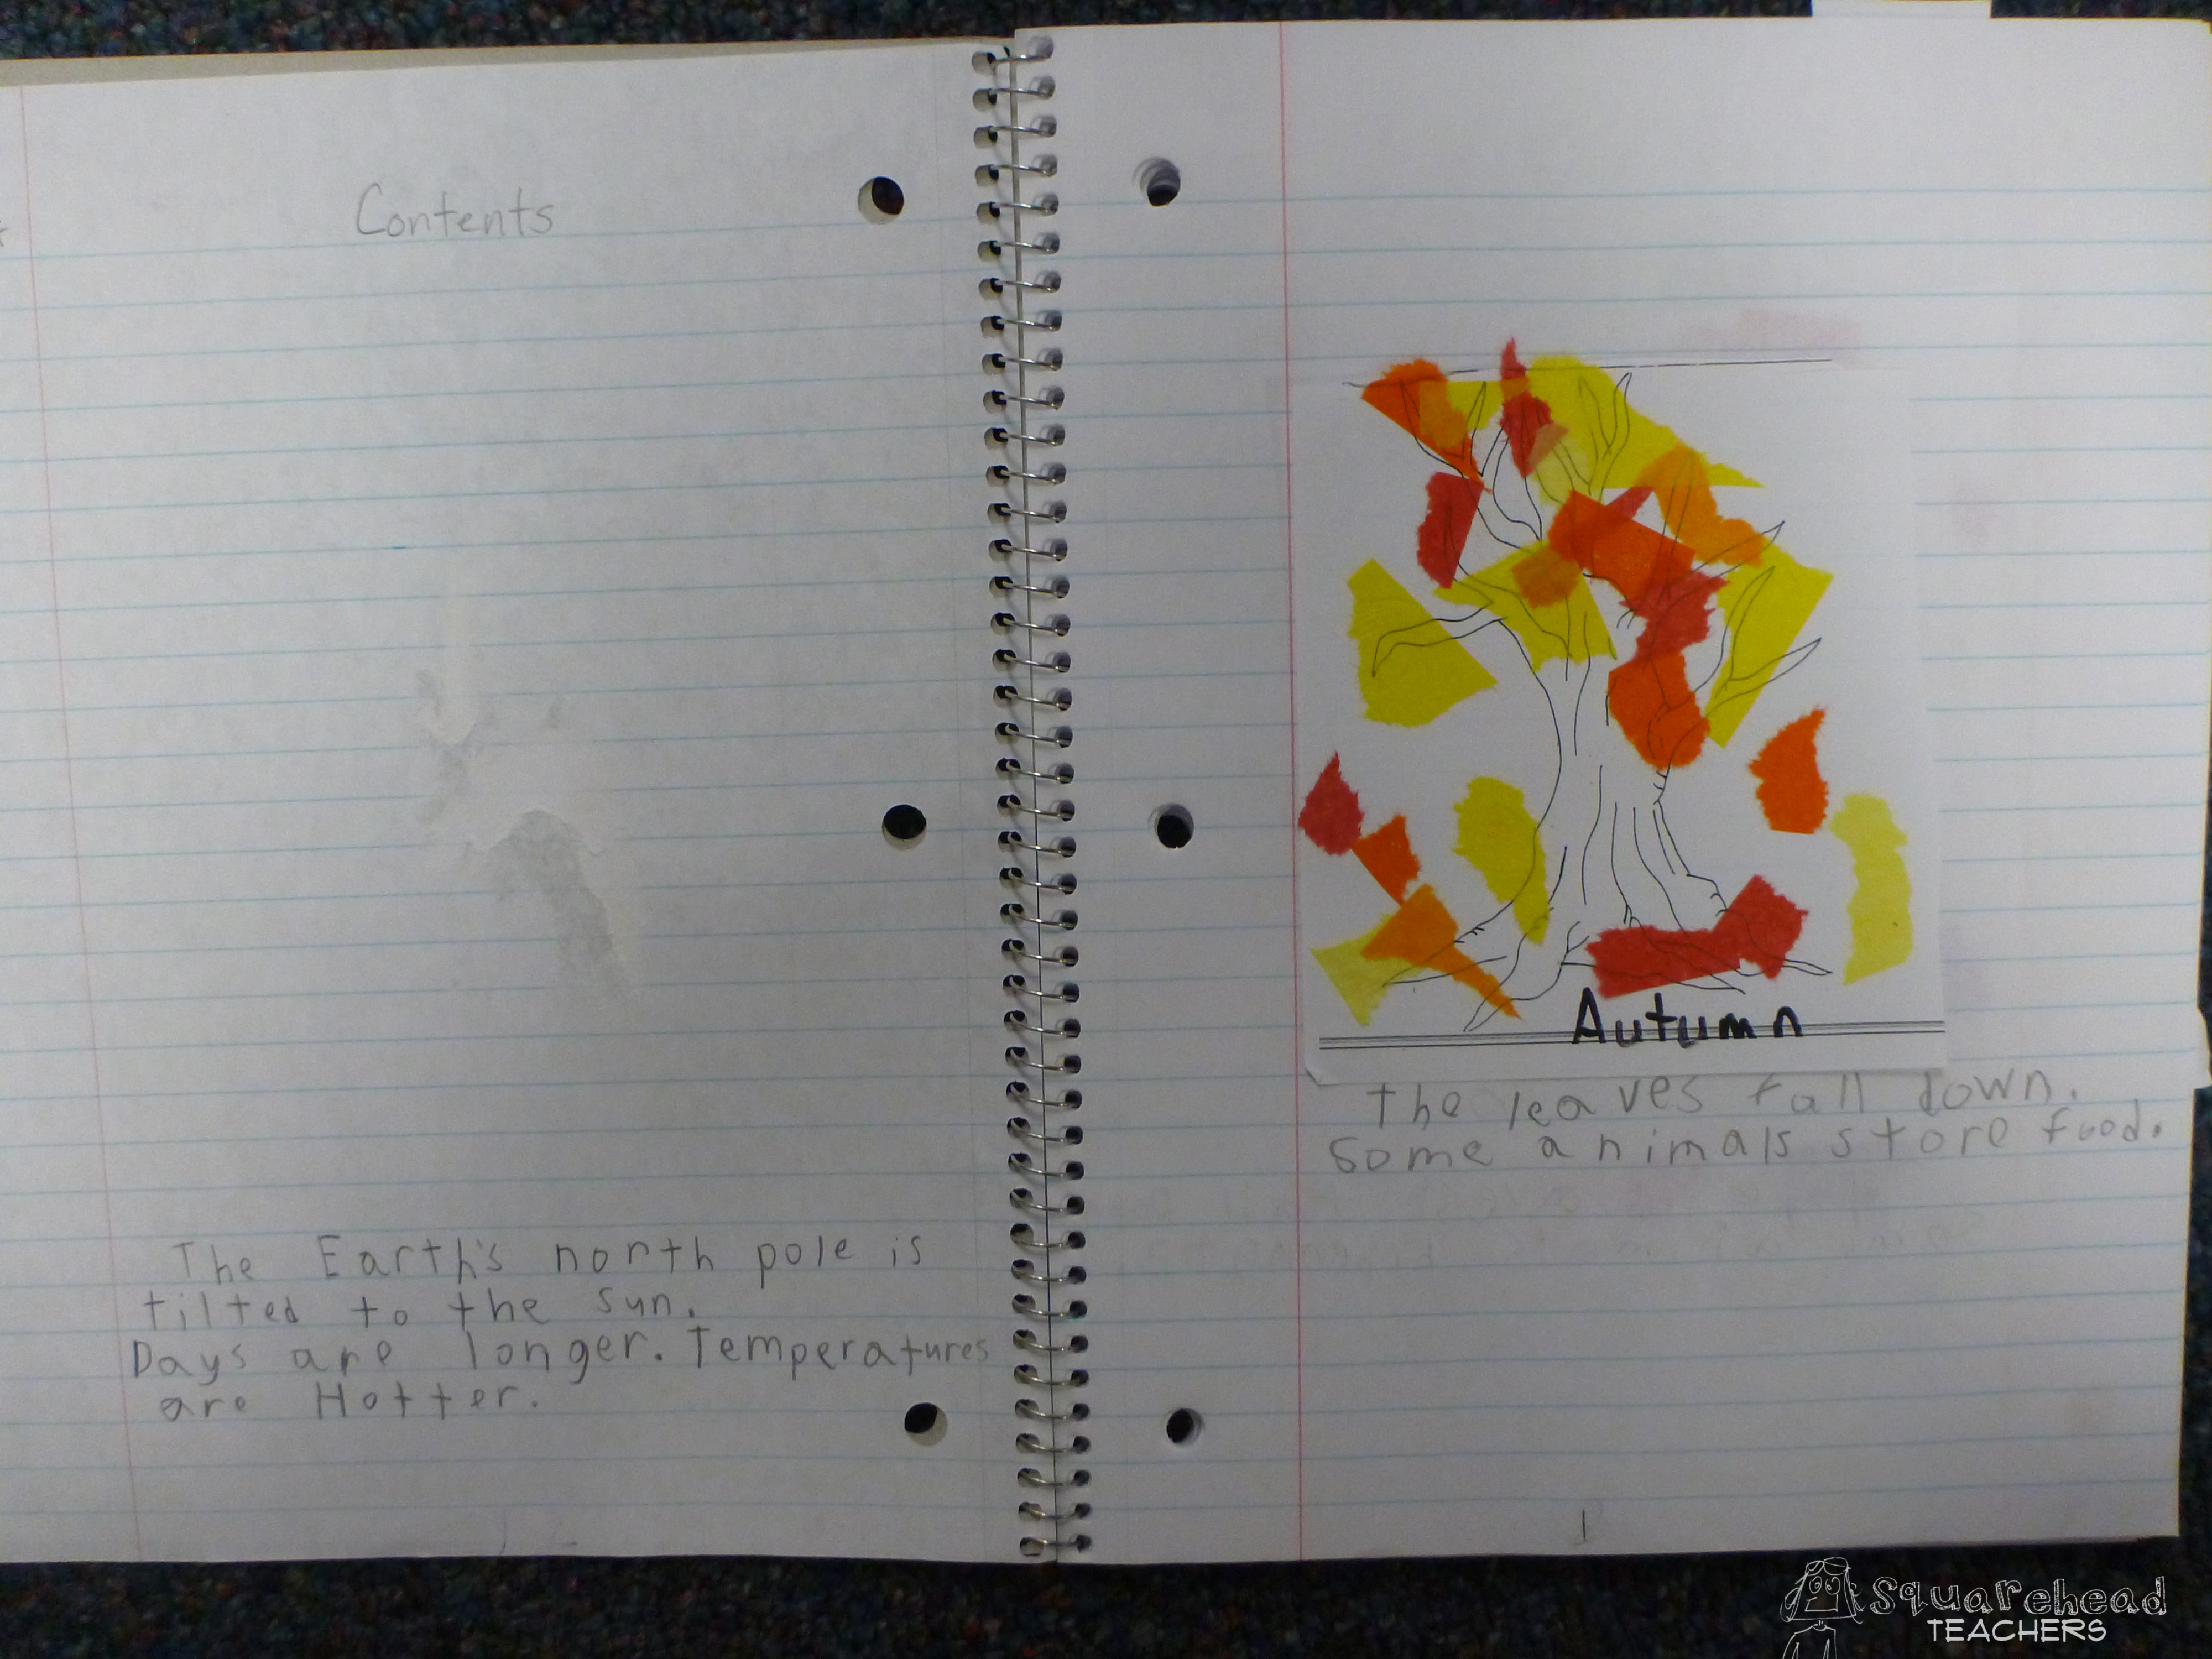
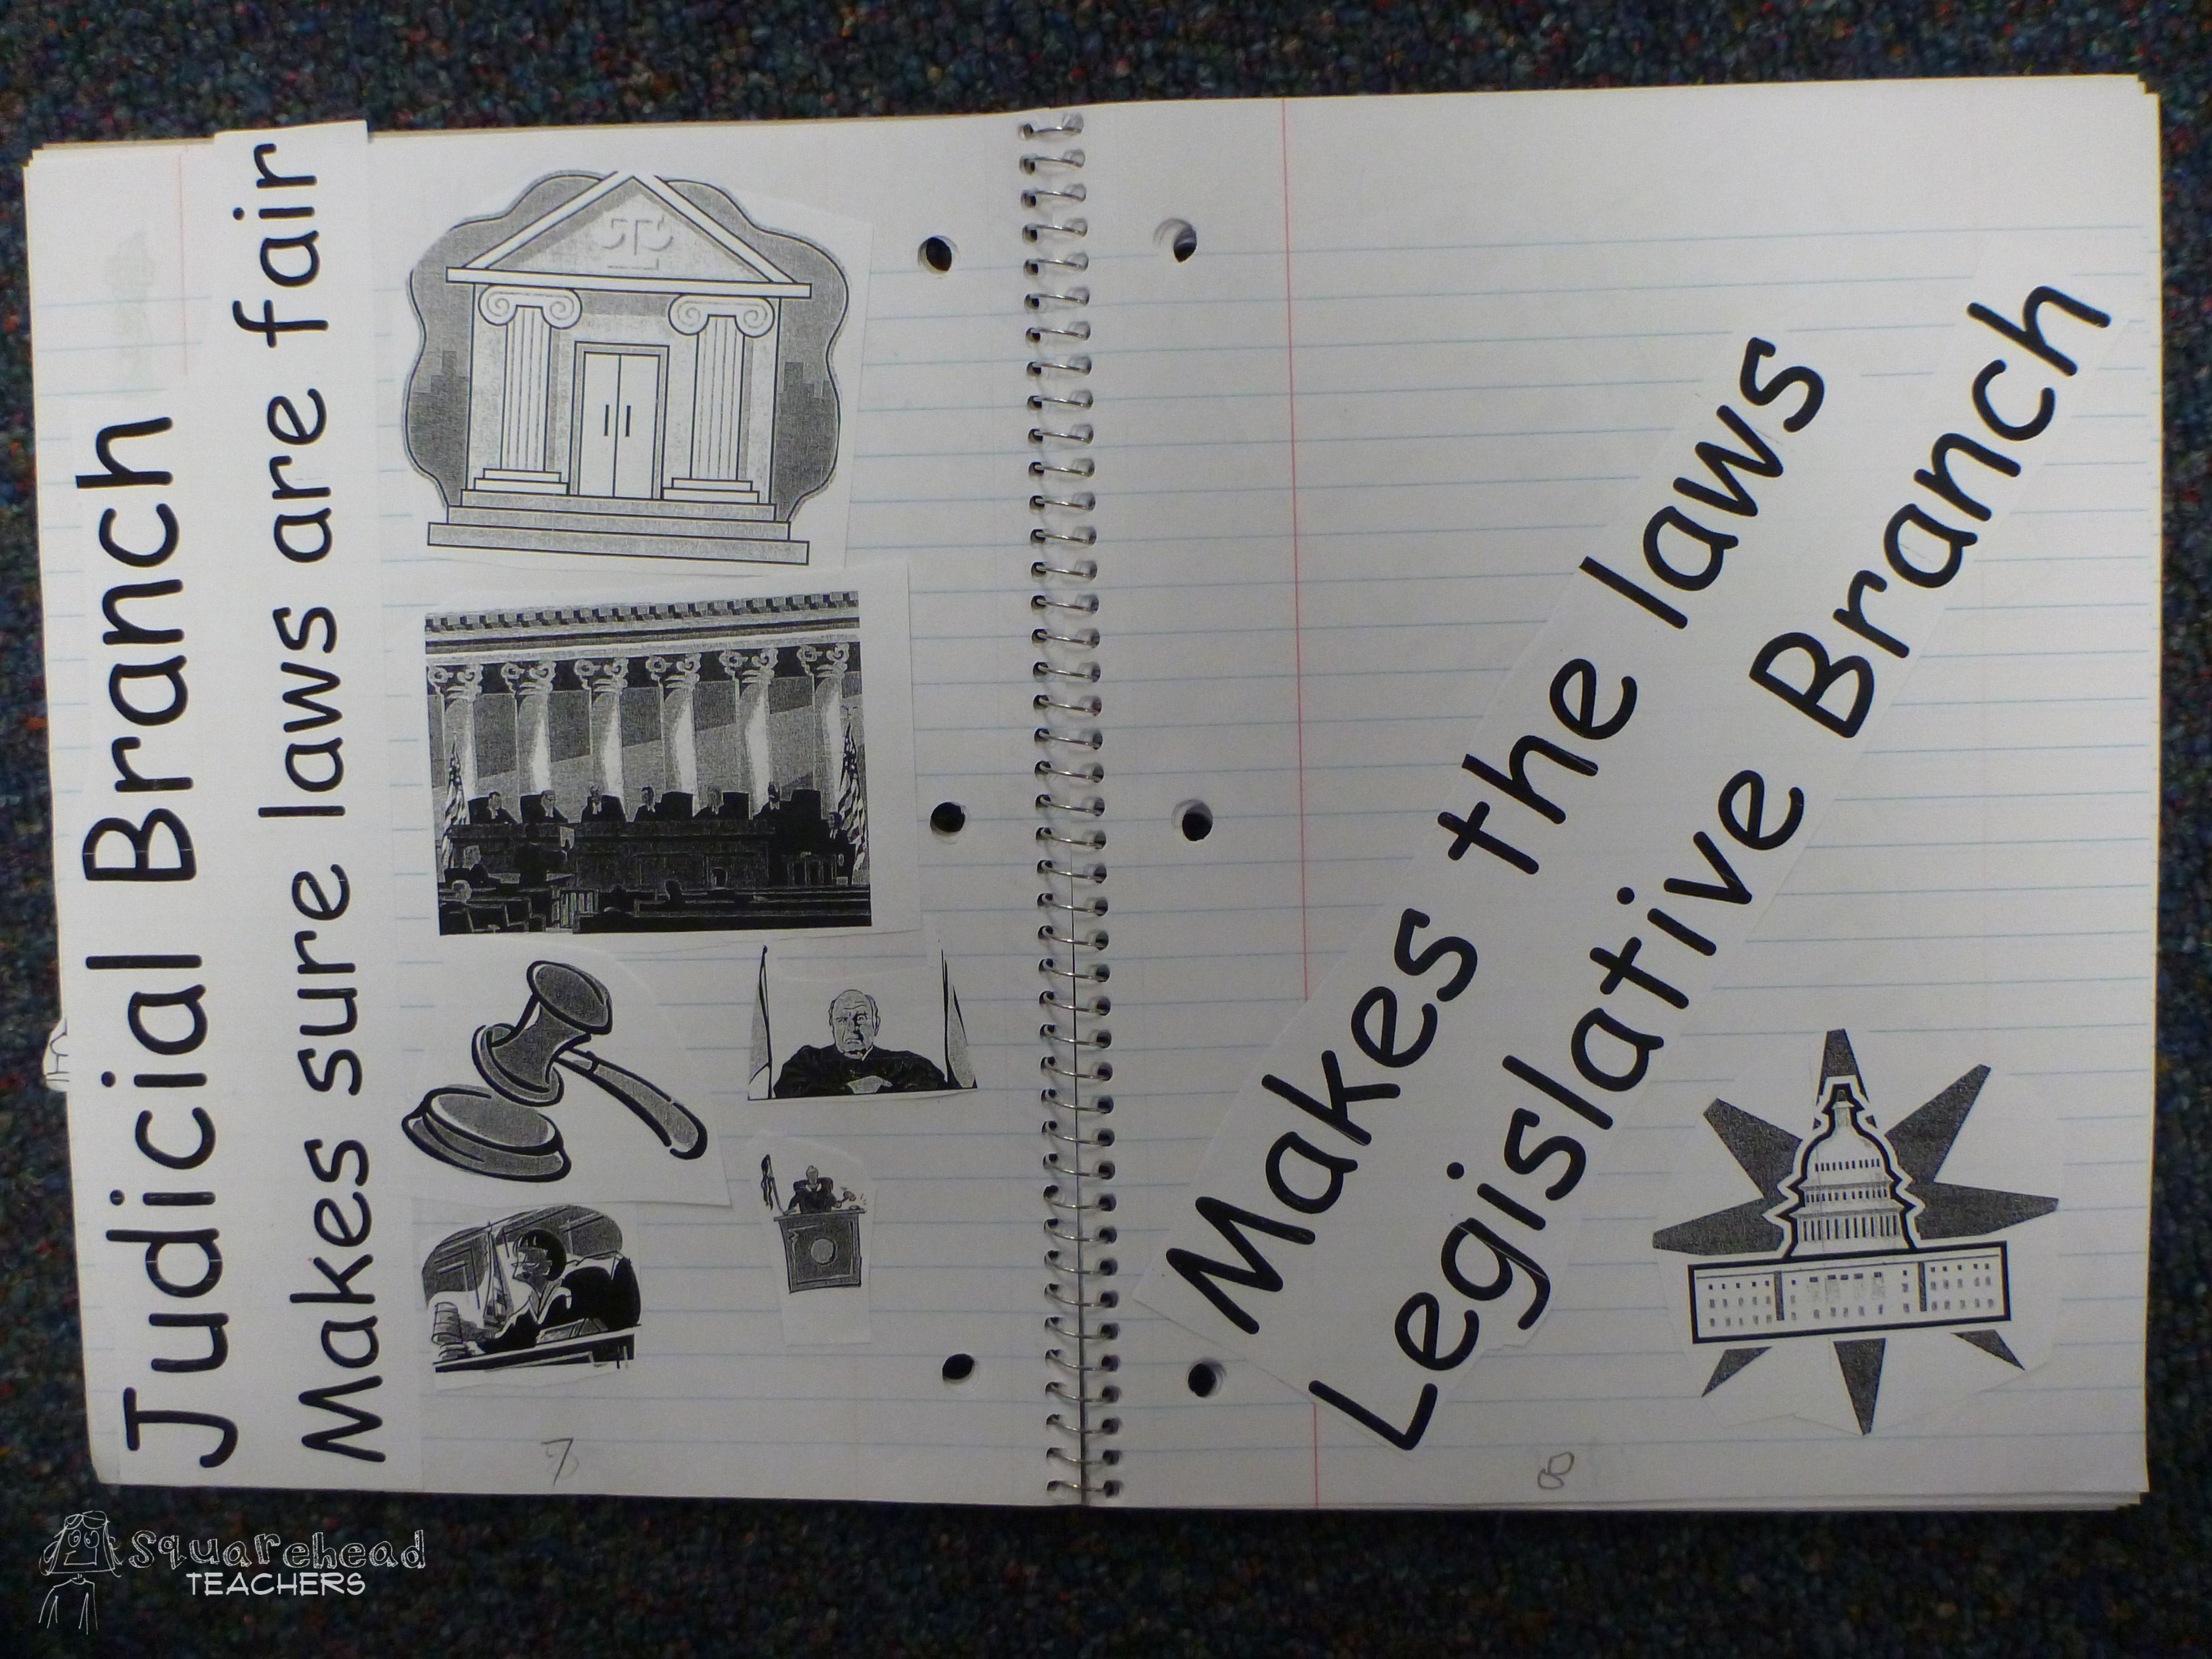
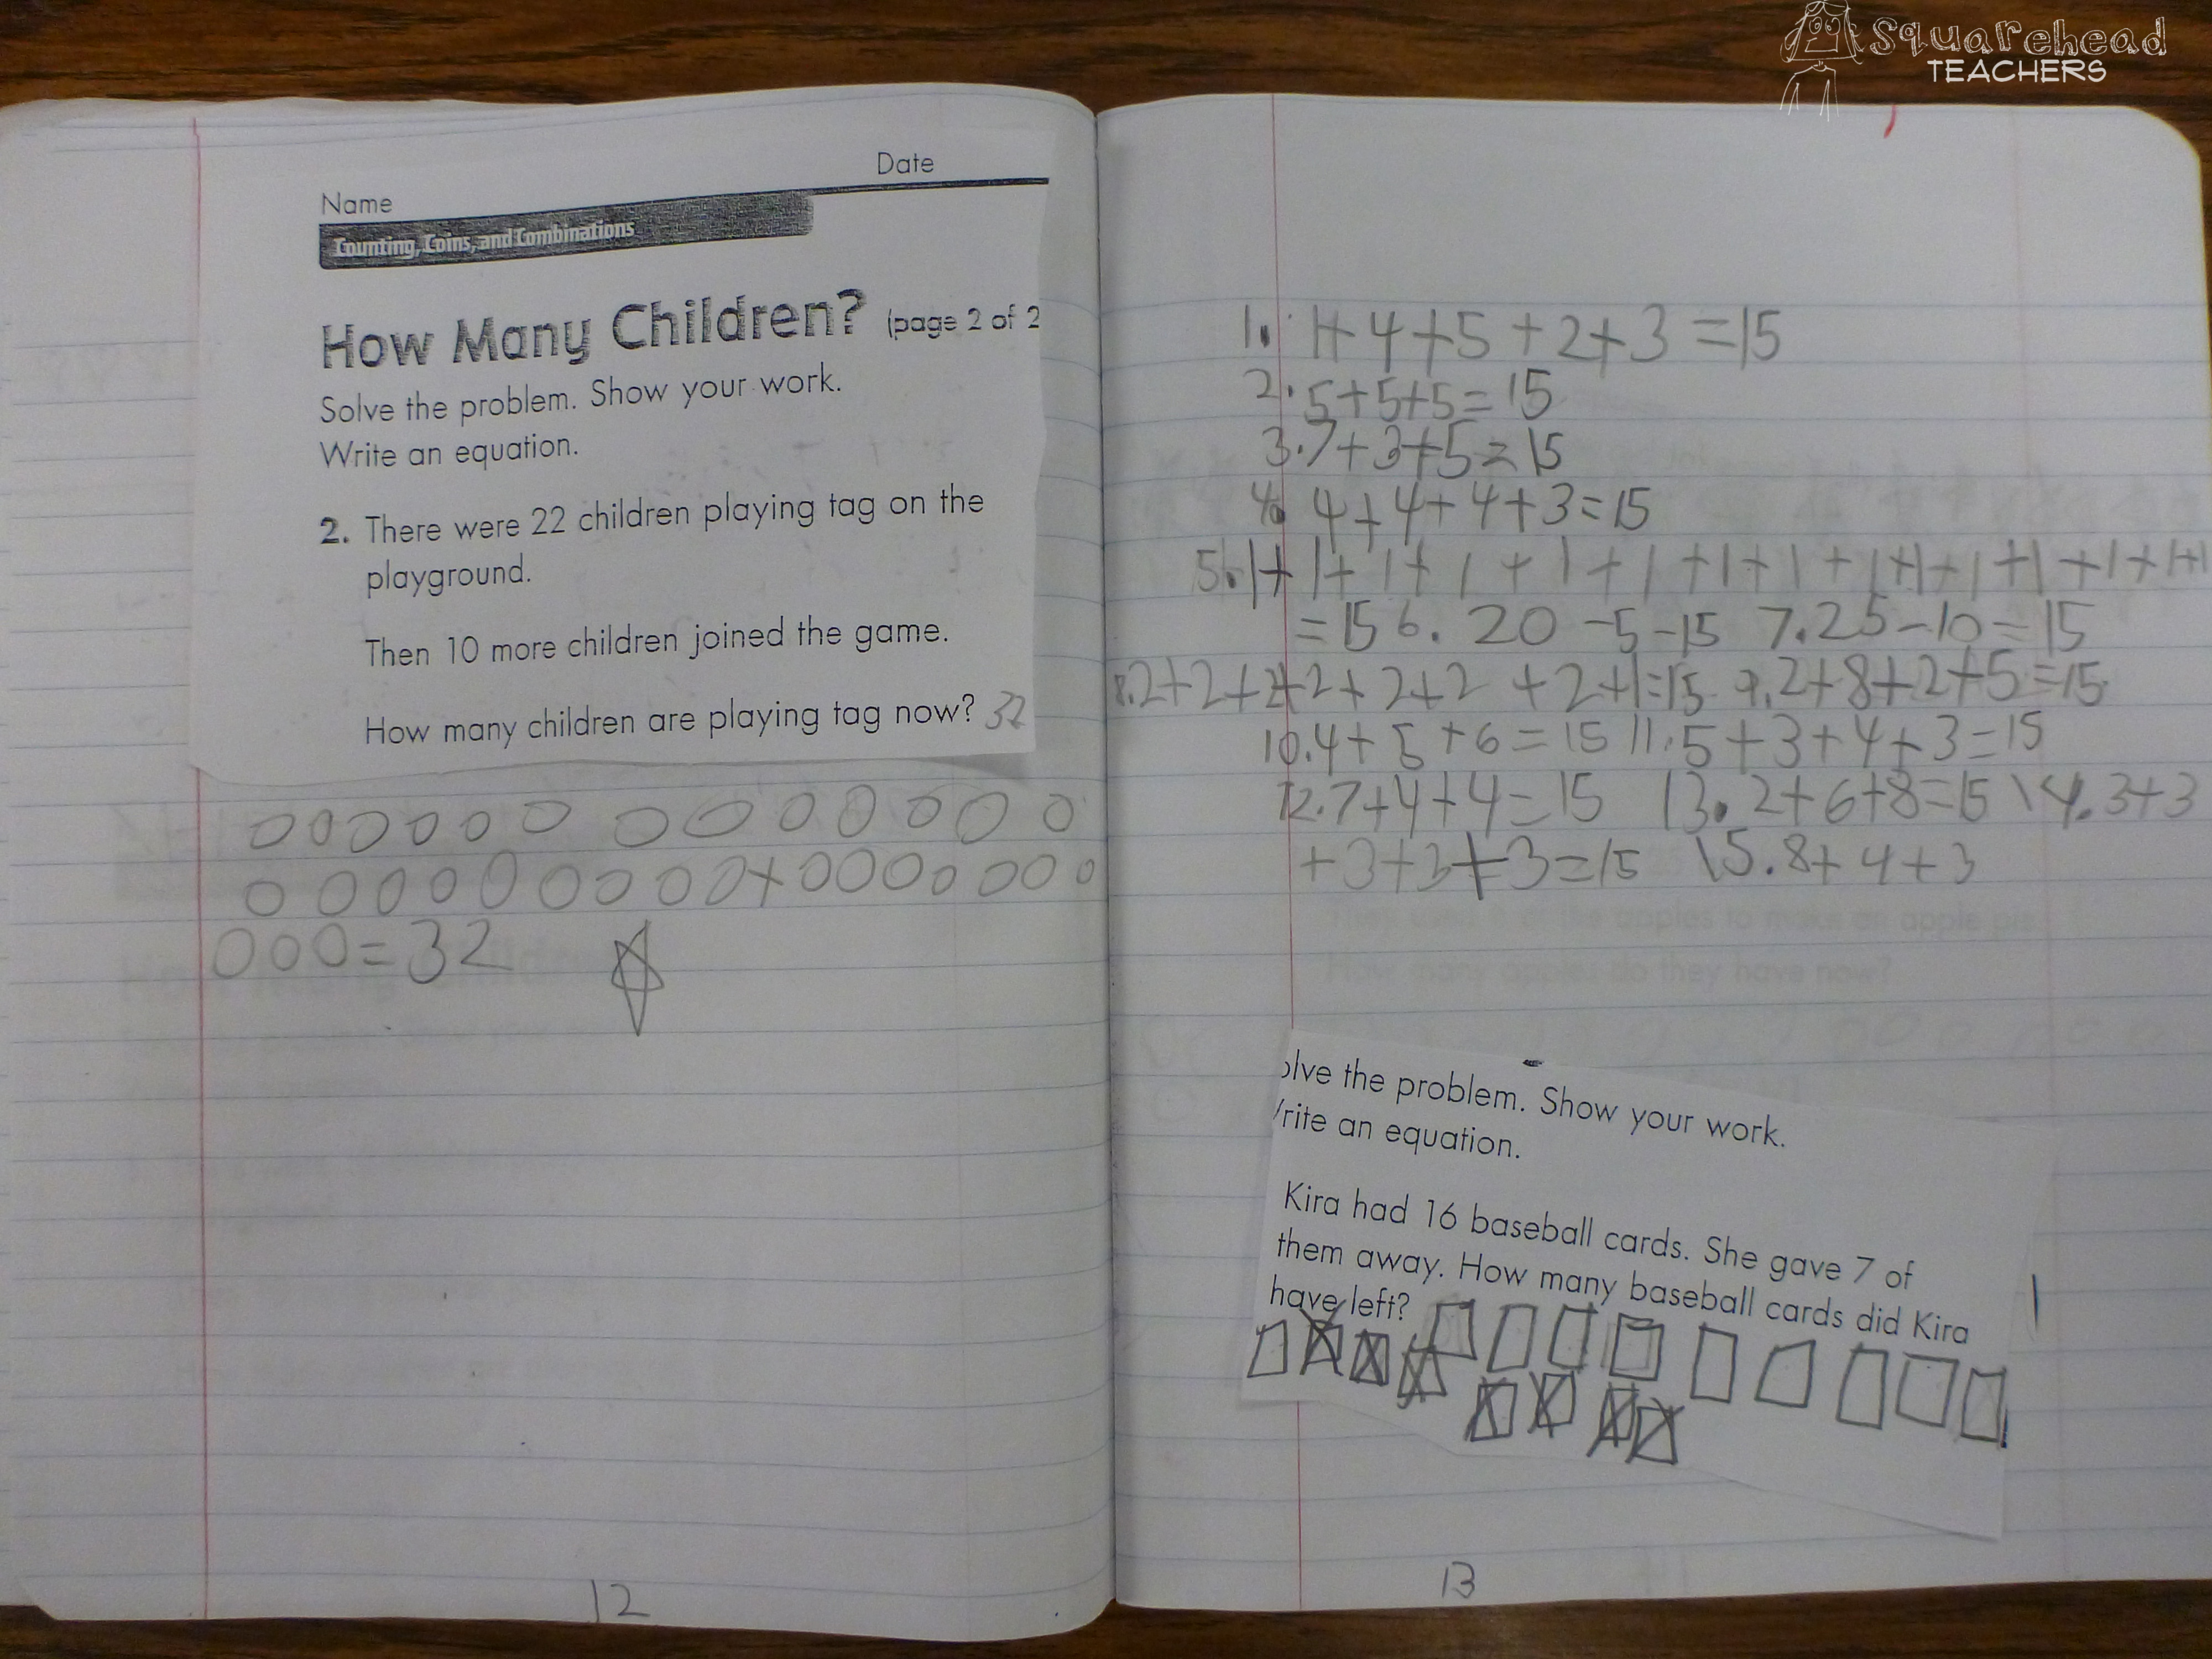
3. Do projects directly in the journal… or have them glued in when kids finish the project. This way, you can refer back to projects/assignments you’ve done when you need to review for a test, etc.

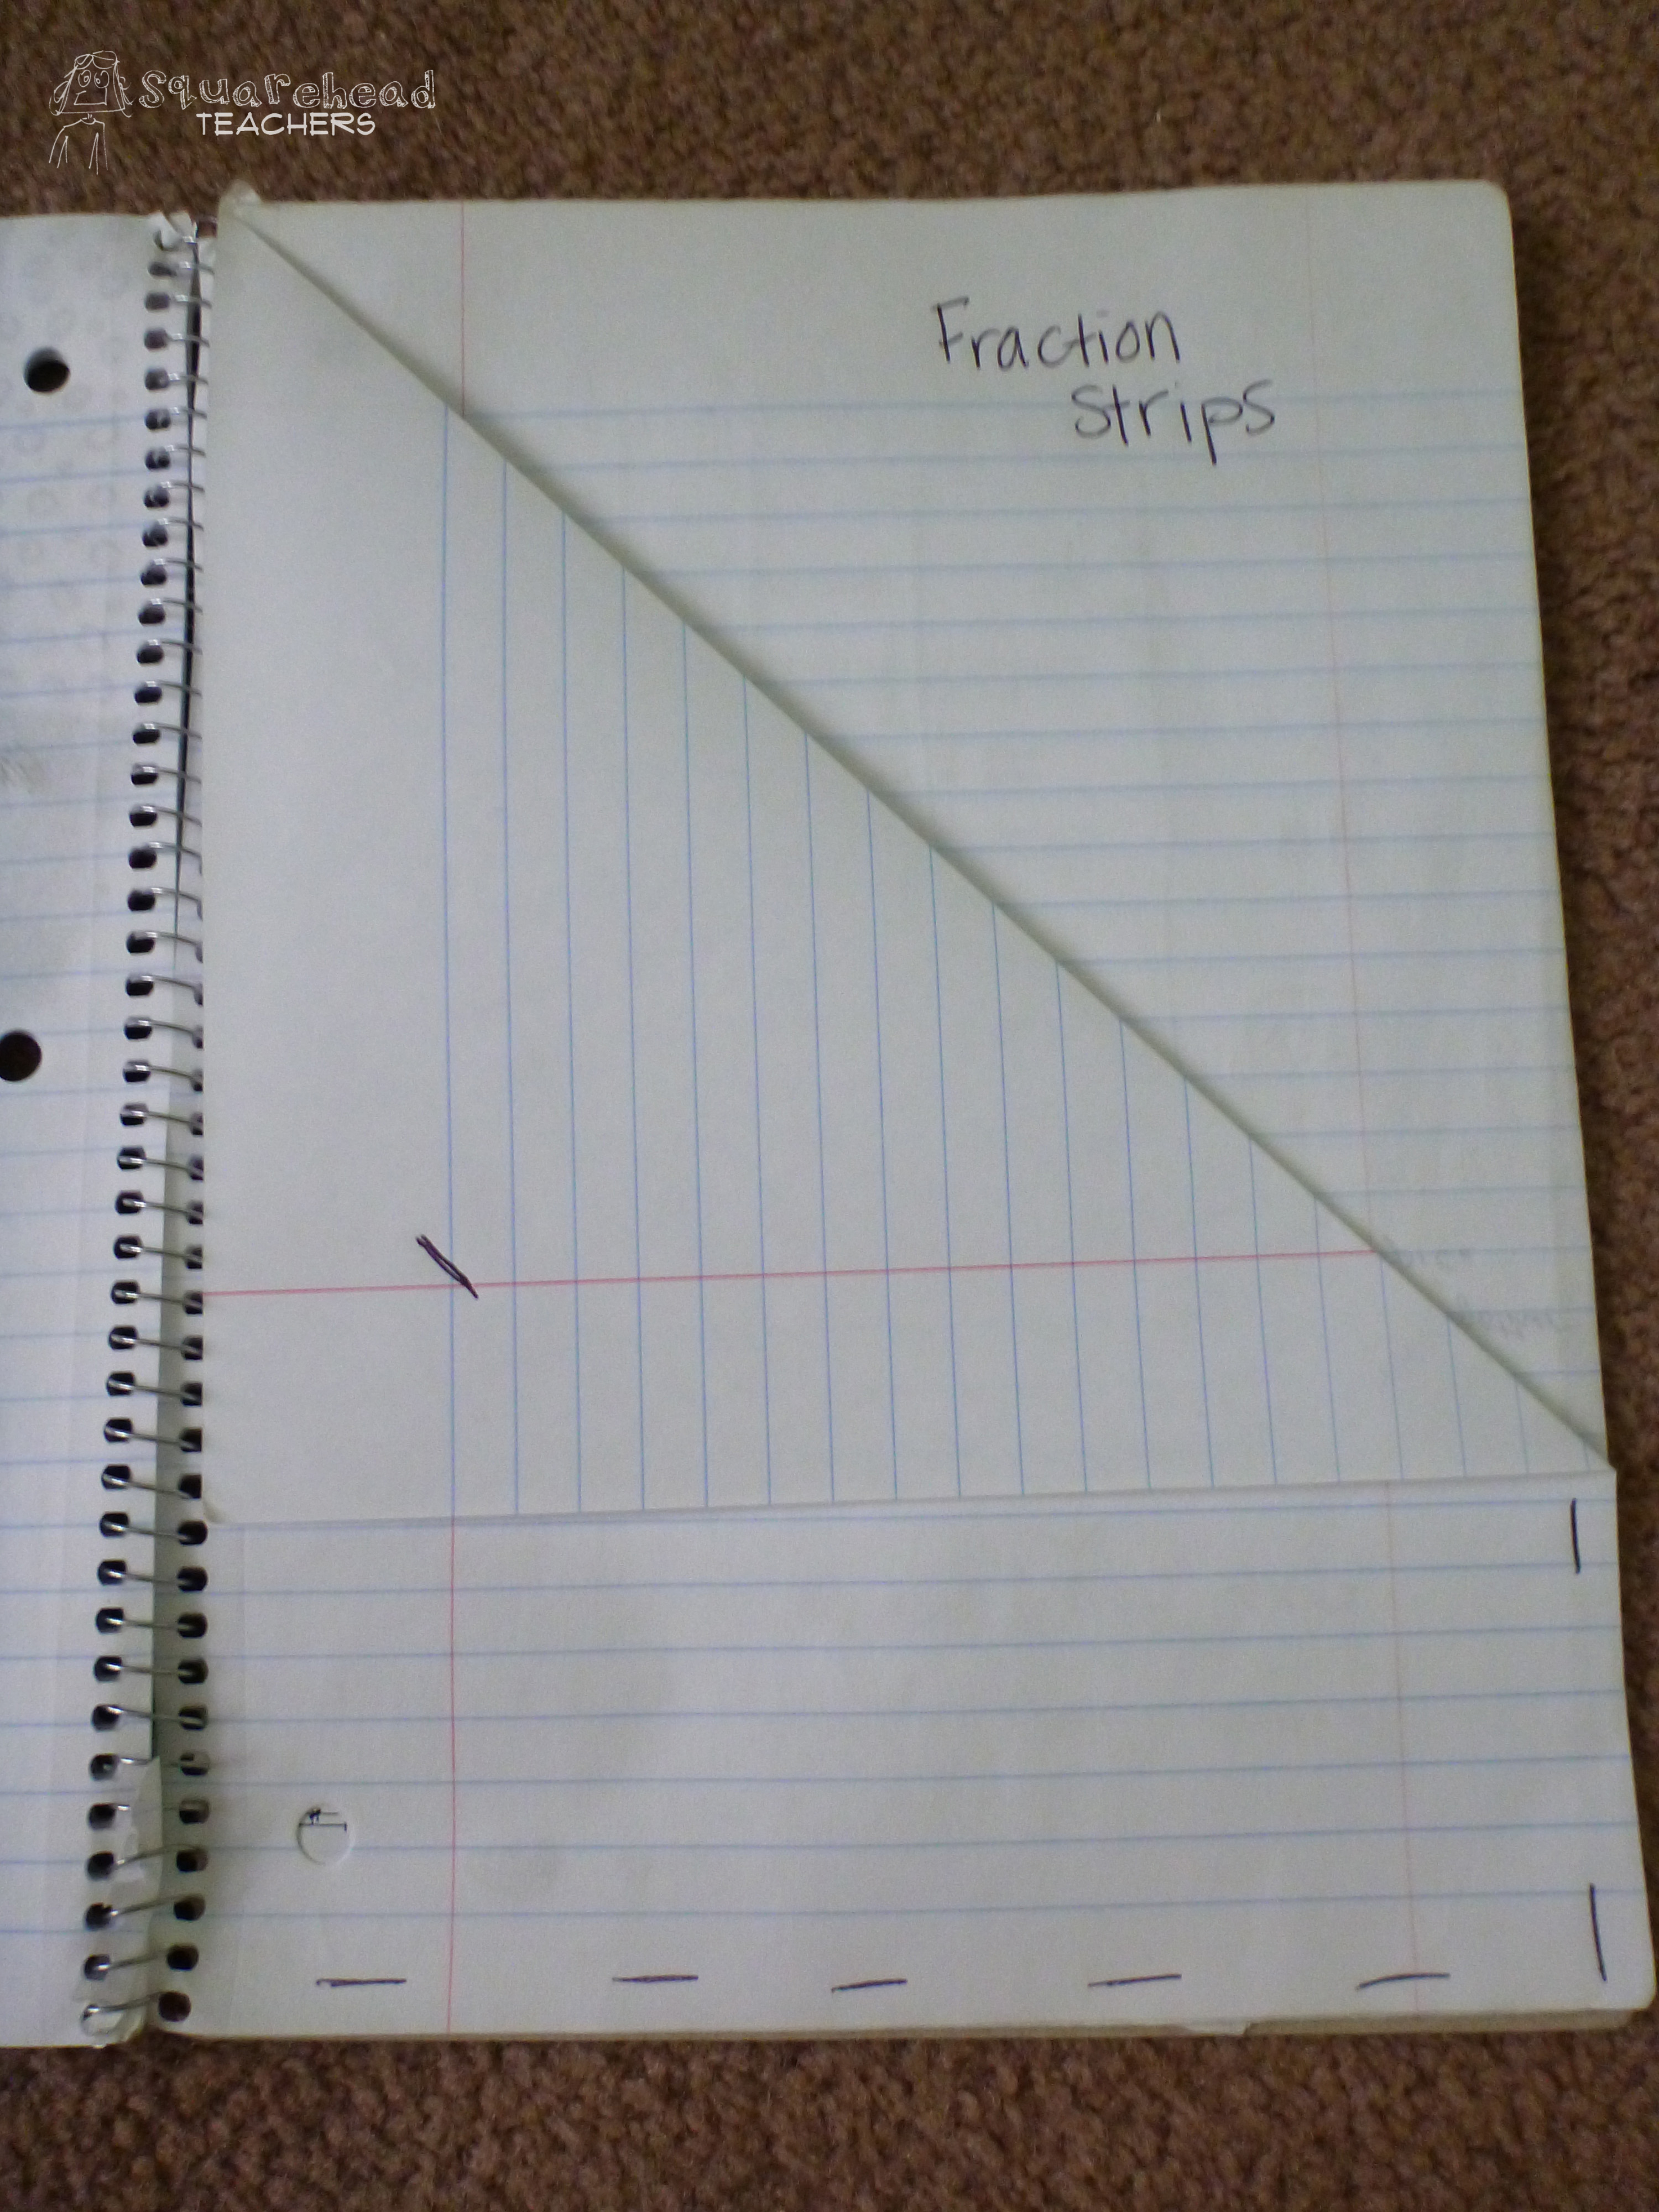
4. Pockets are awesome. Sometimes you want students to keep a project, but you don’t want it glued down. So pockets do the trick. Fold down one corner of a sheet and staple it to the page behind it. Label the pocket, so kids will know what goes in the pocket. Some teachers like the triangle cut off, but I sometimes just have them staple it down to save time (I walk around with the stapler, since it just seems to work out better when I do it). Make sure you have the folded triangle on the outside, or sometimes things get stick inside the pocket. Cut or staple the triangle piece, it’s up to you…
If you have to combine 2 subjects into one notebook, you’ll have to figure out a way to keep the subjects straight. Some teachers have the kids start one subject on one side, have them flip the book over and start from the back on the second subject. This way, there are 2 front covers and no back cover. My only caution with this is to make sure your kids understand how this flipping ordeal works and that they open to the right part of the book each time you start a lesson.
I also make a sample journal as the students make theirs. This way, I can model exactly how I want theirs to look, and the struggling kids can just copy me each time.
Oooh! One more thought. Sometimes, for really important things, I give students a quarter sheet of colored paper and ask them to write main ideas on it before gluing it to the page. This way, you’ve got the effect of highlighting without the mess of the marker. And everyone’s looks the same. For my 6th grade math journals, I did this with things like formulas. This way, I could always say “the formula you need is on a bright orange square in your journal. Go find it in your notes.”
One teacher I discussed this with keeps lots of extra copies of a hundreds chart handy so she can use them in math journals.
Click here for more free math stuff!
Here’s one way a teacher I know helps kids stay motivated with fluency. She’d got a bulletin board (not huge) with a star for every student. Each star has the student’s classroom number on it (not their name- for privacy reasons, and so she can use it the following year). All the start are laminated after she writes the number on it. About once or twice a month, she updates each kid’s star to show their current words per minute rate. She’s noticed that this really motivates some kids and it’s an easy way to show her class that fluency is important.
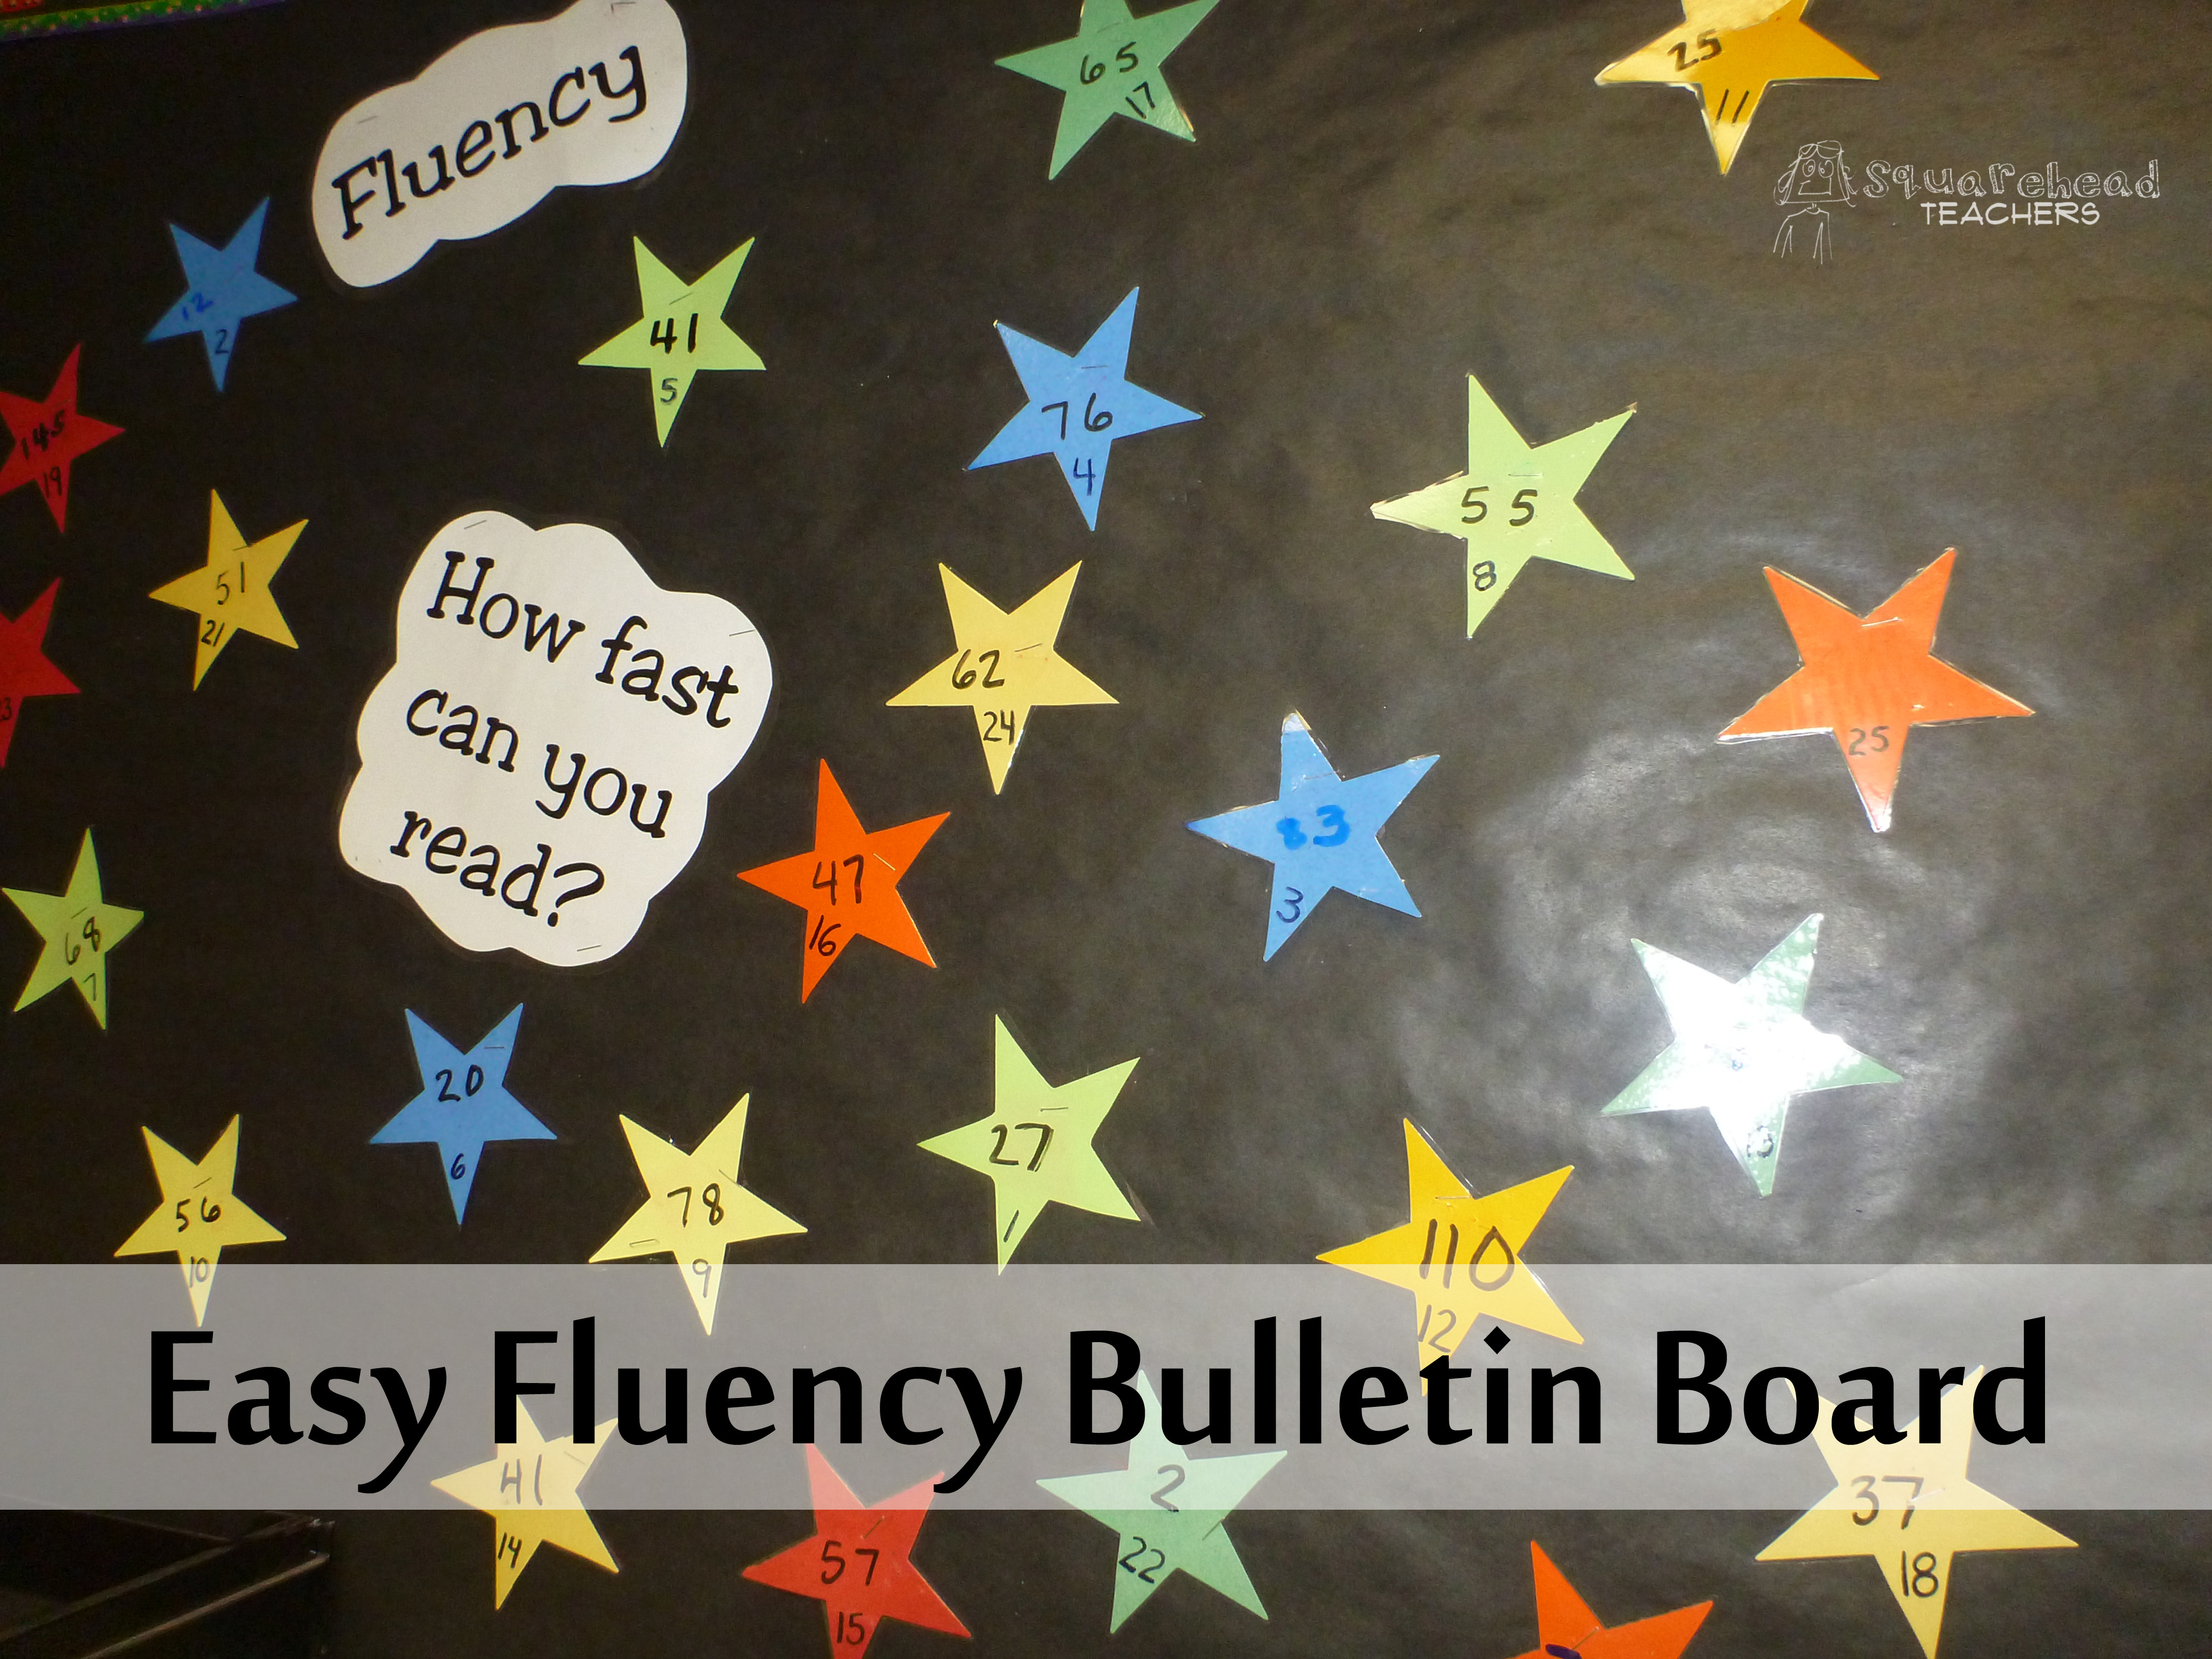
This idea could easily be adapted for home school kids. Laminate a shape and put it on your fridge. I guess there’s no real way to keep it anonymous, since your kids can probably figure out whose star is whose… But it’s still a good way to show that you as the parent value fluency.
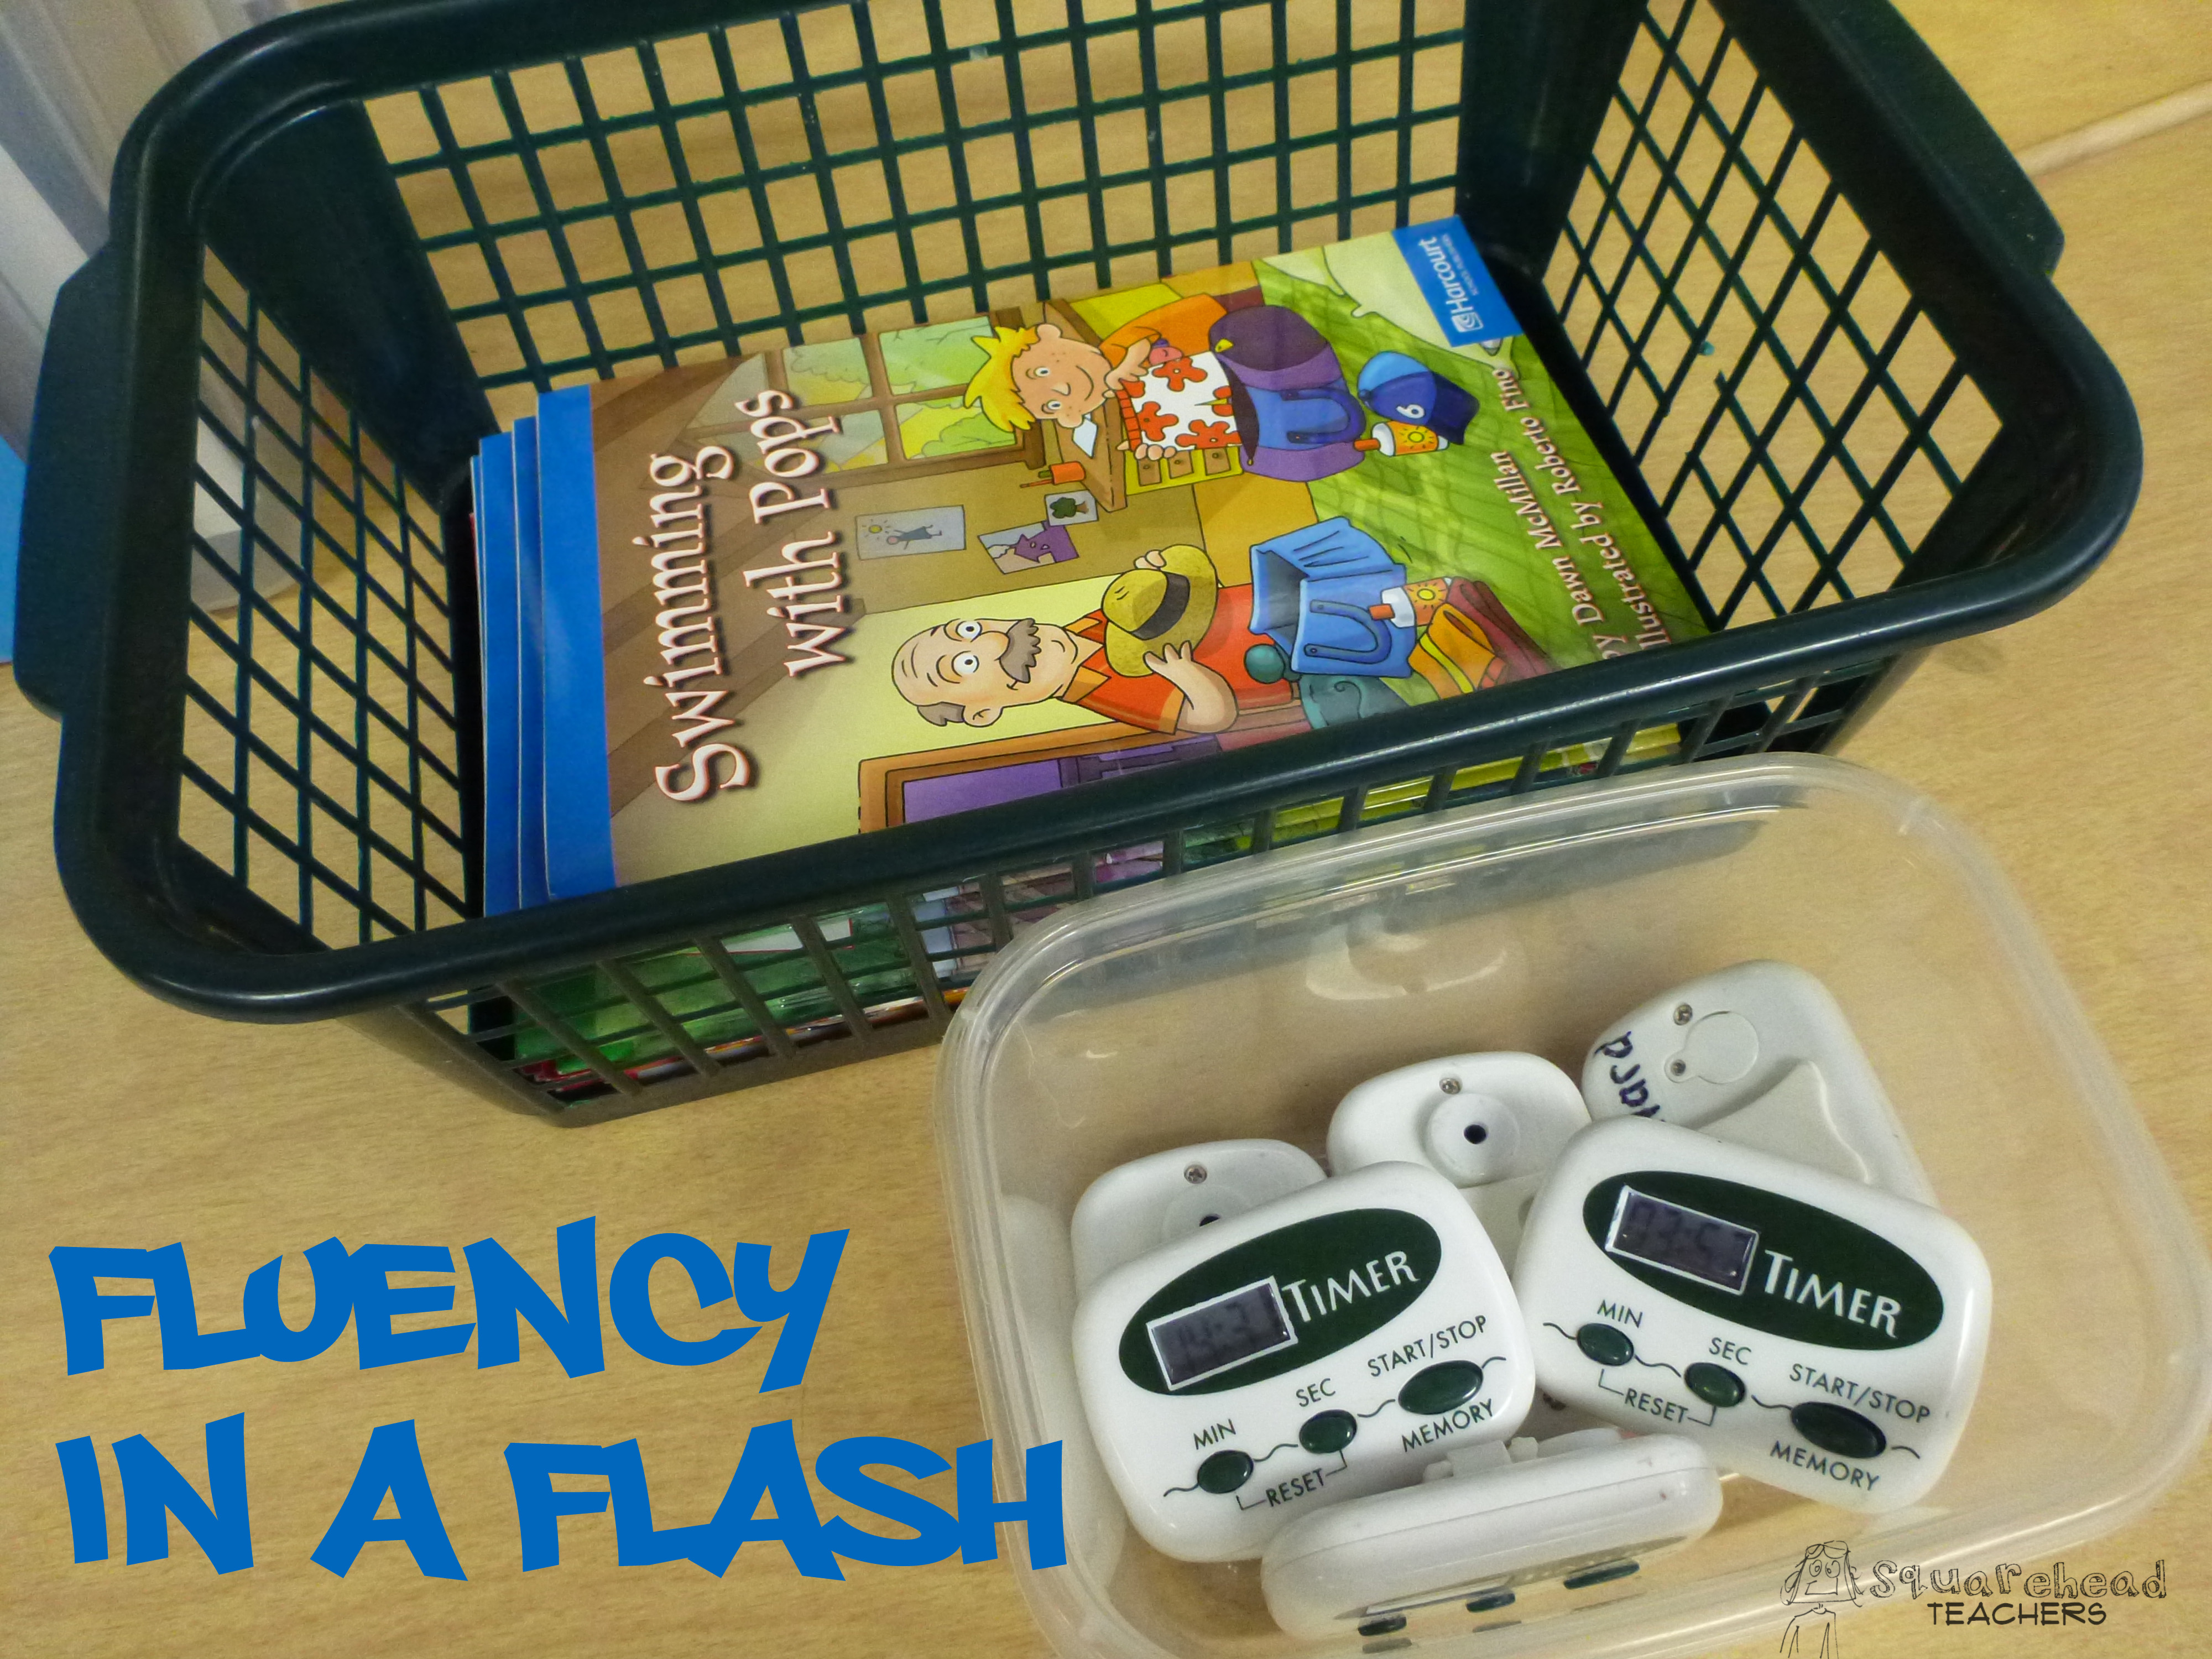
Here’s a great way to get more use out of those leveled reader books you use for a week and then have to put back in the box until next year… and make an easy center for your students! After you’ve gone through the books with your guided reading groups and are moving on to the next set of books, place the ones you’ve already used in a box or plastic shoe box. Also include a bunch of timers for kids to use while they do a 1 minute timing. If your kids are on various levels, make a list of which kids use which books (for example, list kids who use the books with the red tab, green tab, etc.). Include copies of some basic story graphic organizers. Here’s what kids do for the center:
1. Whisper read the entire book. They should have seen it last week, so it won’t be killer. If you have those plastic PVC pipe phones, use them for this step too.
2. Fill out a graphic organizer about the book.
3. Turn to the first page of the book and start the timer counting down from 1 minute. When the timer stops, have them use a paper clip to mark where they finished. Have them do it a second time to see if they can get farther the second time.
So here’s the overall supplies list for the center: