Paint Swatch Turkey Craft (Thanksgiving)

I absolutely love the paint section at Lowe’s. The colors are just so fun! So when I saw the swatches, I just had to grab some and turn them into a craft. And here’s what I came up with (just in time for Thanksgiving!):

P1050991 copy

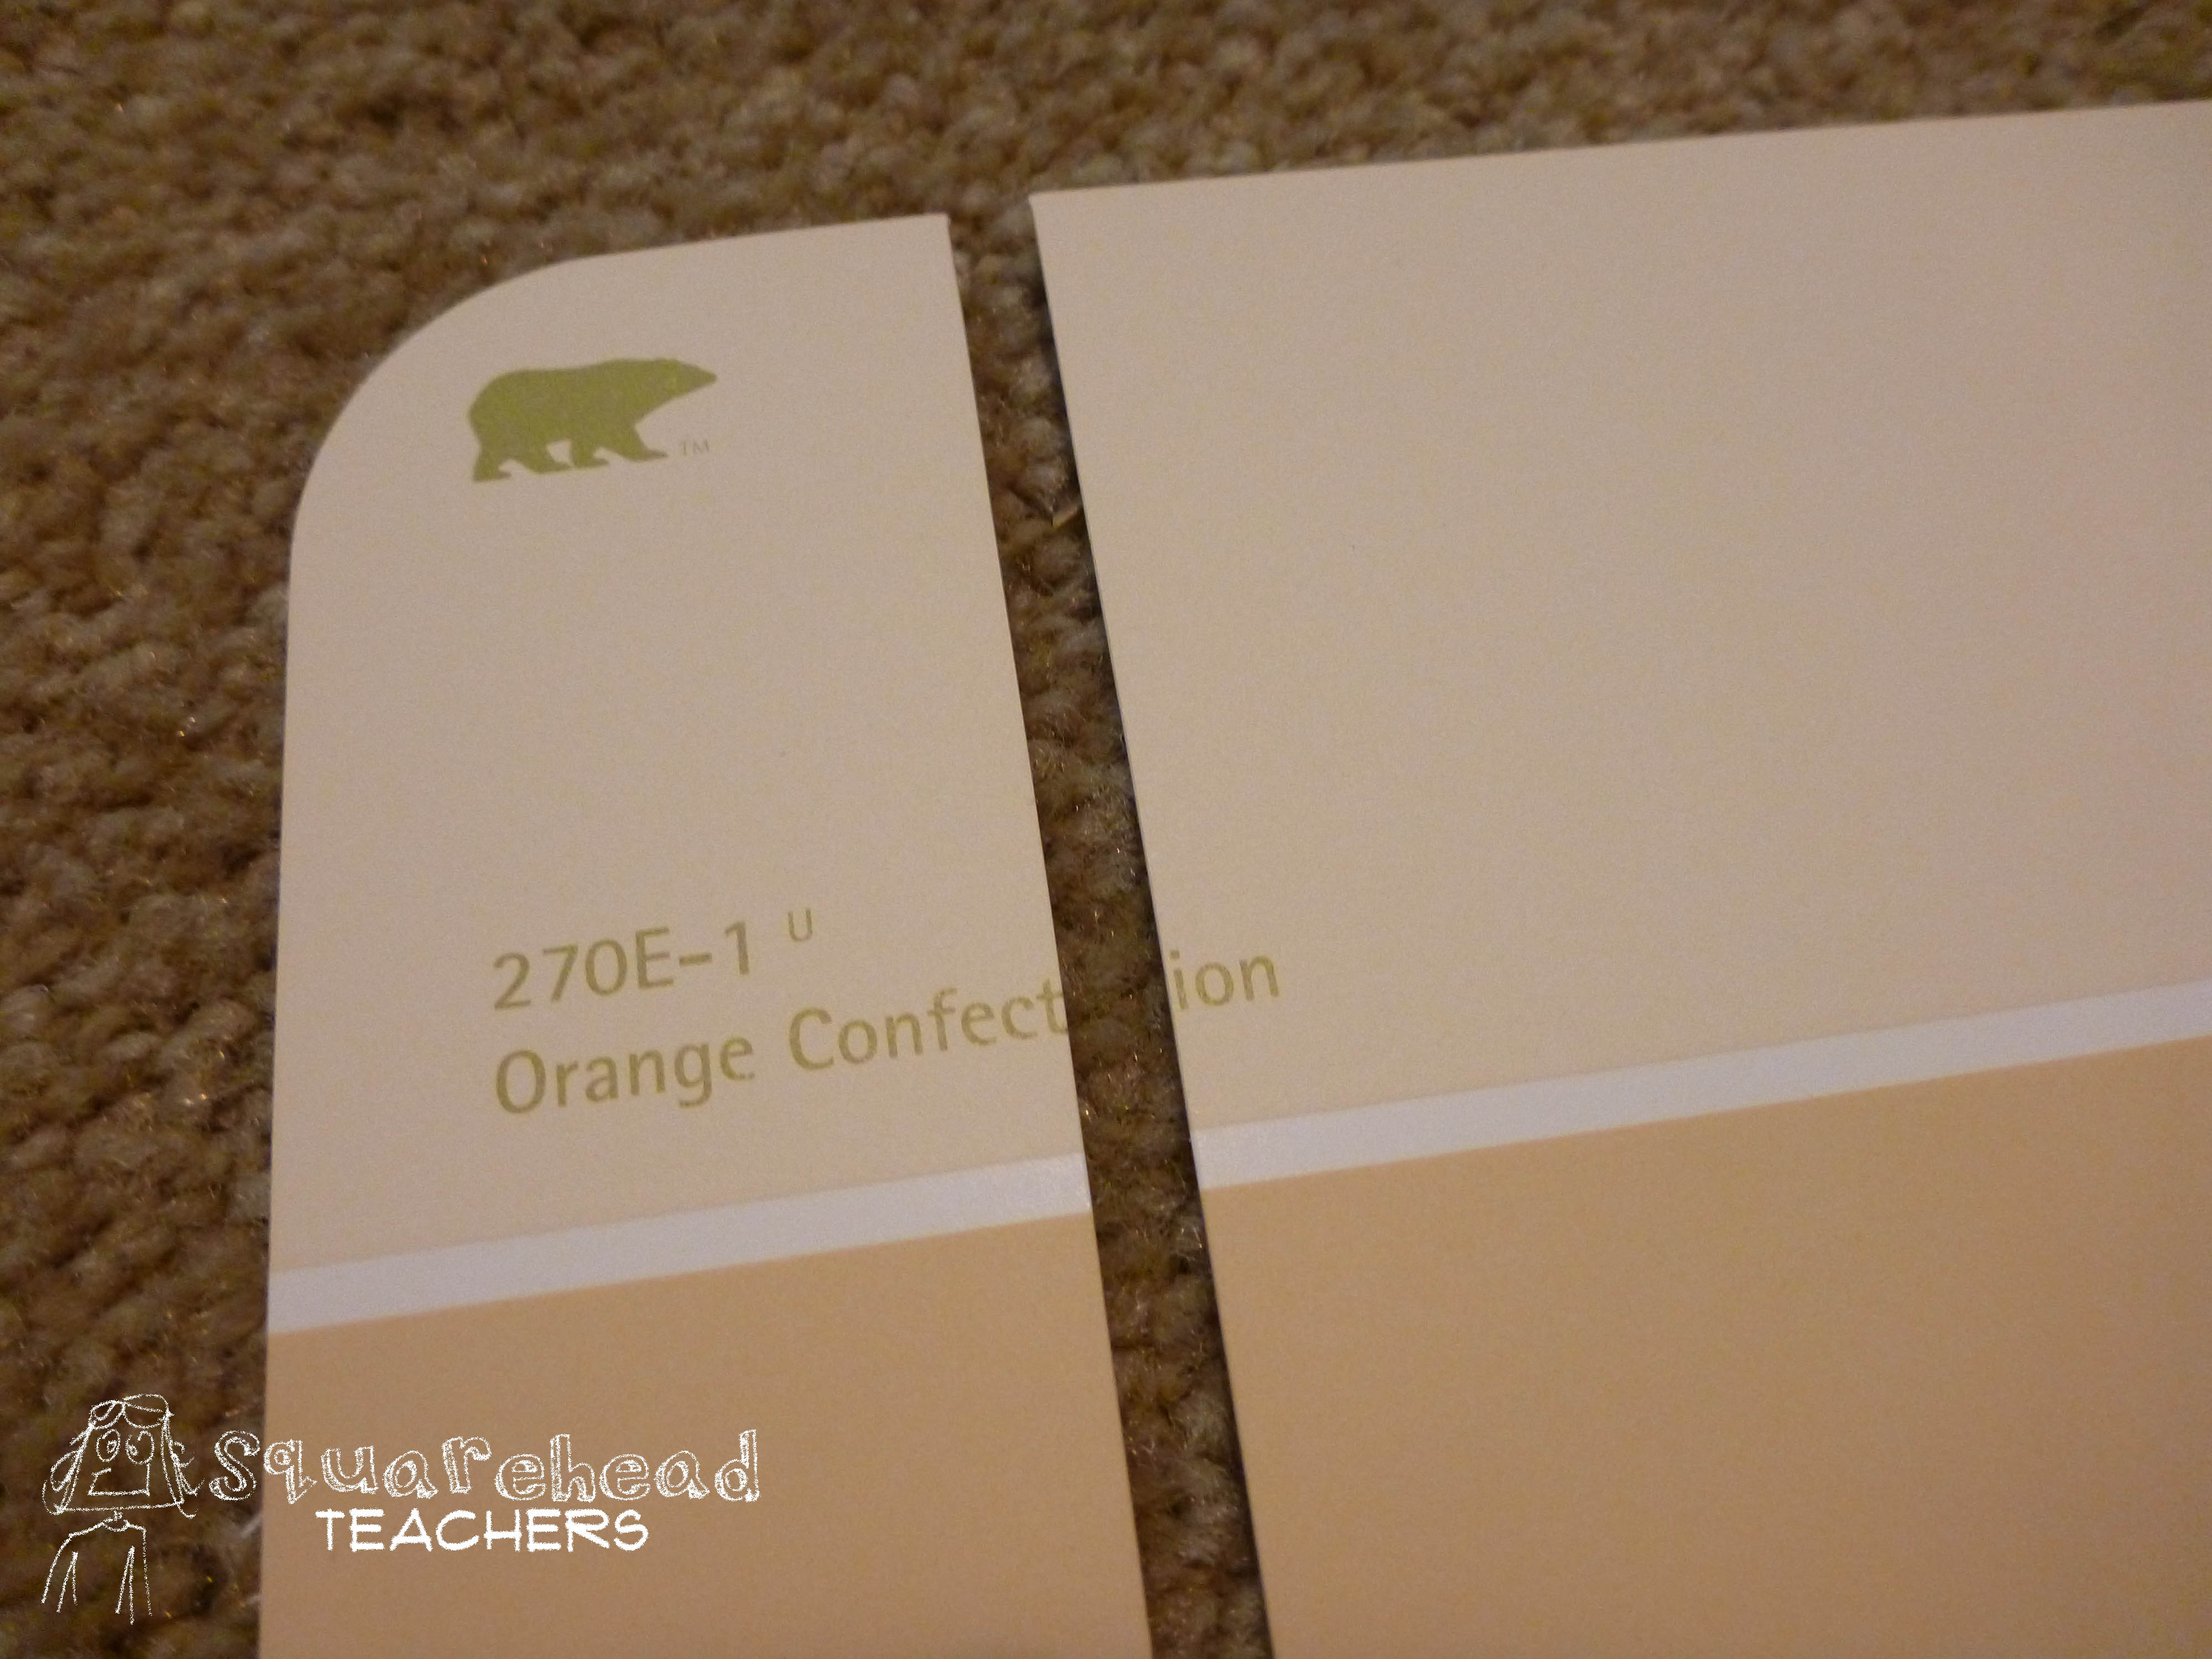
It was super simple so you can do it with even young kids and it didn’t take very long. You’ll need some paint swatches, brown construction paper, scissors and glue or tape. First, I trimmed off the part of the swatch that says the paint name. I recycled those pieces so they wouldn’t accidentally end up on my turkey. I used a paper cutter, but students can use scissors, since it’s not very much cutting.

P1050984

Then I made strips by cutting the remaining parts of the swatch. Depending on the original size of the swatch, you’ll end up with more or less strips (or feathers). I’d have kids each cut up 1 or 2 swatches and then share the resulting feathers with kids around them so everyone ends up with a variety of colors.P1050985

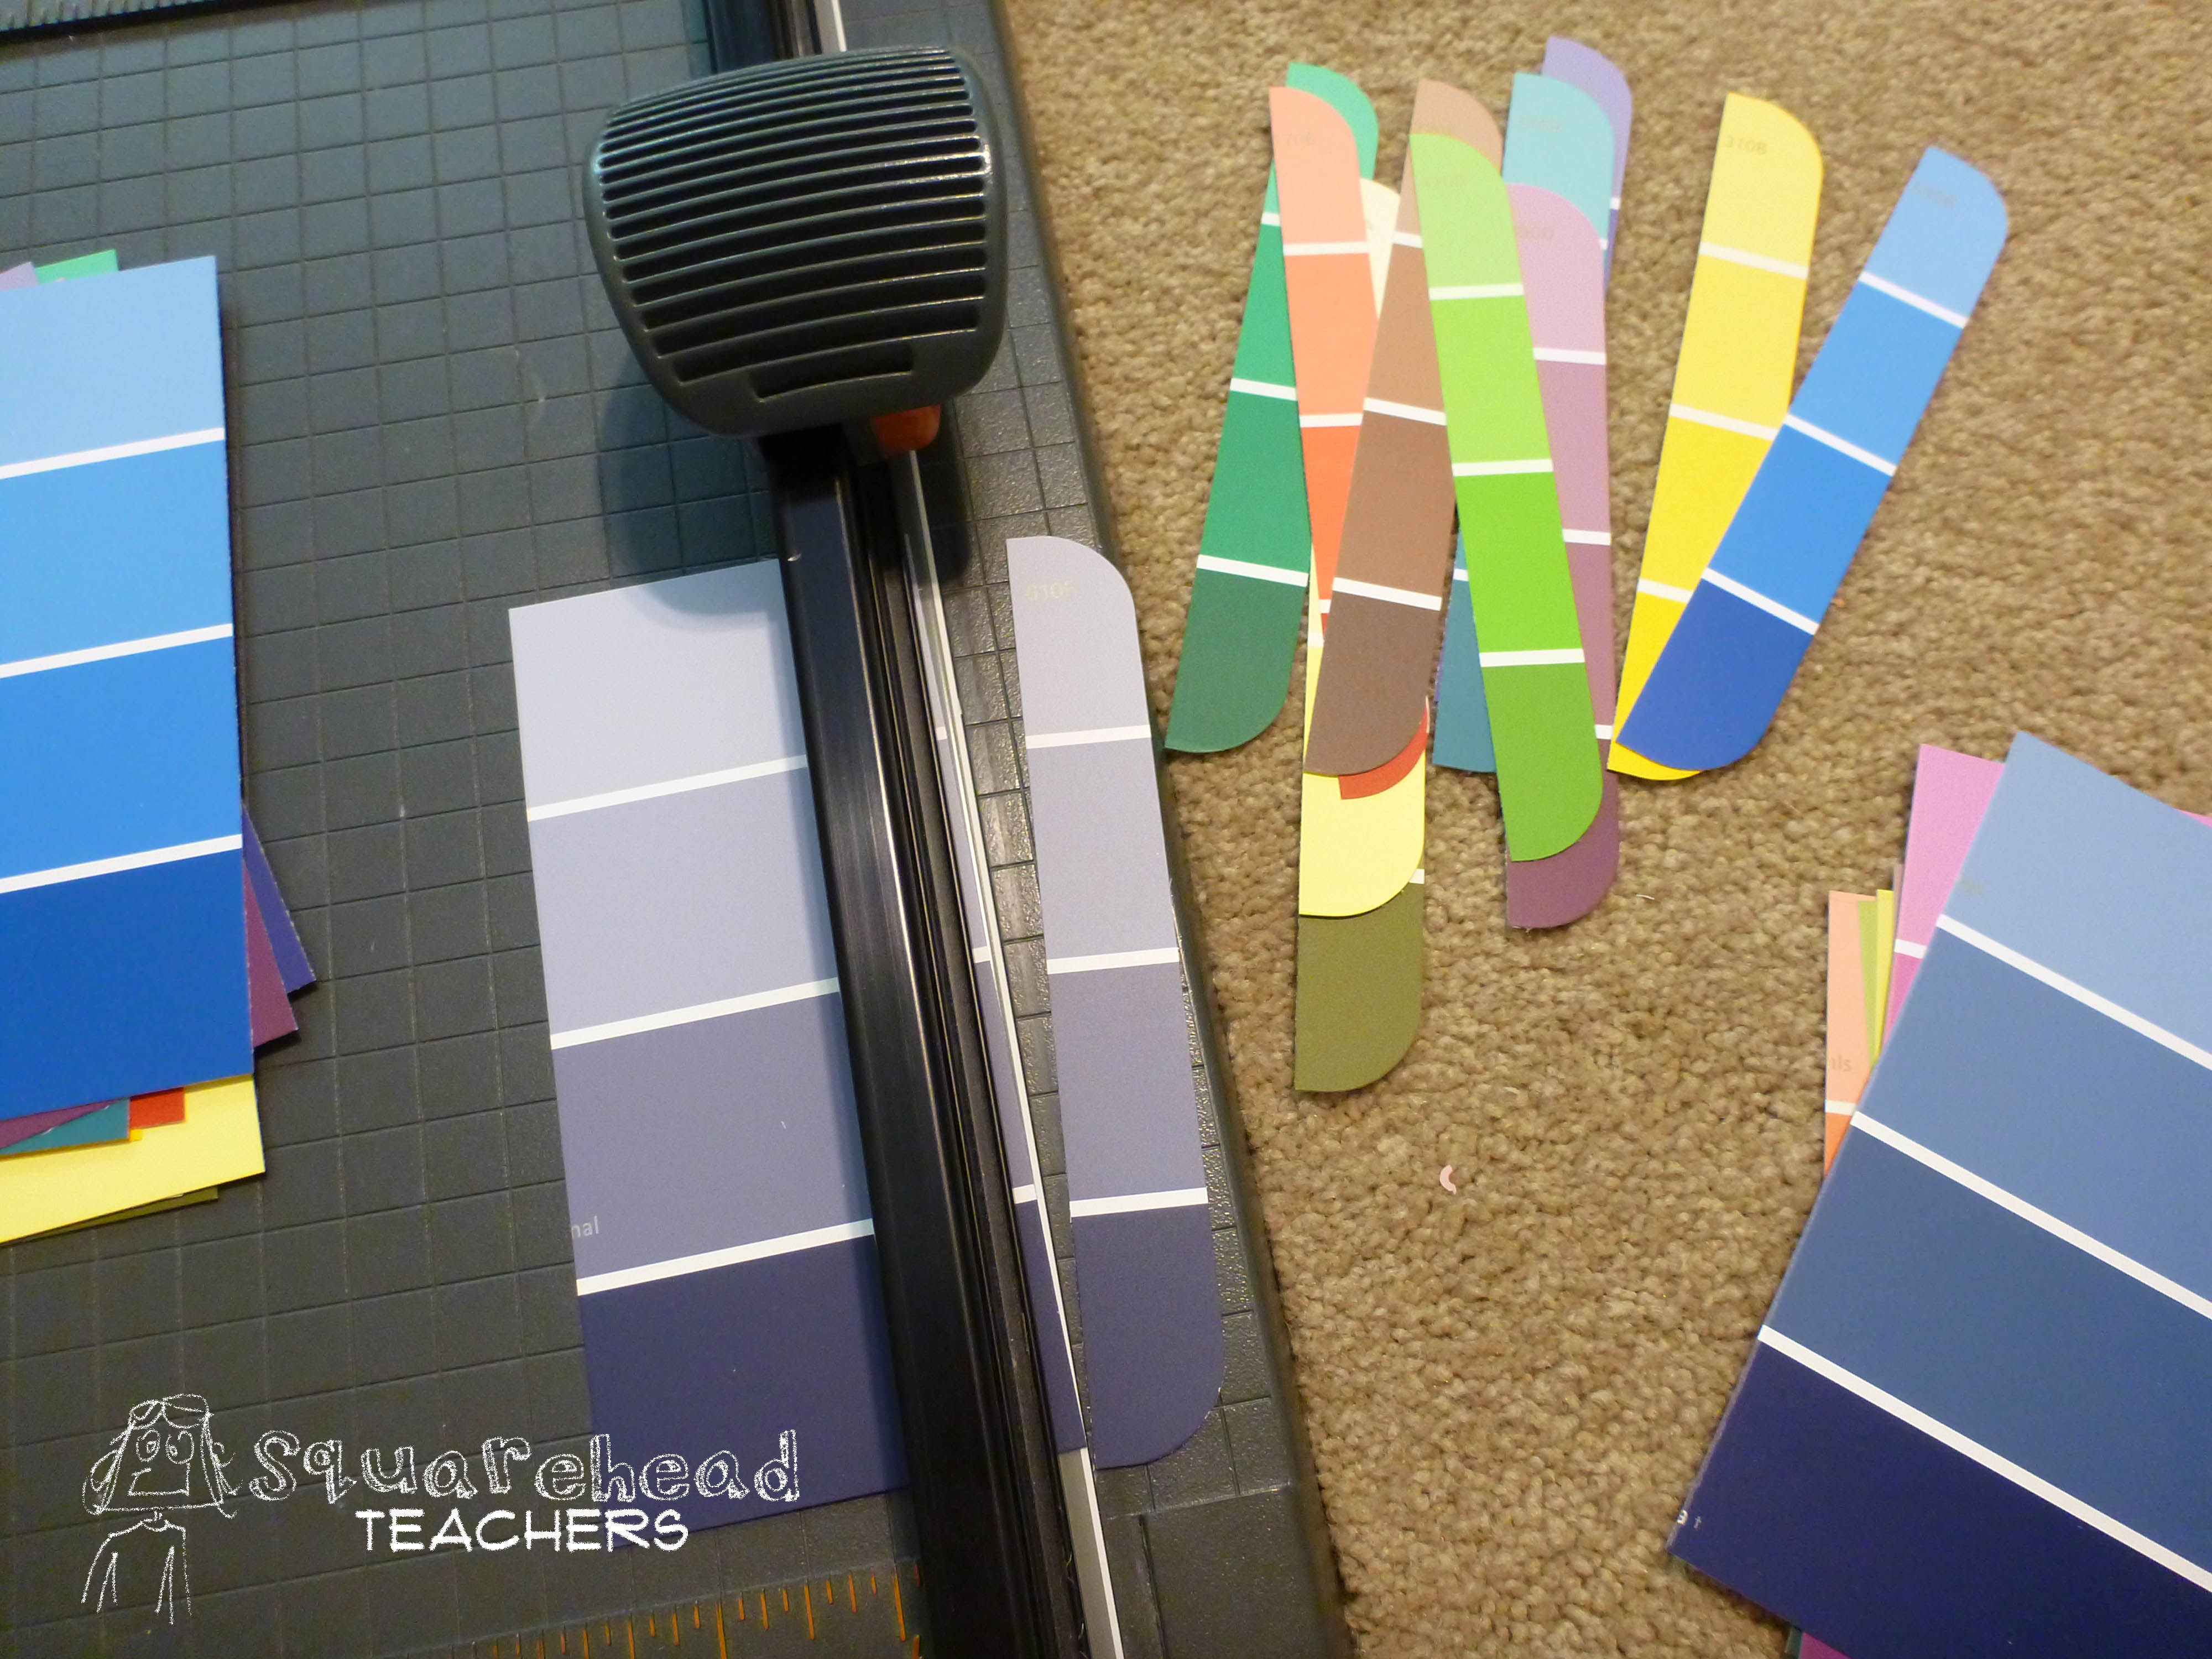
Then I cut out the shape of a turkey’s body. This is part of the fun (ending up with different sized/shaped bodies) so just have your kids make their own if they’re old enough. If they need some guidance, have them draw a small circle on top of a bigger circle (kind of like a snowman) and then cut out the outside only.P1050987

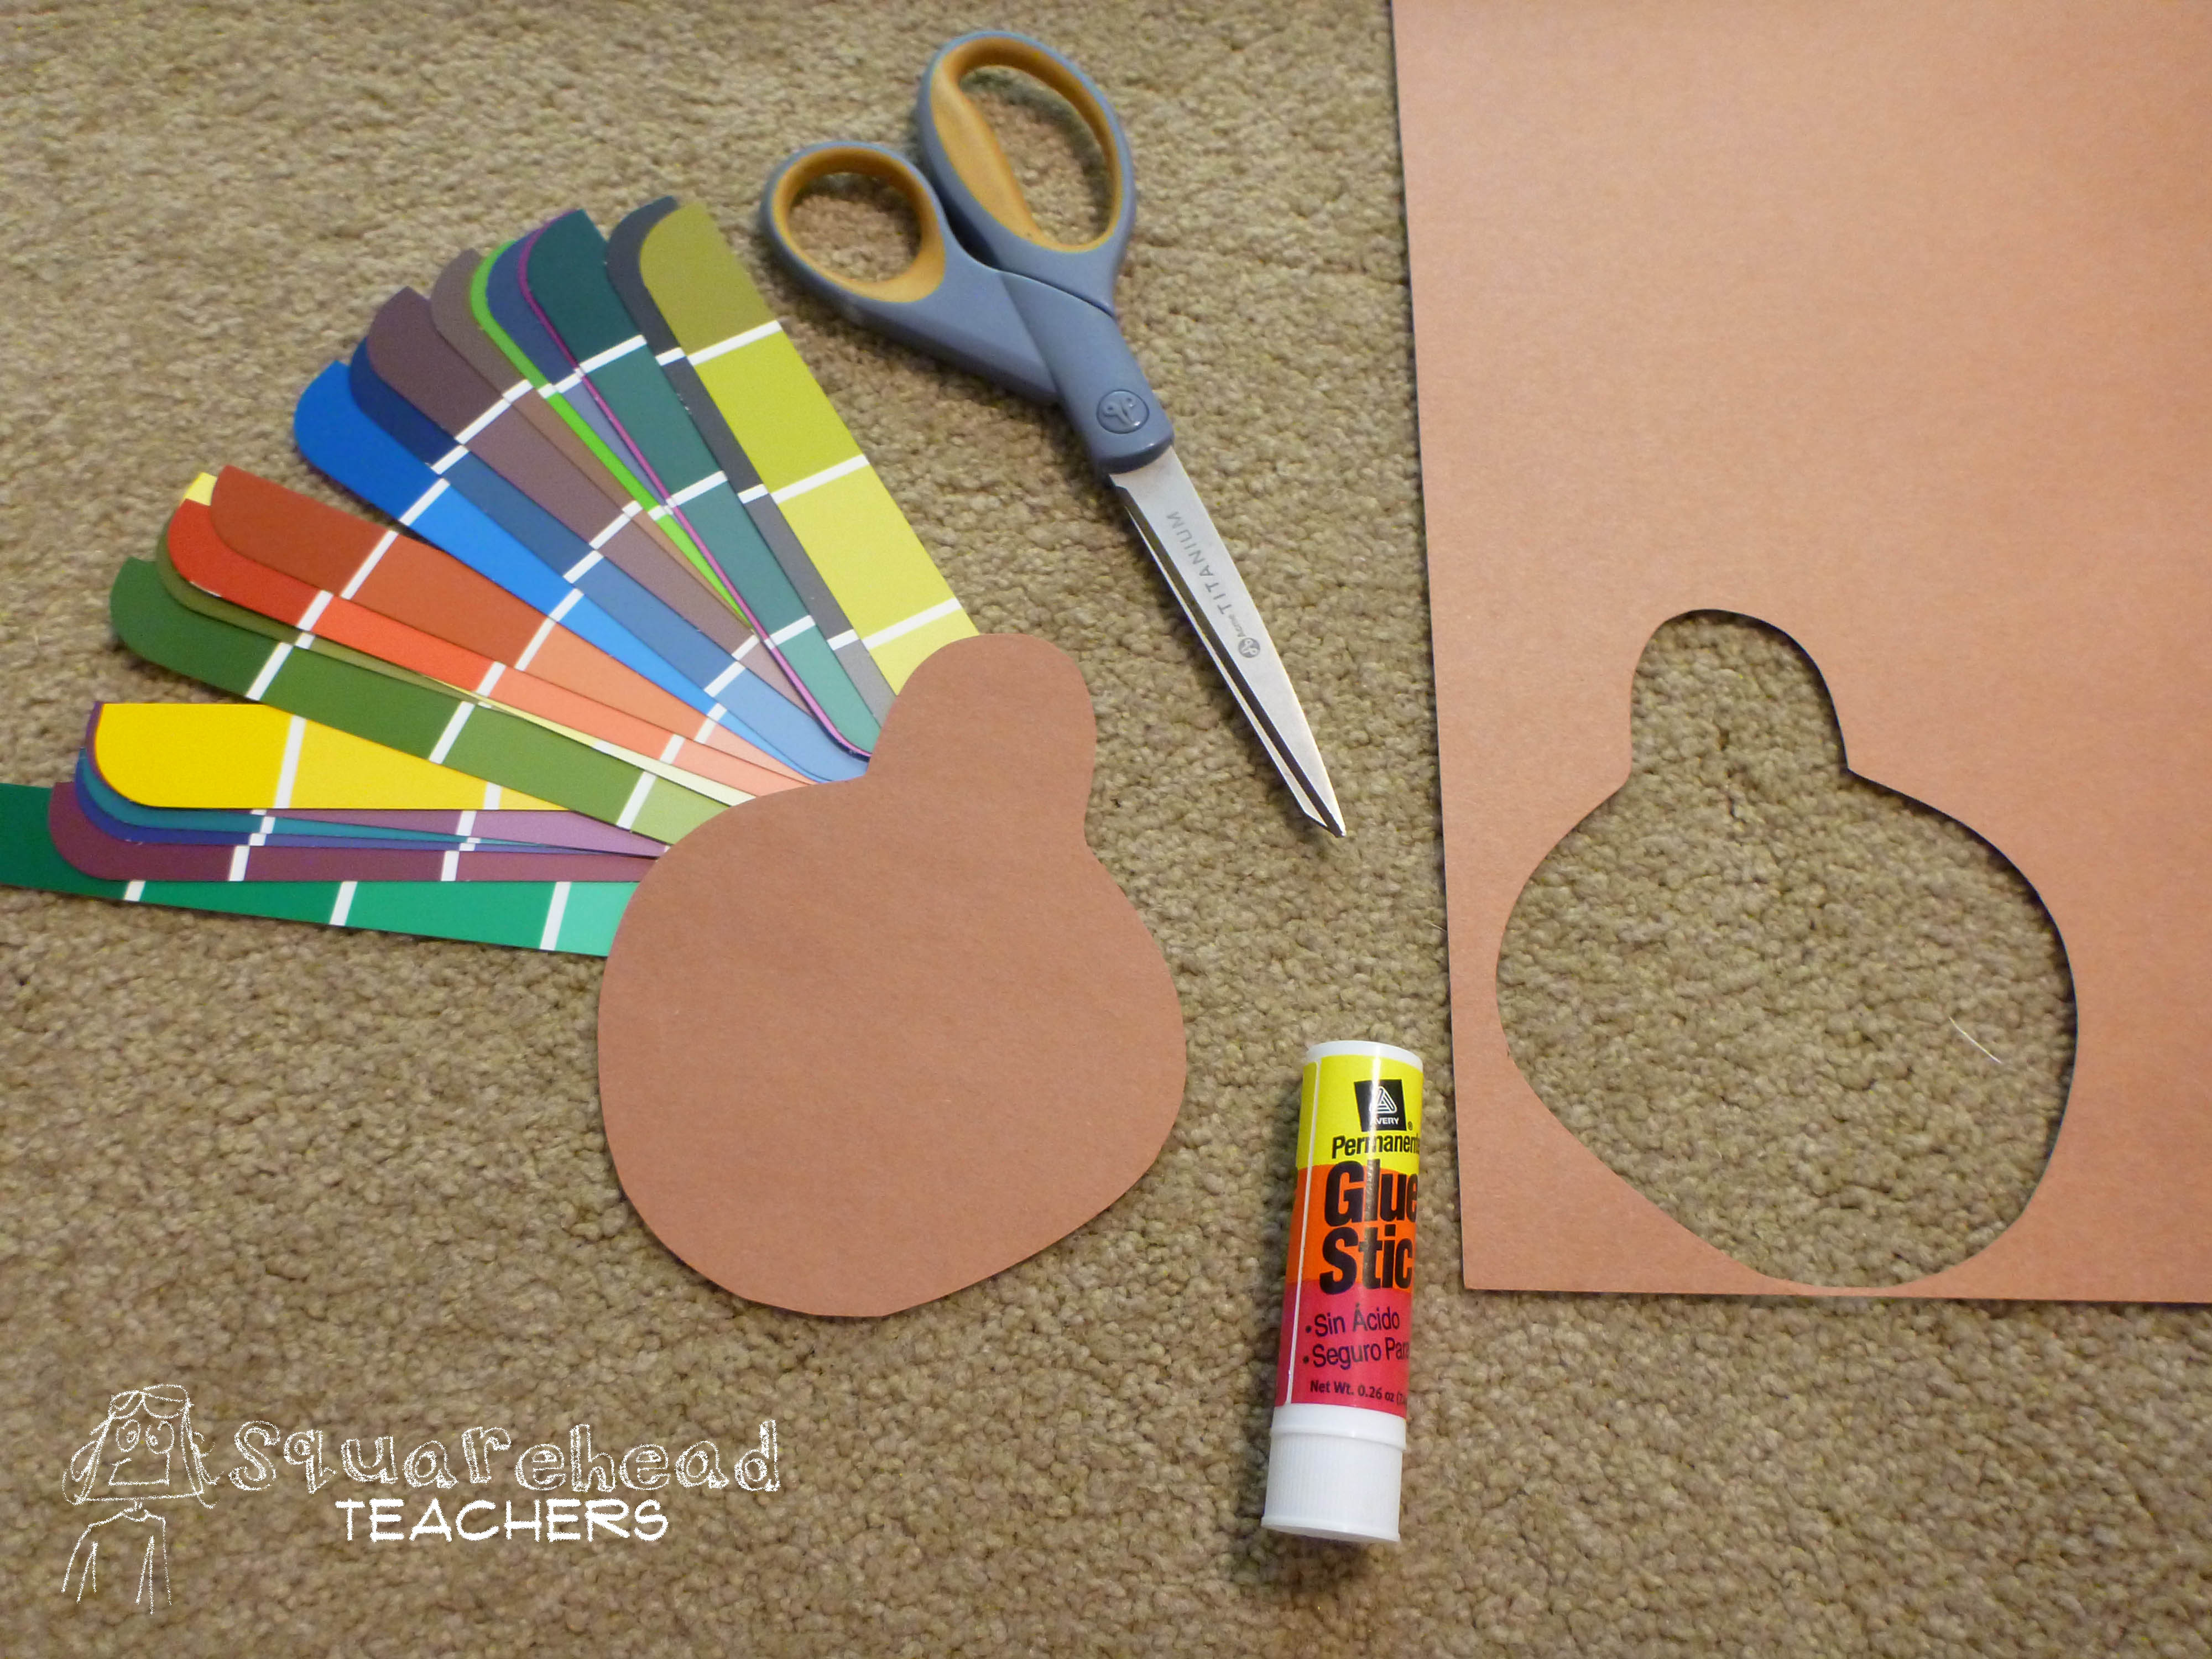
Then attach the feathers together (in groups of 4 or 5 feathers each) at the bottom using tape or glue. Tape’s faster, but glue works too. Once you’ve attached a few feathers together, stick them to the back of the turkey. Keep doing this until you feel you’ve got enough feathers. P1050988

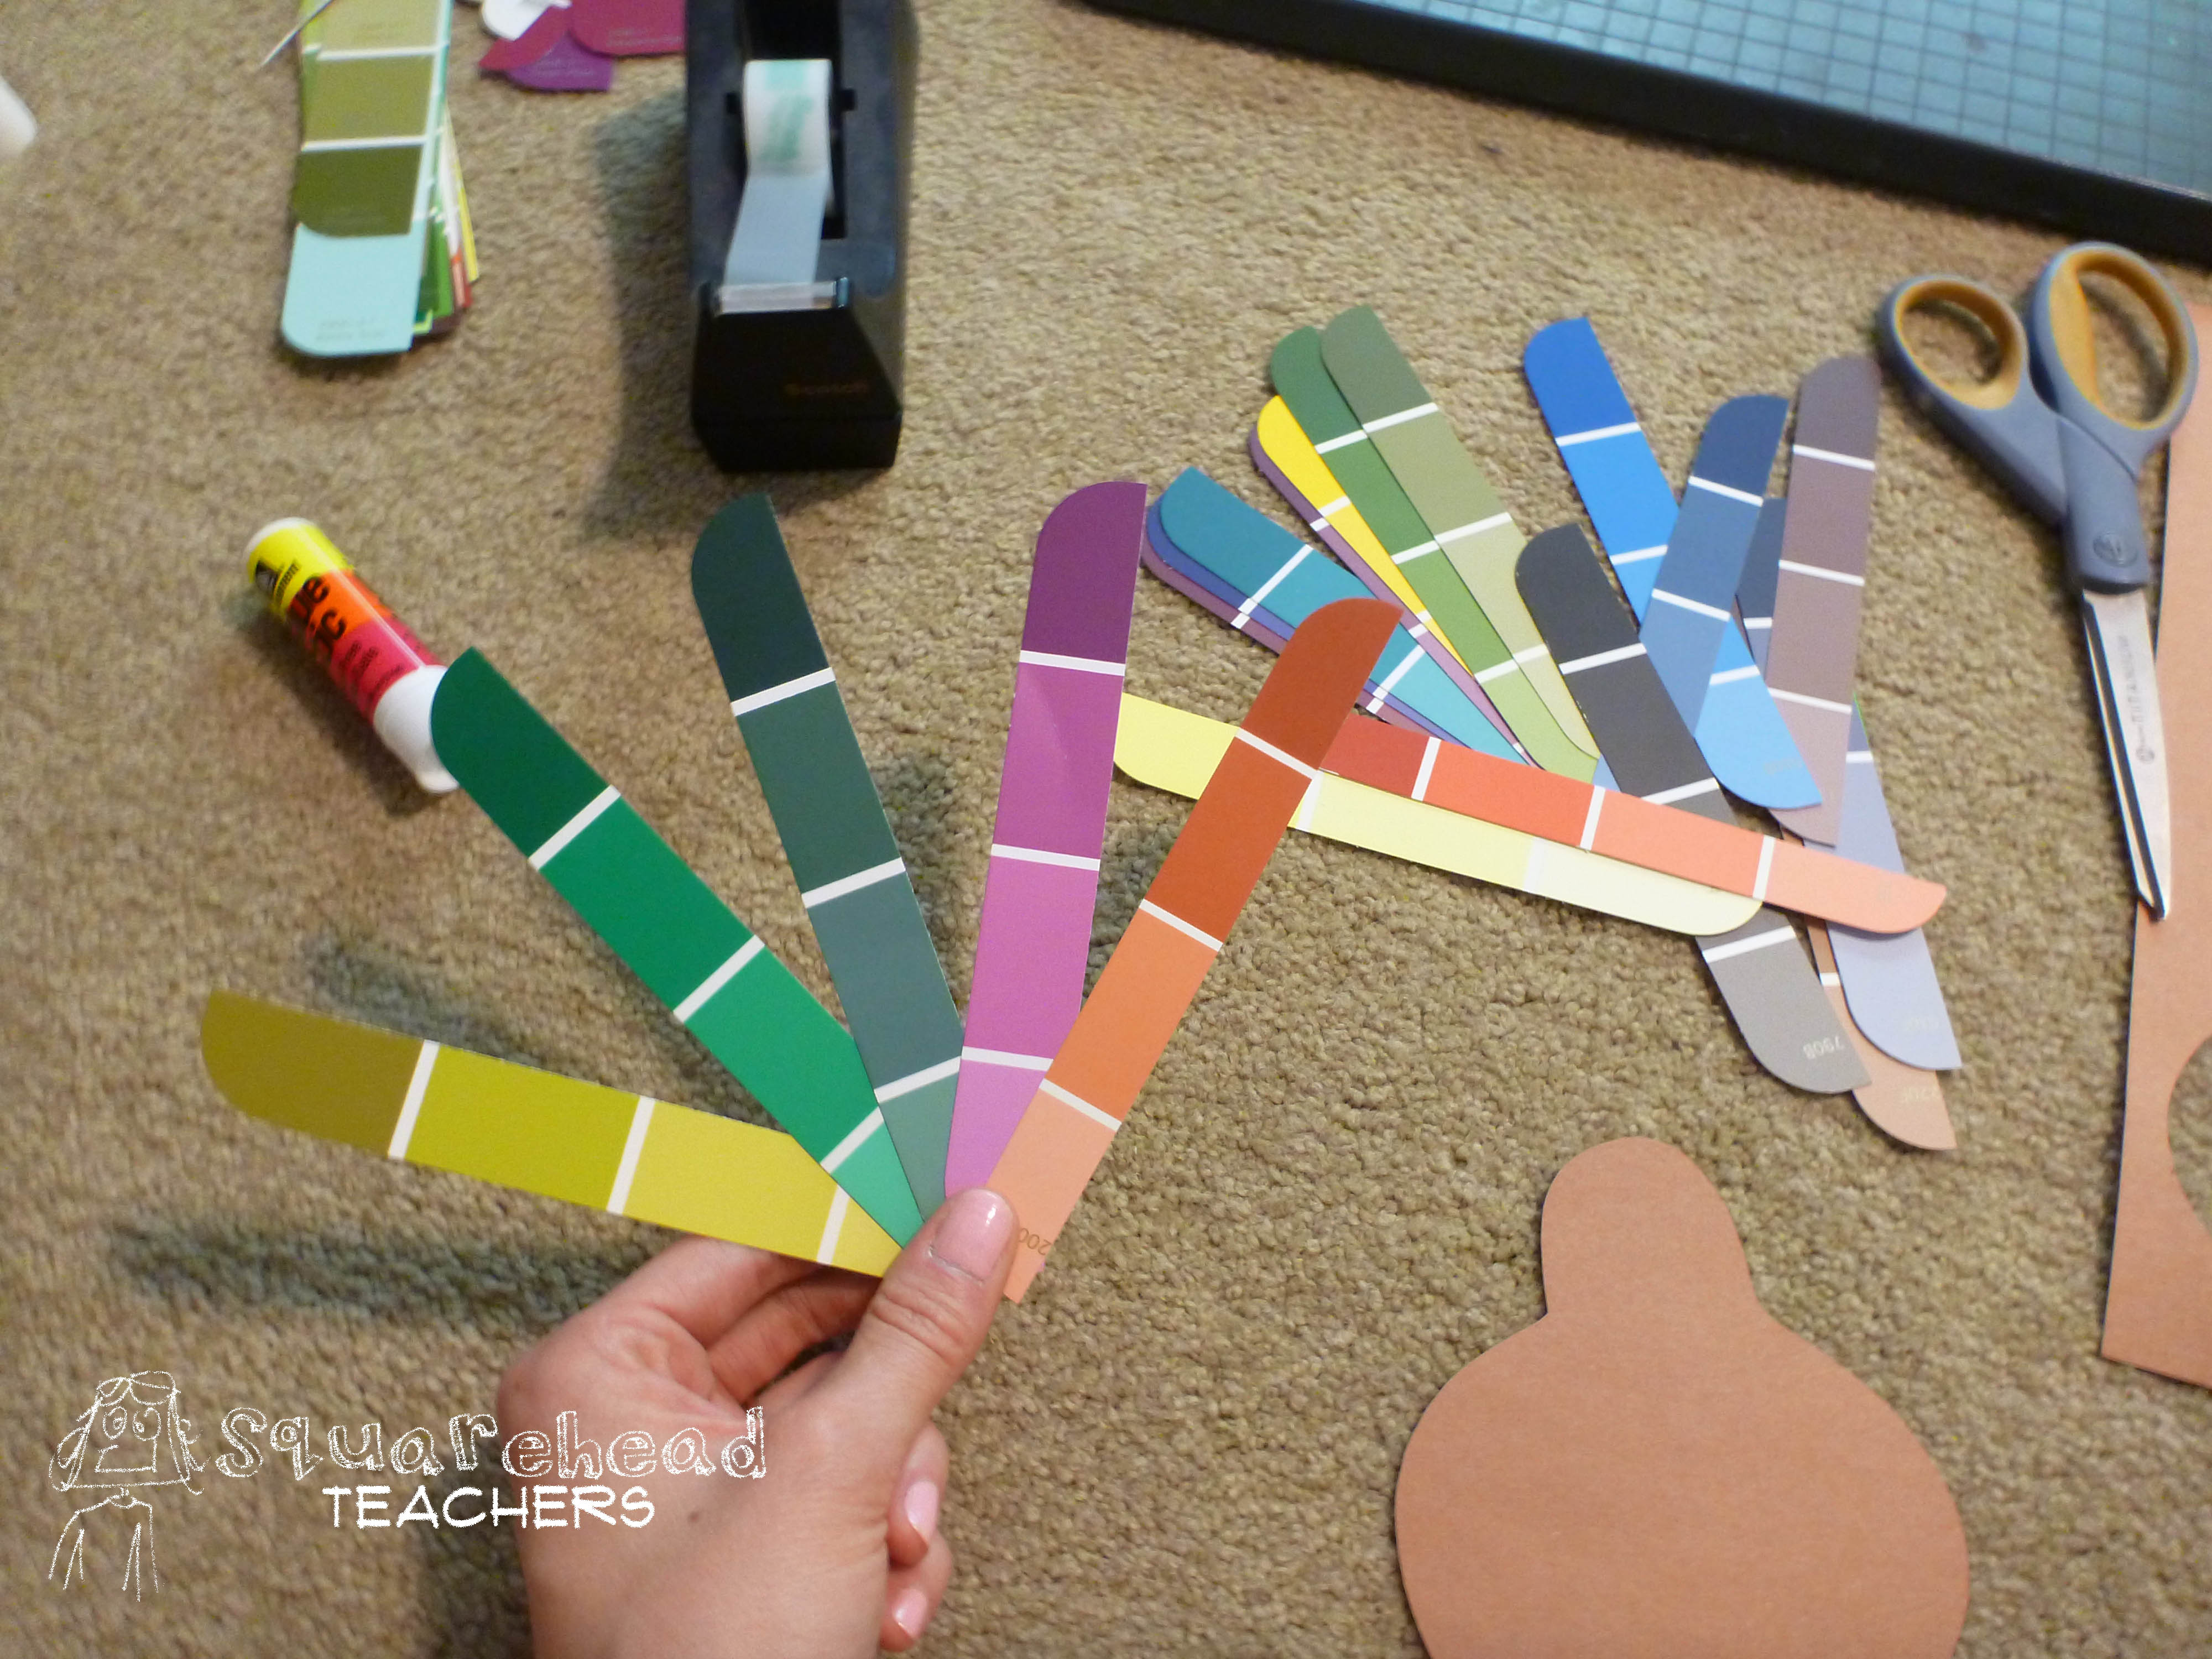
Then draw a beak, eyes and wings on your turkey and add some legs with the remaining brown construction paper.  And that’s it. Easy-peasy Thanksgiving craft for kids!

If you’re looking for extensions for this craft, have your kids make a graph showing how many blue feathers, green feathers, red feathers, etc. are on their turkey or at their table. Have your students write a character description of their turkey or use spelling/vocabulary words in a story about their turkey. But whatever you do, have a great Thanksgiving!

Parts of Speech: Thanksgiving Turkey

Turkey Parts of Speech sticker

Here’s a fun opportunity to discuss parts of speech (noun, verb, adjective)… all relating to turkeys! Your first, second and third graders will love this one. Click here for the free printable worksheet: Thanksgiving Parts of Speech

Thanksgiving Parts of Speech Worksheet

Here’s a fun twist on practicing parts of speech that came to me (*last minute*) the other day, but I thought I’d share it with you anyway… I combined the “color by number” idea with some basic parts of speech skills and ta-da! Hidden turkey just waiting to be revealed! Click here for the free printable worksheet: Turkey Color by parts of speech

Turkey Color by part of speech STICKER

Click here for more fun and free Thanksgiving stuff for kids!

Thanksgiving Plural Nouns Worksheet UPDATED

Since it’s “thankful season,” let me first thank my family (especially my hubby) and friends for all their support as I’ve been building this blog. A HUGE thank you also goes out to those of you who have spread the word about my blog! I truly appreciate my readers and those teachers around the world who help the rising generation achieve their full potential.Plural Nouns- Thanksgiving STICKER

Here’s my free printable Plural Nouns- Thanksgiving UPDATED worksheet! It asks students to change singular nouns to plural by adding -s. There are no irregulars on this worksheet, so this is a great page for second grade (maybe with teacher help reading the words) or third grade. This would also be helpful for ESL or ELL students who need some extra practice with plurals.  Happy Turkey Day!

Thanksgiving Common vs. Proper Nouns Worksheet 2

Thanksgiving common vs proper nouns 2 STICKER

Happy Thanksgiving everyone! Use this free worksheet in your first, second or third grade class to teach common and proper nouns. Click here for the free PDF: Thanksgiving common vs proper nouns 2

Click here for last year’s Thanksgiving common vs. proper nouns worksheet!

Thanksgiving Color By Number (odd/evens sort)

Turkey color by number-  sort odd-even STICKER

This Thanksgiving color by number page seems appropriate for 3rd or 4th grade, depending on your students. It requires kids to determine if a number is in a certain number range and then if it’s odd or even (creating 8 possible groups where the number fits, which indicates the color for that section of the picture). Click here for the free printable PDF: Turkey color by number- sort odd-even   Happy Thanksgiving!

Click here for more fun and free Thanksgiving stuff for kids!

Scissor Practice Activity (Cute Paper Hedgehog!)

There are always kids in preschool and kindergarten who need a little extra practice using scissors. So here’s a perfect activity… making an adorable paper hedgehog! Click here to see the tutorial.


Thankful Pumpkin Craft for Kids

Thankful pumpkin sticker

I saw this cute “Thankful Pumpkin” paper craft idea (source) and wanted to make some printables to go with it. I love the idea of helping kids remember what they’re thankful for. Activities like this are perfect opportunities to talk with kids about how blessed we really are!

Materials:

2 Sheets of Cardstock (to print these printables on: Thankful Pumpkin Printable)
Small Hole Punch
2 Brads
Green Construction Paper
Brown Pipe Cleaner

Directions

1.  After you print the two printable pages, cut them into strips (cut on the lines).

2.  Finish writing the “I am thankful for” phrases on 5 strips of cardstock.

3.  Decorate the “Happy Thanksgiving” on the other 5 strips. Get Creative!

4.  Make a small hole in the center of both ends of each strip.  (Use small hole puncher or another tool to make the small holes.)

5.  Stack the paper strips alternating the “I am thankful” and “Happy Thanksgiving”.

6.  Stick the prongs of a brad through the holes on one end of the stack with the metal circle of the brad resting on the side with the writing.  Secure Brad.

7.  Fan out the slips with the writing side facing the table.

8.  Pull up one strip and feed the prongs of the 2nd brad through the hole with the metal circle resting on the blank side of the strips. Continue putting strips on brad going in a circular pattern.

9.  When all of the strips are on the brad and you have formed a ball, secure the brad by pushing the prongs down in opposite directions.

10. Cut 2 leaf shapes from the green construction paper.  Poke a small hole at bottom of each leaf.

11. Wrap the brown pipe cleaner around a pencil to make a spiral shape. Gently slide the pipe cleaner off to keep spiral shape.

12. Lift up the prongs of brad, hold brad in place from below, and slide on leaves.

13. Place brown pipe cleaner next to prongs, push prongs down on top of pipe cleaner to securely attach the leaves and “stem”.


Here’s what it looked like when my friend tried it with her class:

thankful pumpkin

Click here for more fun and free Thanksgiving stuff for kids!