
Happy Read Across America Week! (What would we do without Dr. Seuss?! Such creativity from one person!) My kids needed a quick Cat in the Hat costume for school and I didn’t have much time. I came up with this simple paper plate hat and it took me about 3 minutes. I’m pretty pleased with how it turned out. It would be easy to have my class make them!
Supplies:
- White paper plate (I used uncoated, but I’m guessing the coated would work as well. I would not use Styrofoam.)
- Red marker
- Scissors
- Tape (I used packing tape, but Scotch tape would work too.)
Steps:
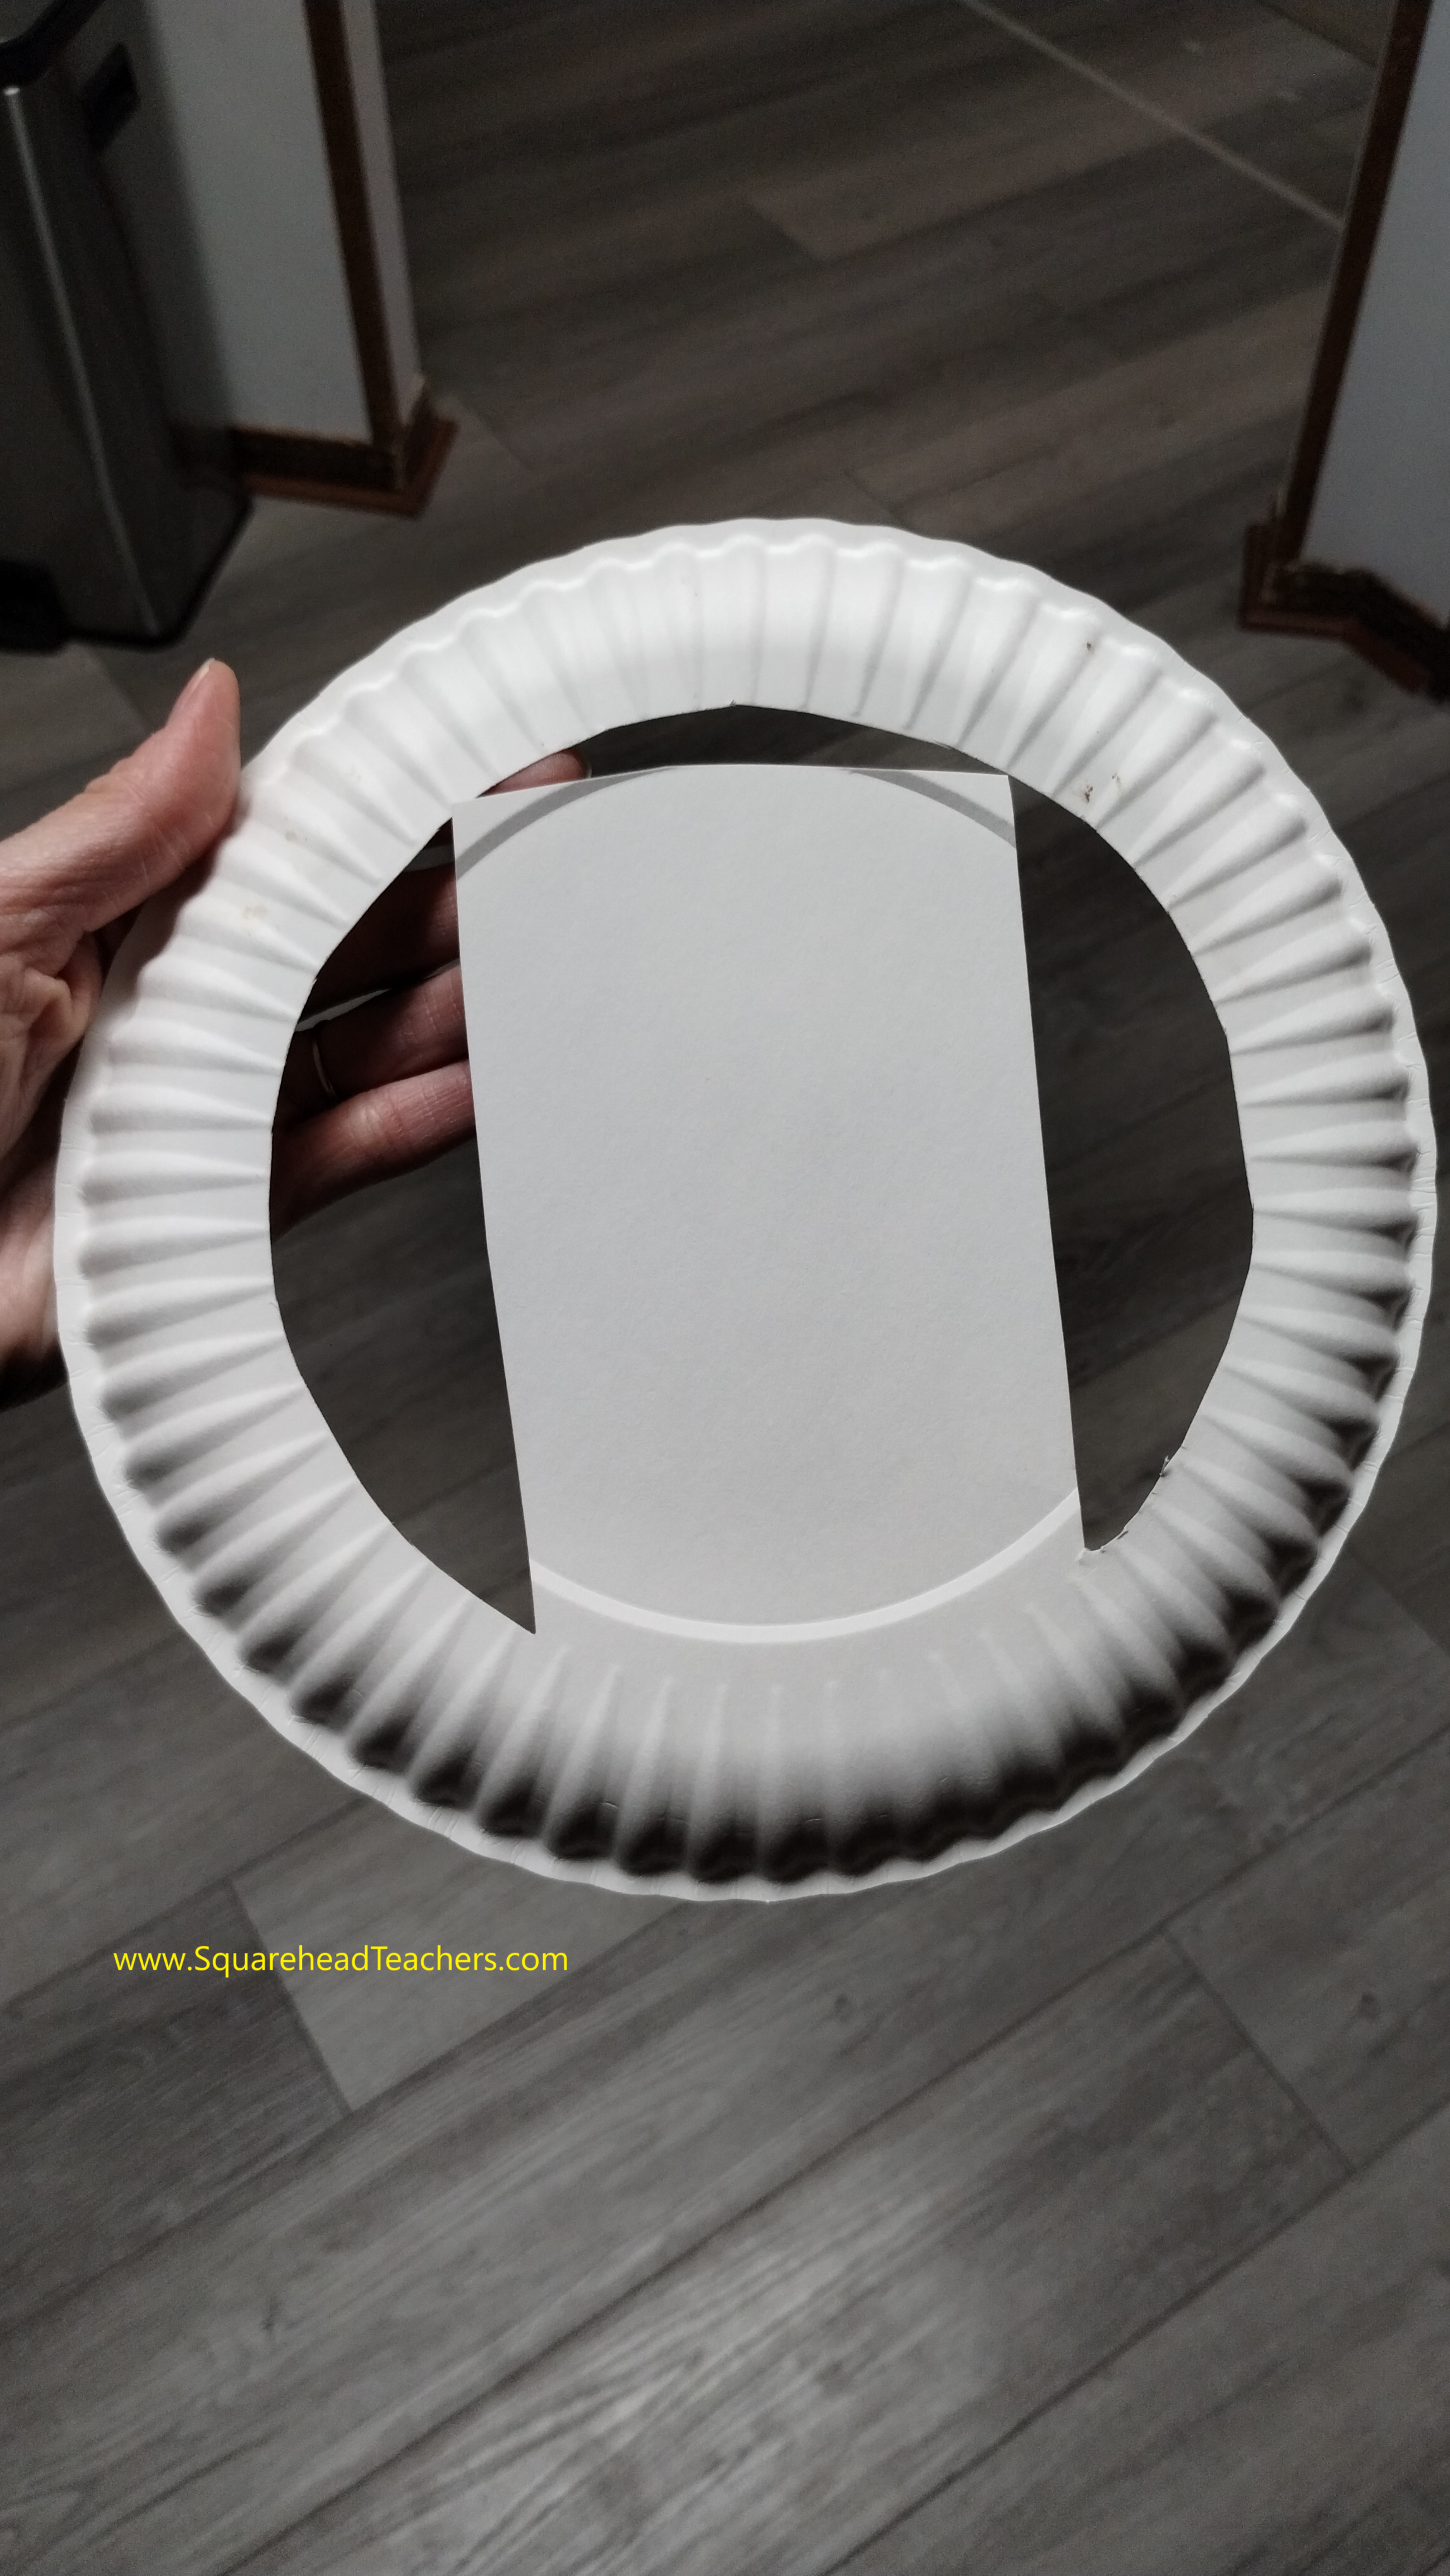
- Cut the paper plate as shown below. Consider cutting a small hole to get each kid started (or if you teach younger kids, cut them out ahead of time and just let them color the stripes.)
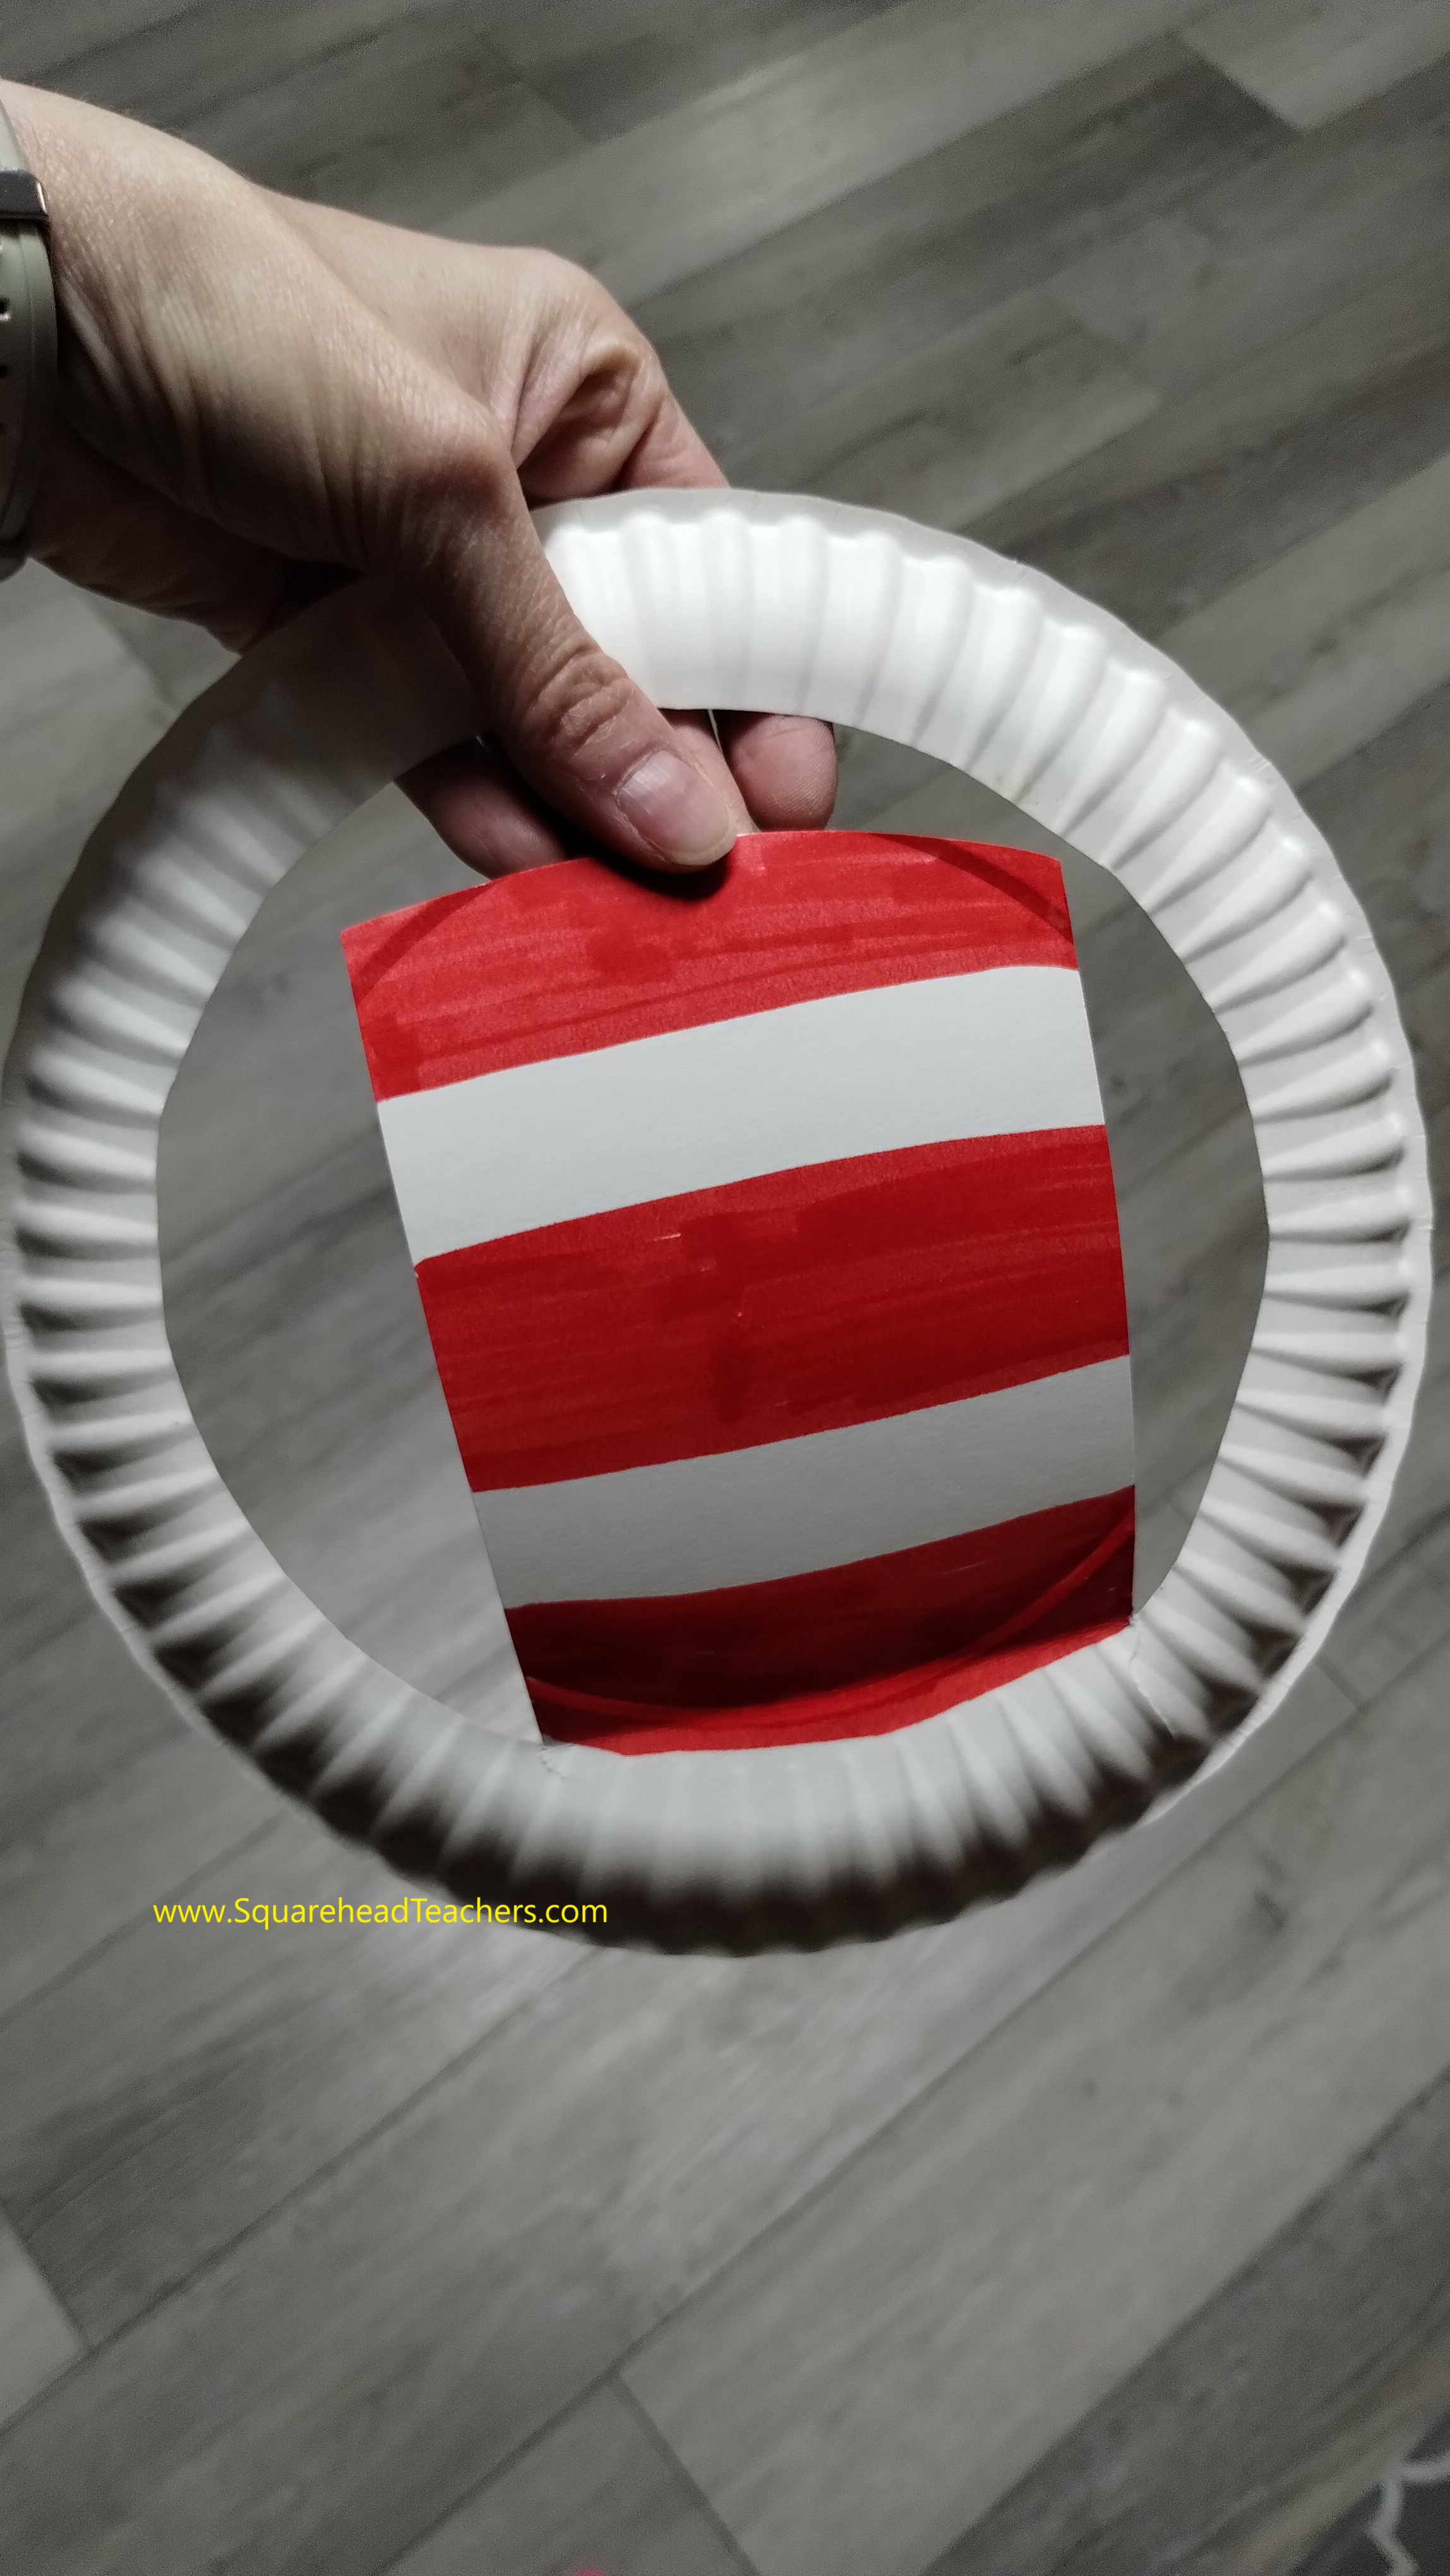
2. Color 3 red stripes as shown below.
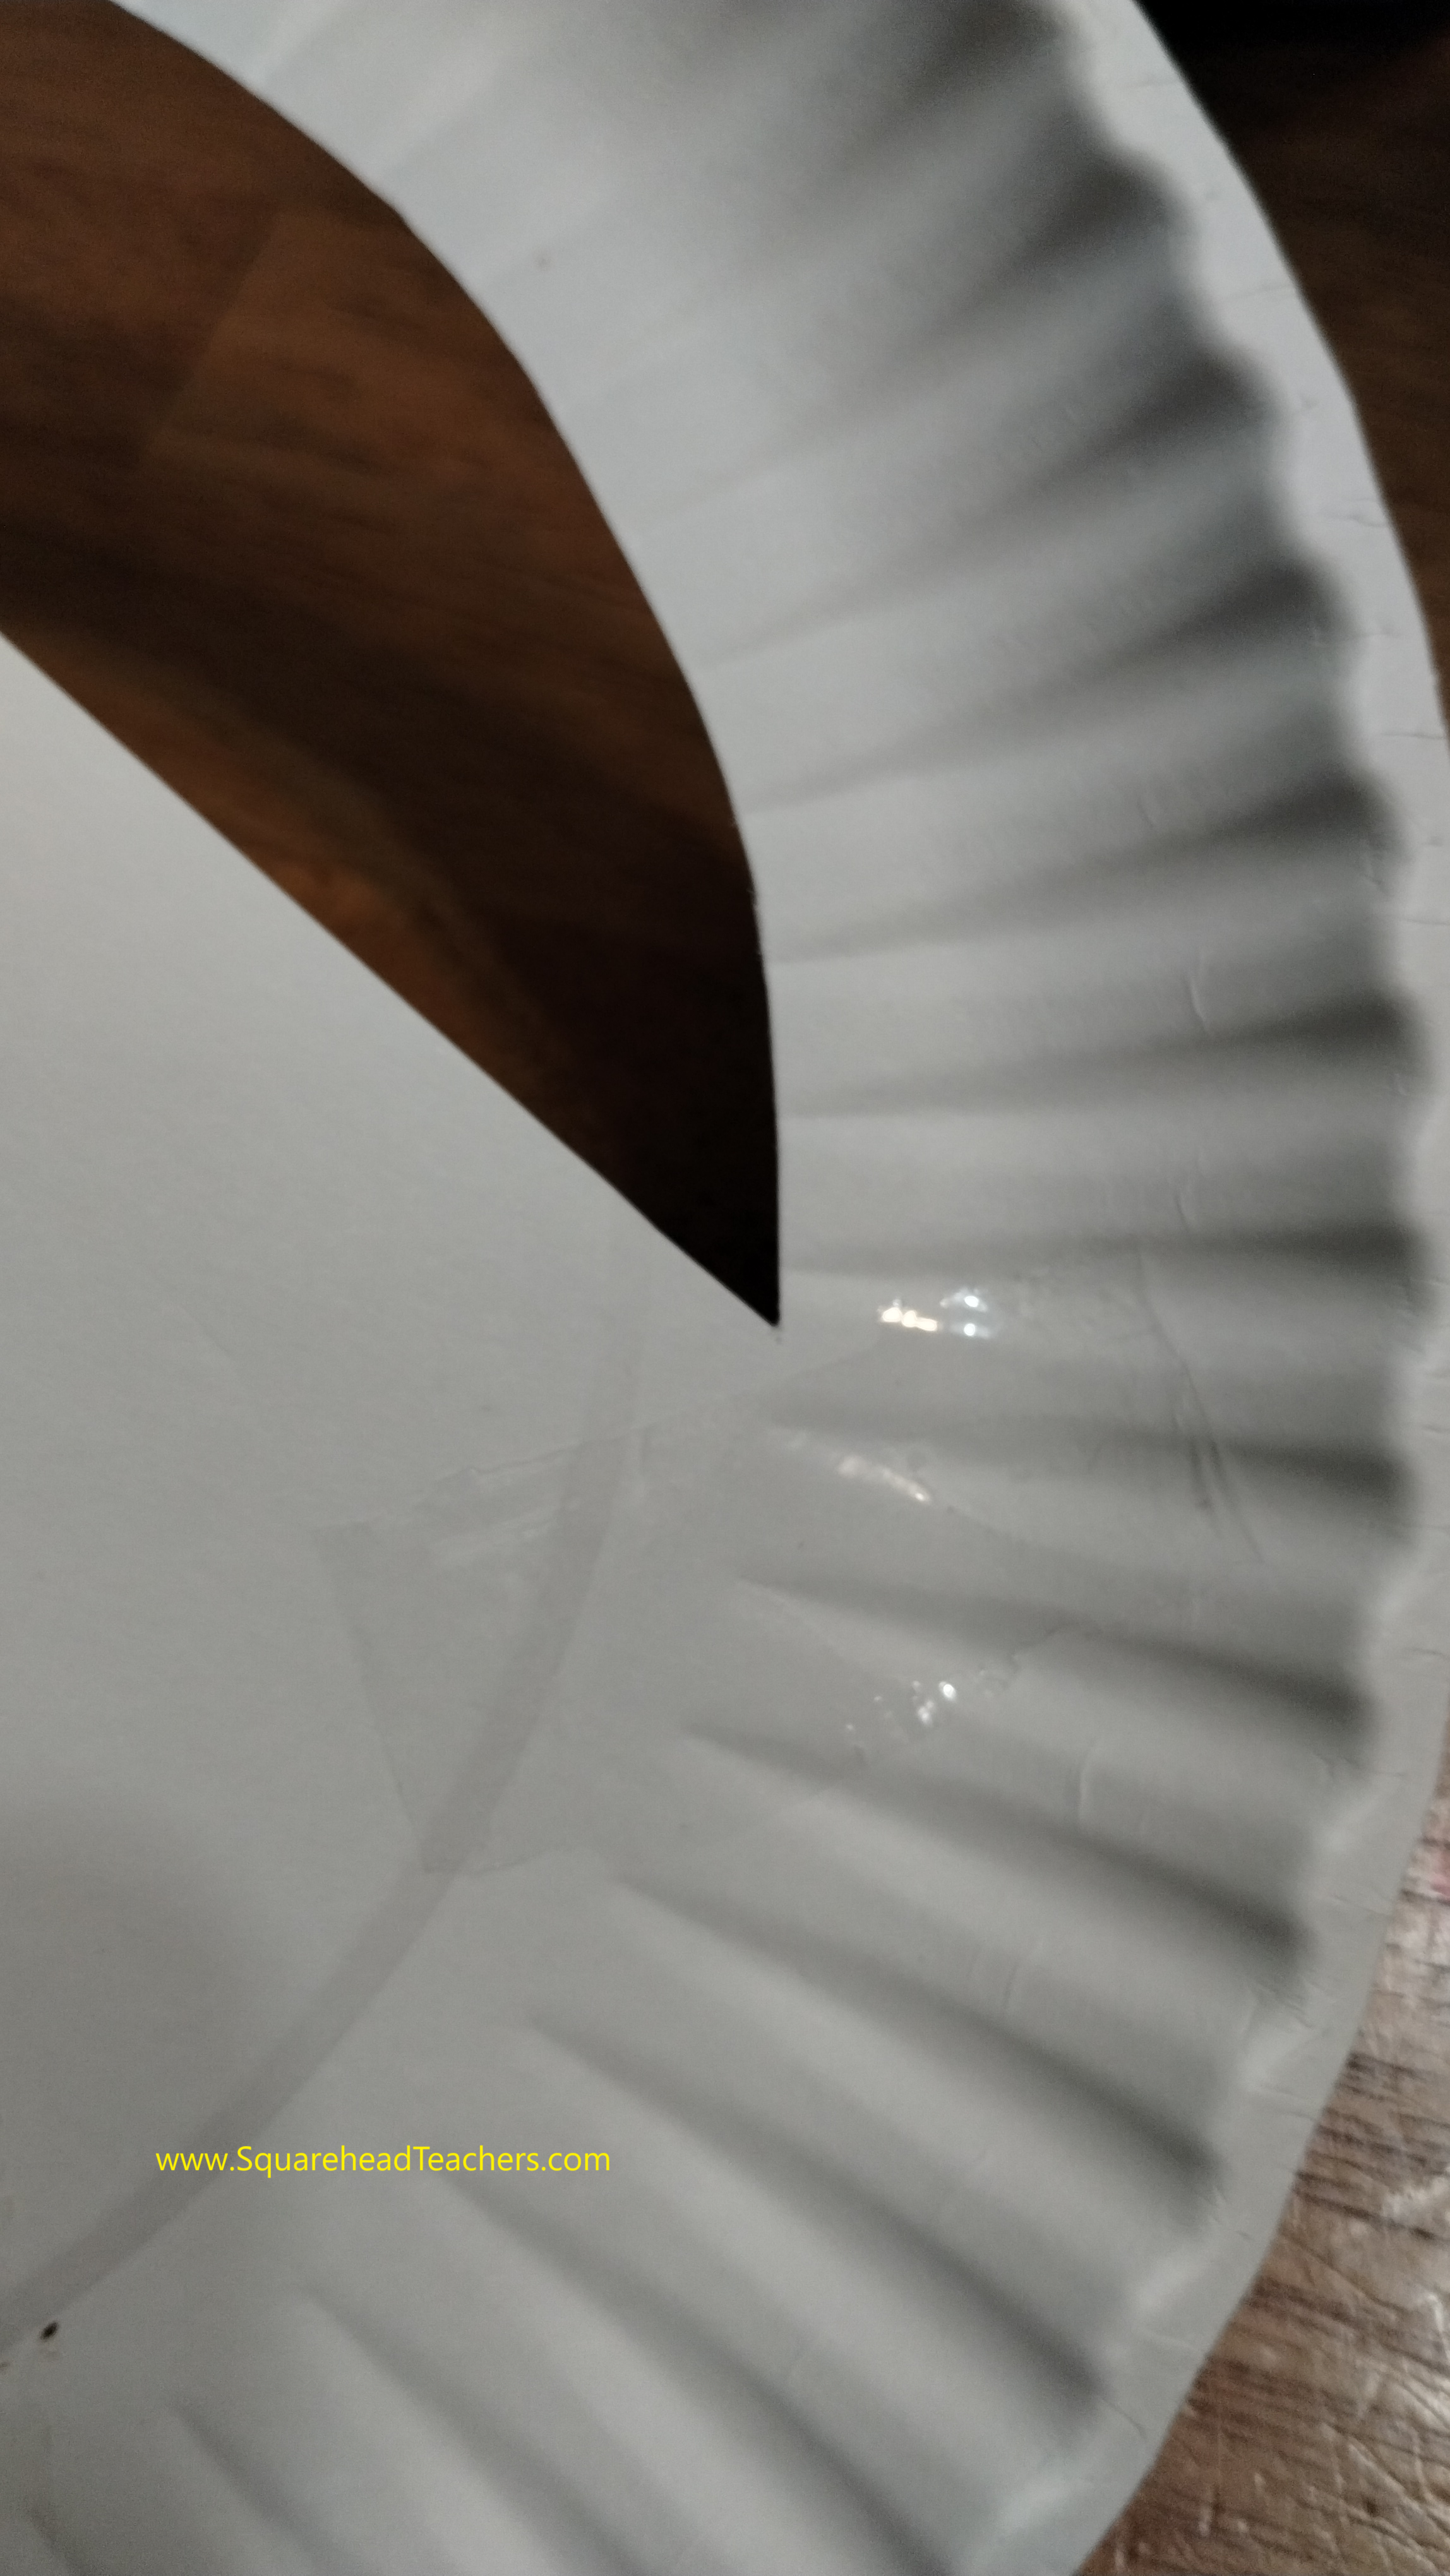
3. Turn the paper plate over and reinforce the fold with a small piece of tape. Without the tape, my son’s hat started to tear when he pulled it down on his head too hard. After we put the tape, it was just fine.
4. Fold the center piece up gently.

Note: you may need to cut more off (making the brim more narrow) if you’ve got larger heads you’re making this craft for. But overall, it was so simple and it turned out great. Enjoy!
 (Adult supervision recommended)
 (Adult supervision recommended)
 (Adult supervision recommended)
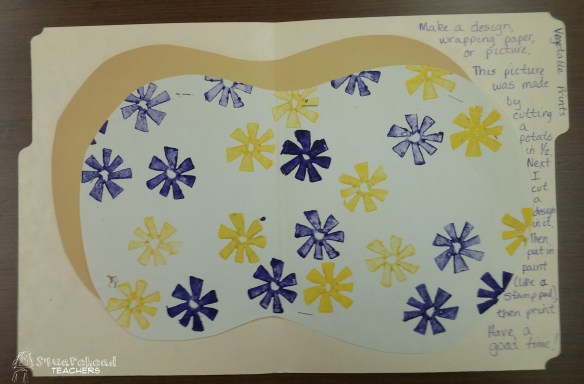
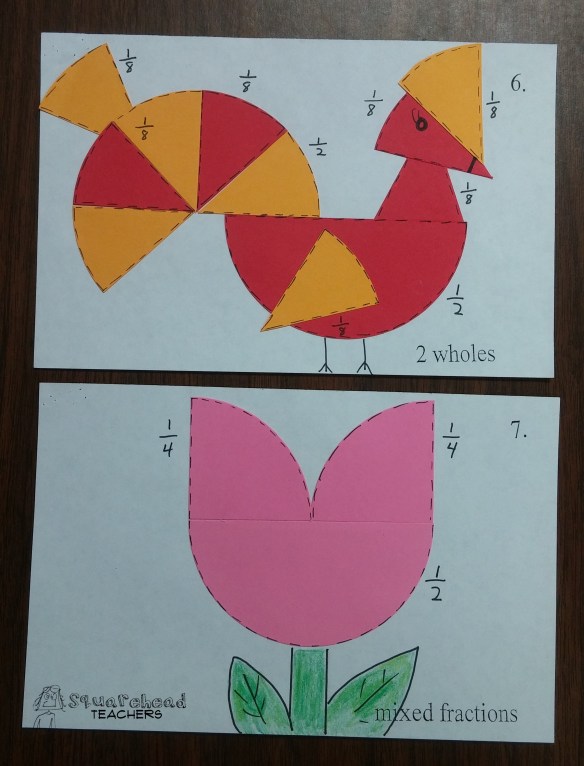
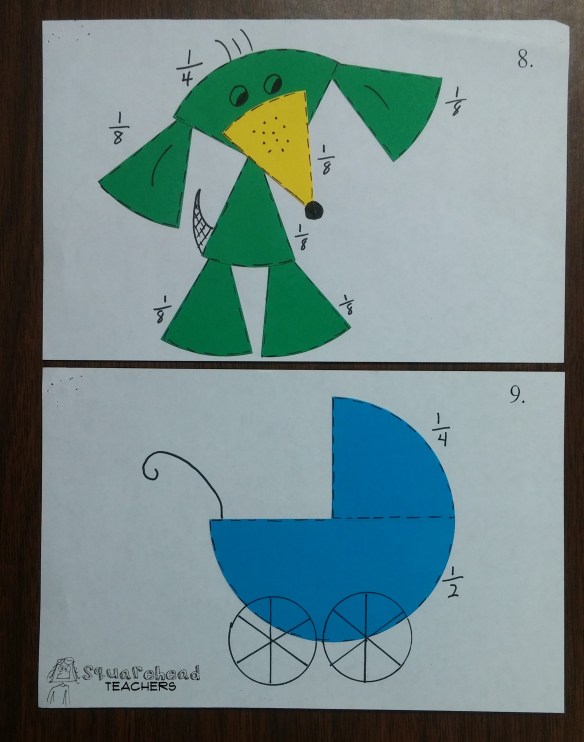
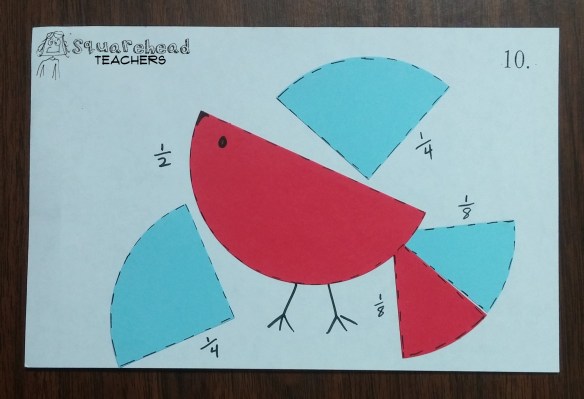
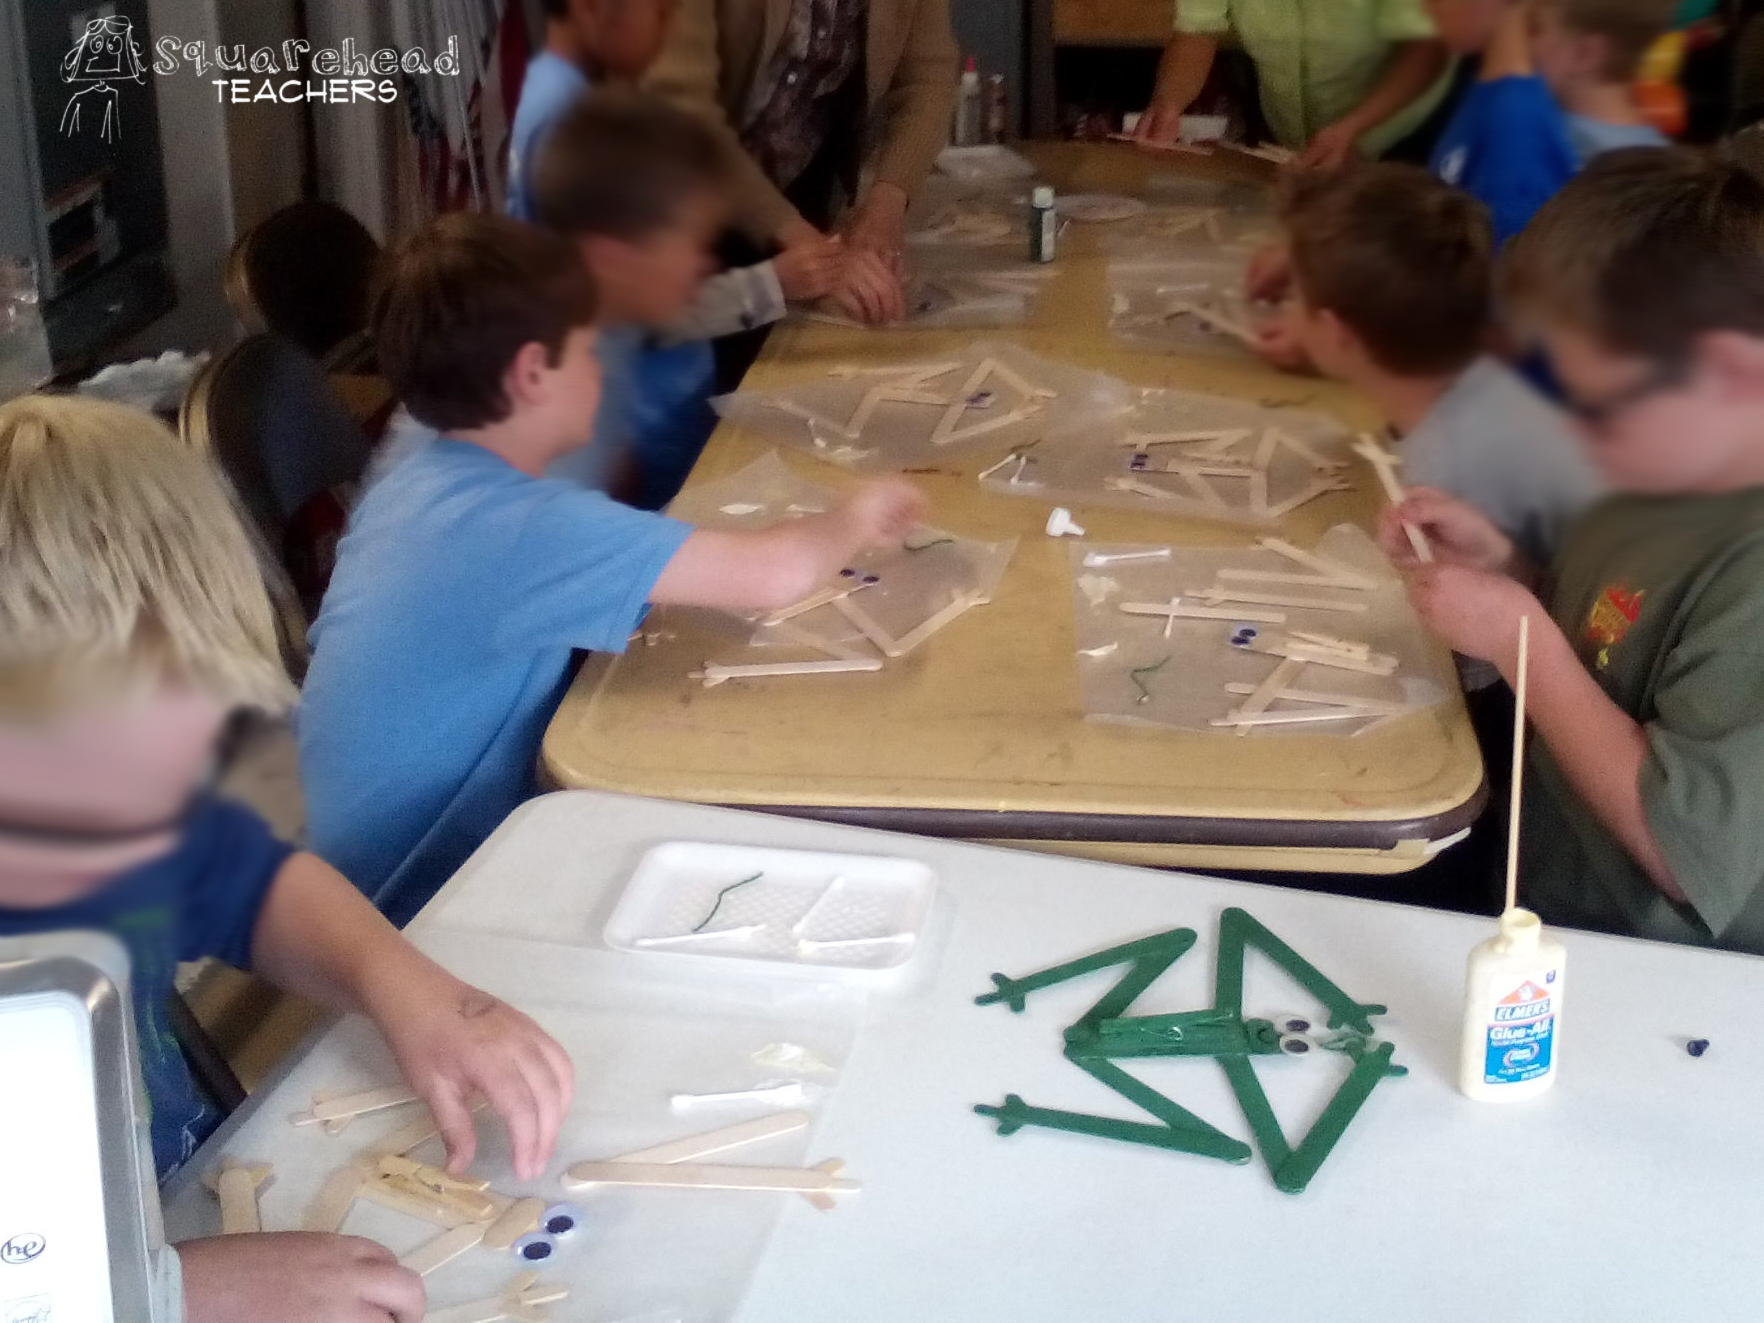
 If you wanted to allow for more creativity, you could have students cut out a bunch of the fraction pieces and let them make whatever they wanted. Then have them label the size of each piece and tell you the total whole pieces they used in their picture.


