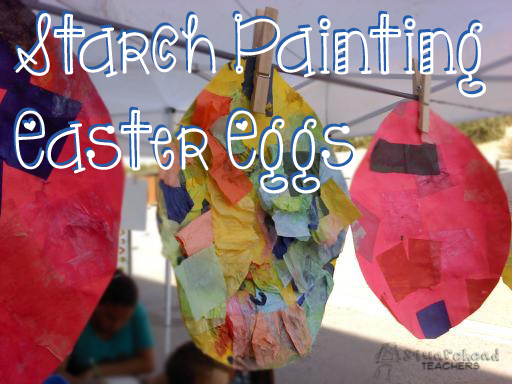
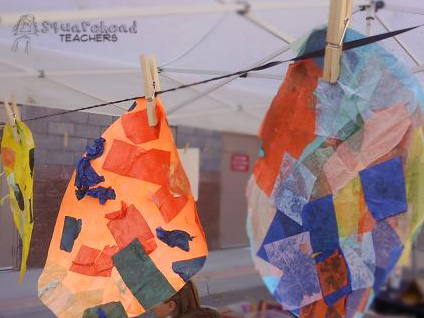
Here’s another fun craft we did this week: we painted tissue paper squares on to paper Easter eggs. Just mix starch with water and apply it over the pieces of tissue paper. Then hang them up to dry. Easy as that! Happy Easter!

Here’s another fun craft we did this week: we painted tissue paper squares on to paper Easter eggs. Just mix starch with water and apply it over the pieces of tissue paper. Then hang them up to dry. Easy as that! Happy Easter!
Here’s a fun art idea I did this past week. It’s extra cool because pretty much any age artist will have a good time. The older artists will have better control of the marbles, but regardless, it turns out neat. (CAUTION: potentially messy, as with most painting projects!)

Supplies:
Steps:
6th graders tell me they don’t like to color… until I show them these geometric coloring pages. At the Charter school I’m currently working with, I don’t seem to be able to copy enough to keep up with the demand! (Everyone likes them… kindergarten through high school). There are lots of websites that have these for free, so just do a search for “geometric coloring pages” and you’ll find gobs.
Here’s one of my favorite websites to get geometric coloring pages!

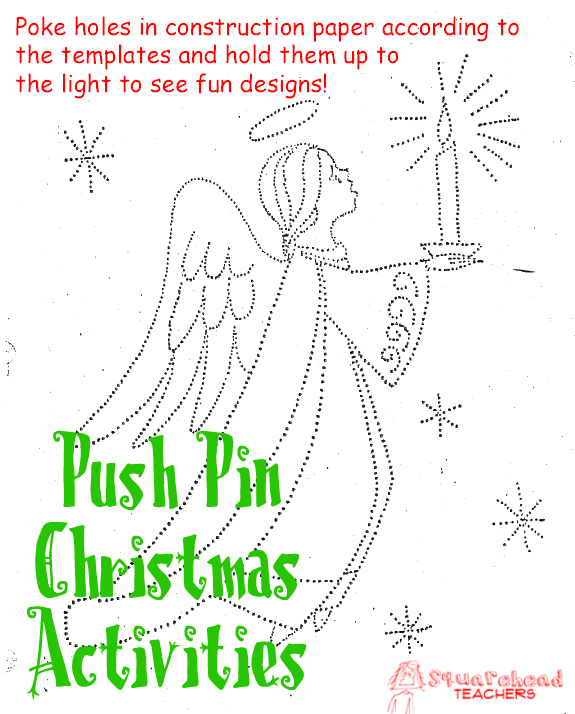 Do you remember when you poked holes in a piece of paper to make an image when it’s held up to the light? Well that classic idea just got a make-over. I got these Christmas pages from a lower grade teacher and here’s what she said about it:
“I use these the whole month of December as a QUIET fast finisher. Kids get a pattern page and a piece of construction paper. They put the pattern on top and poke holes through both pages where the pattern directs. I have them sit on the floor and do it, because it’s way easier to poke holes through paper on carpet than at a wooden desk. Then the kids get to take home only the construction paper. We use the patterns a few times until they’re shot. It usually takes my 2nd graders a while to get through 1 page, so it’s great for those kids who finish everything fast. And who doesn’t want a little holiday cheer in their classroom?!”
Click here to download the Push Pin Christmas activities.
*Thanks to those who have submitted comments/ideas. If you have something to share, I’m all ears! 🙂
You’ve probably seen Valentine’s Day paper crafts that look like this…
But have your ever thought of adding a parts of speech twist to the wreath project?
1. As a class brainstorm nouns, verbs, and adjectives that fit with Valentine’s Day.
2. Assign each color of hears a part of speech (yellow and green are nouns, pink and white are verbs, etc.)
3. Have students select words from the class brainstorm to write on the color of heart you’ve assigned.
The product is a cute, Valentine’s Day wreath, that looks like conversation hearts, but it really part of speech practice!
Younger grade classes (like the 2nd grade I was recently working with) need to constantly review the basic parts of speech. Here’s one activity the teacher and I drummed up to combine adjectives and winter themes.
Print out these PDFs and make copies for your class: page 1 page 2 page 3 page 4
1. Cut out the snowman and glue it to a large piece of constriction paper (12″ x 18″).
2. Glue on the adjectives graphic organizer
3. Write on the organizer any adjectives that describe the different parts of the snowman


For extended use with this project, write a story starring the snowman and analyse the story elements, write a character description, etc.

I’m always looking to incorporate goofy or holiday things into my lessons. So when I saw this, I just had to snap a photo! One teacher paired Halloween monsters with writing and art to teach alliteration. Each student first chose a letter and used only words starting with that letter to describe a monster they had made of construction paper. I’m not exaggerating when I say this was one of the most fun bulletin boards I’ve ever seen… not to mention it’s a way fun Halloween writing project!
 Here’s a cool Halloween art project I saw. Students use watercolor paint and principles of color hues to show what moonlight looks on a spooky night. The teacher provided students with a die-cut of the spooky house (or you could make copies of clip art and let students cut out the printed haunted house) and had students paint/draw in their own spooky trees once the paint had dried. Cool!

